 Pin it
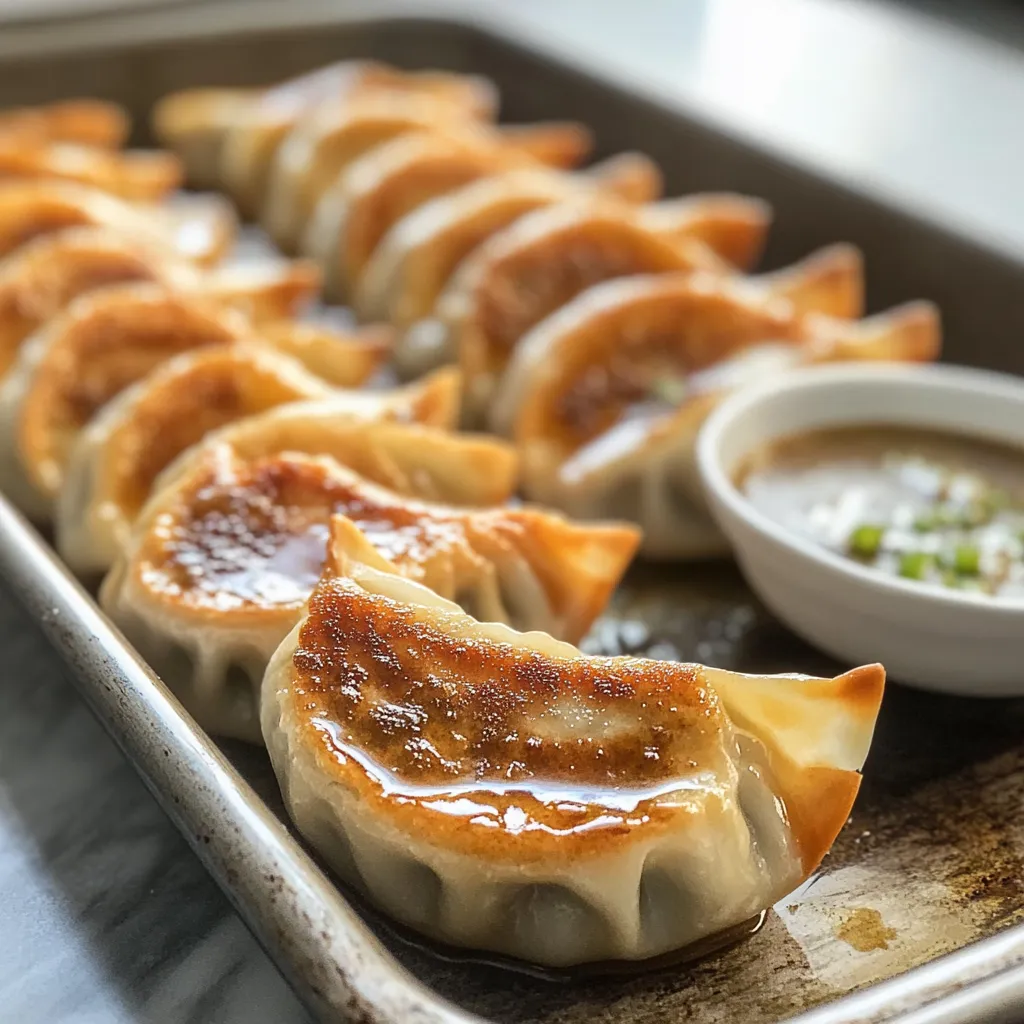
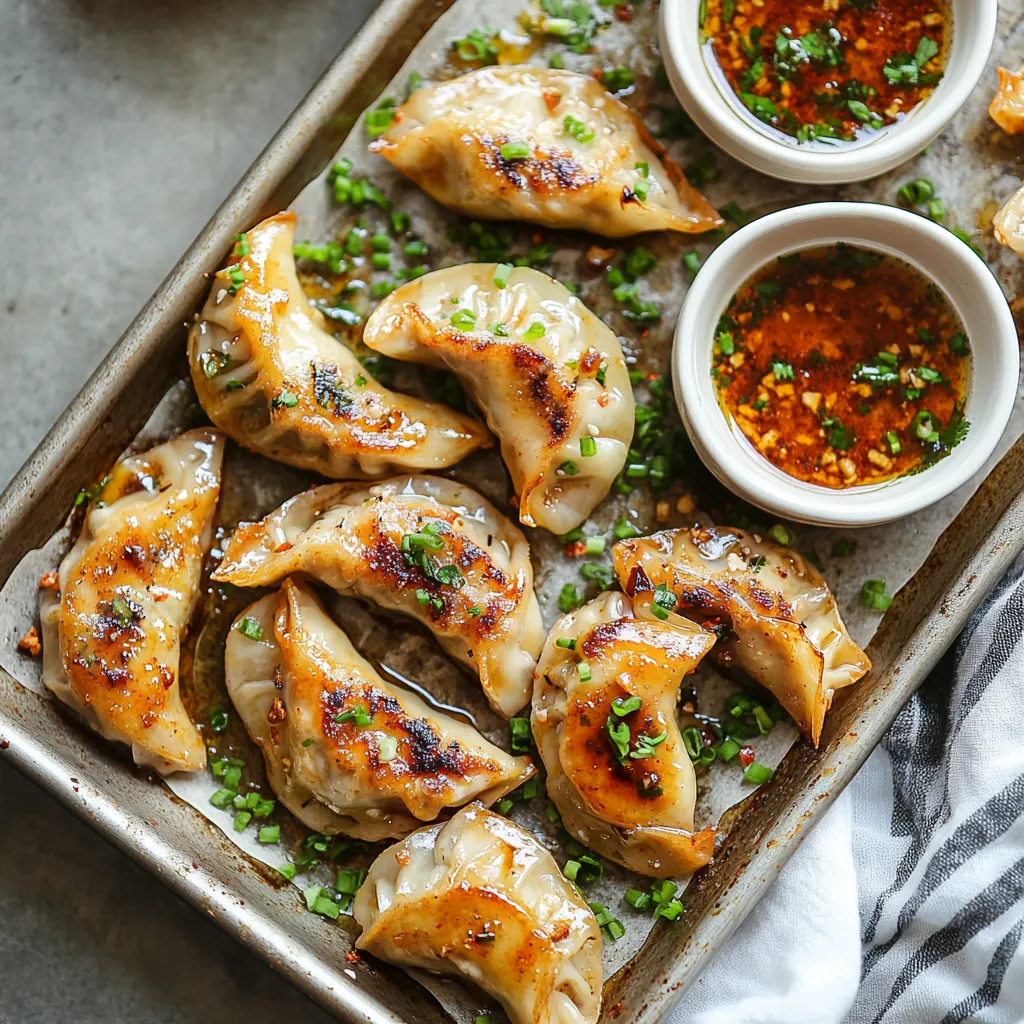
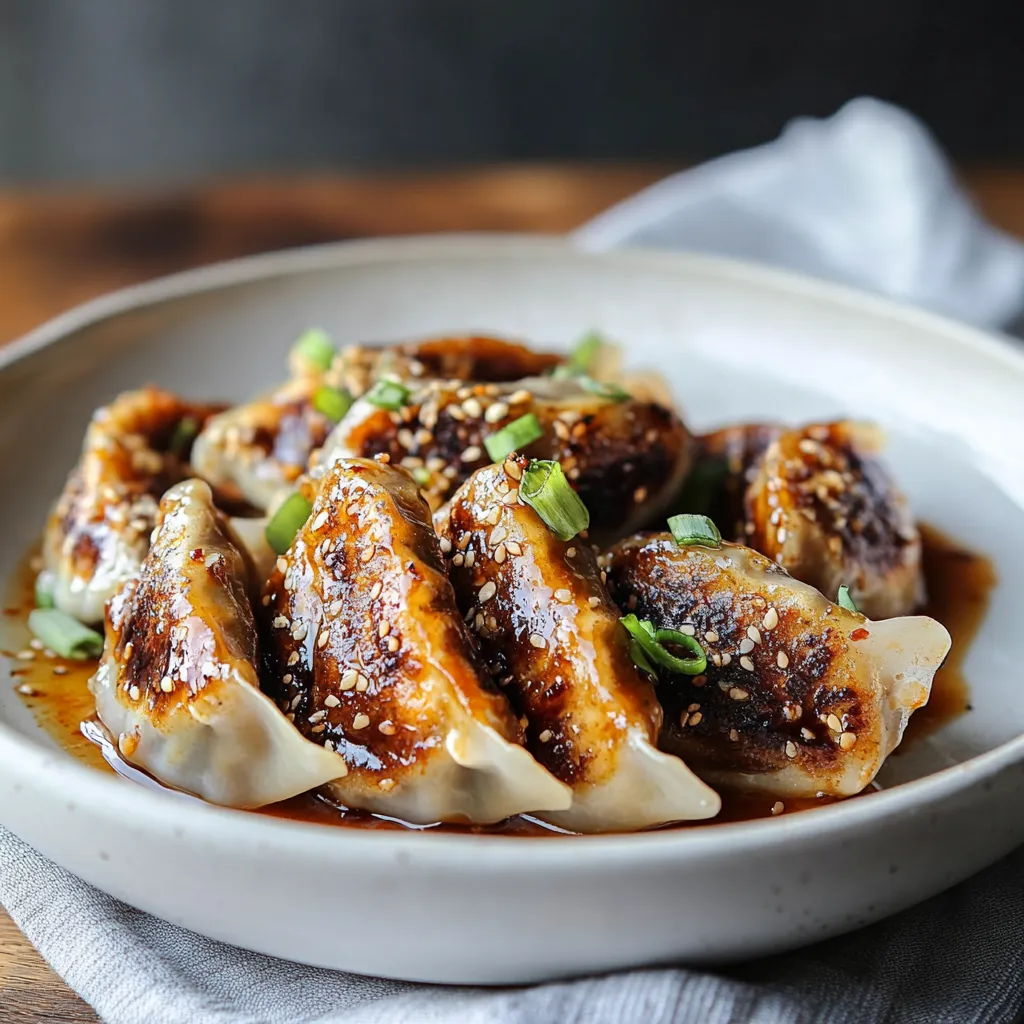
Baked chicken potstickers have become my go-to recipe for family gatherings, transforming the traditional pan-fried dumplings into a healthier, hands-off version that's just as delicious. The combination of juicy ground chicken, crisp vegetables, and aromatic ginger creates perfect little parcels of flavor that disappear in minutes whenever I serve them.
I discovered this baking method during a busy holiday season when I needed to feed a crowd but couldn't stand over the stove all evening. The results were so impressive that I've never looked back to traditional pan-frying.
Essential Ingredients and Selection Tips
- Ground Chicken: Choose meat with about 7% fat content for the juiciest results. I've found that extra-lean chicken can make the filling too dry
- Fresh Ginger: Look for firm, unwrinkled pieces with a spicy aroma. Avoid any that feel soft or look wrinkled
- Dumpling Wrappers: Find these in the refrigerated section of Asian markets. The round ones fold more naturally than square varieties
- Napa Cabbage: Select heads with crisp, pale green leaves. The natural sweetness adds depth to the filling
- Fresh Chili: Choose bright, firm peppers. Remove the seeds if you prefer milder heat
Detailed Cooking Instructions
- Step 1: Prepare Your Workspace (15 minutes):
- Clear a large counter space and line it with parchment paper. Set up three stations: one for filling, one with a small bowl of water for sealing, and one for the finished potstickers. Have your baking sheet ready and thoroughly greased to prevent sticking.
- Step 2: Create the Perfect Filling (20 minutes):
- Start by finely shredding the cabbage and letting it rest in a colander to remove excess moisture. Combine your ground chicken with the vegetables, ensuring even distribution. Mix in seasonings gradually, tasting as you go (if comfortable with raw meat, cook a tiny portion to test seasoning). Let the mixture rest for 10 minutes to allow flavors to meld.
- Step 3: Master the Folding Technique (30 minutes):
- Place each wrapper in your palm like a tiny bowl. Add exactly one tablespoon of filling - consistency is key. Wet the entire edge with water using your finger. Create 4-5 pleats on one side while pressing to seal. Stand each finished potsticker upright, adjusting if needed.
- Step 4: Perfect Baking Method (25 minutes):
- Arrange potstickers with space between them to achieve optimal crispiness. Brush oil evenly on each dumpling's surface, reaching all pleats. Halfway through baking, flip each one carefully using tongs. Look for golden-brown edges as your doneness indicator.
- Step 5: Prepare the Dipping Sauce (10 minutes):
- Toast ginger in sesame oil until you can smell its aroma. Combine ingredients while the oil is still warm for better flavor melding. Let sauce rest while potstickers bake to develop depth.
 Pin it
Growing up, my grandmother always added extra ginger to her potstickers. She believed it aided digestion, and now research confirms its anti-inflammatory properties. I've continued this tradition, especially during winter months.
The Art of Wrapper Selection
These delicate sheets are the foundation of perfect potstickers. Store-bought wrappers work beautifully, but watch for signs of dryness at the edges. Keep them covered with a damp cloth while working to maintain pliability.
Make-Ahead Magic
I often prepare a double batch of filling on Sunday evenings. The flavors actually improve overnight in the refrigerator, making Monday night dinner assembly quick and satisfying.
Serving Suggestions
Create a complete meal by pairing these potstickers with a simple cucumber salad dressed in rice vinegar and sesame oil. The cool, crisp vegetables complement the warm dumplings perfectly.
The Importance of Rest
 Pin it
Let your baked potstickers rest for 3-5 minutes before serving. This allows the juices to redistribute within the filling, ensuring each bite is succulent and flavorful.
After years of making these potstickers, I've found that this baked version brings all the satisfaction of the traditional method with half the effort. The key is patience during the folding process and trusting your instincts with the filling amount. Each batch gets better than the last, and there's something deeply satisfying about creating these little parcels of joy that bring people together around the table.
Frequently Asked Questions
- → Can I make these potstickers ahead of time?
- Yes, you can assemble them and store uncooked in the fridge for up to 24 hours or freeze for up to 1 month.
- → How do I know when the potstickers are done?
- They should be golden brown and reach 165°F when tested with a meat thermometer in the center.
- → Can I use ground pork instead of chicken?
- Yes, ground pork works great as a substitute for the ground chicken in this recipe.
- → Why bake instead of fry the potstickers?
- Baking requires less hands-on time, uses less oil, and makes cleanup easier than traditional pan-frying.
- → How spicy are these potstickers?
- They have a mild-medium heat from the chile pepper, but you can adjust the spiciness by changing the amount of red pepper flakes.
