Chicken Rolls Snack

Featured in Finger Foods and Party Snacks.

Make these crispy chicken spring rolls for a quick and easy appetizer or snack that feels fancy but takes just 30 minutes to create. The recipe includes tender chicken mixed with crunchy veggies like cabbage and carrots, all wrapped up and fried to golden perfection. You’ll get 15 spring rolls, ideal for small gatherings, family treats, or just whenever you crave something homemade and delicious. Get the filling ready ahead of time if you want to save even more time when putting them together.
A young woman with long, wavy hair wearing glasses is seated at a table, holding a menu and looking thoughtfully to the side in a softly lit restaurant.
Updated on Mon, 24 Feb 2025 14:40:55 GMT
A serving plate featuring crispy golden rolls paired with a dipping sauce. Pin it
A serving plate featuring crispy golden rolls paired with a dipping sauce. | quickierecipe.com

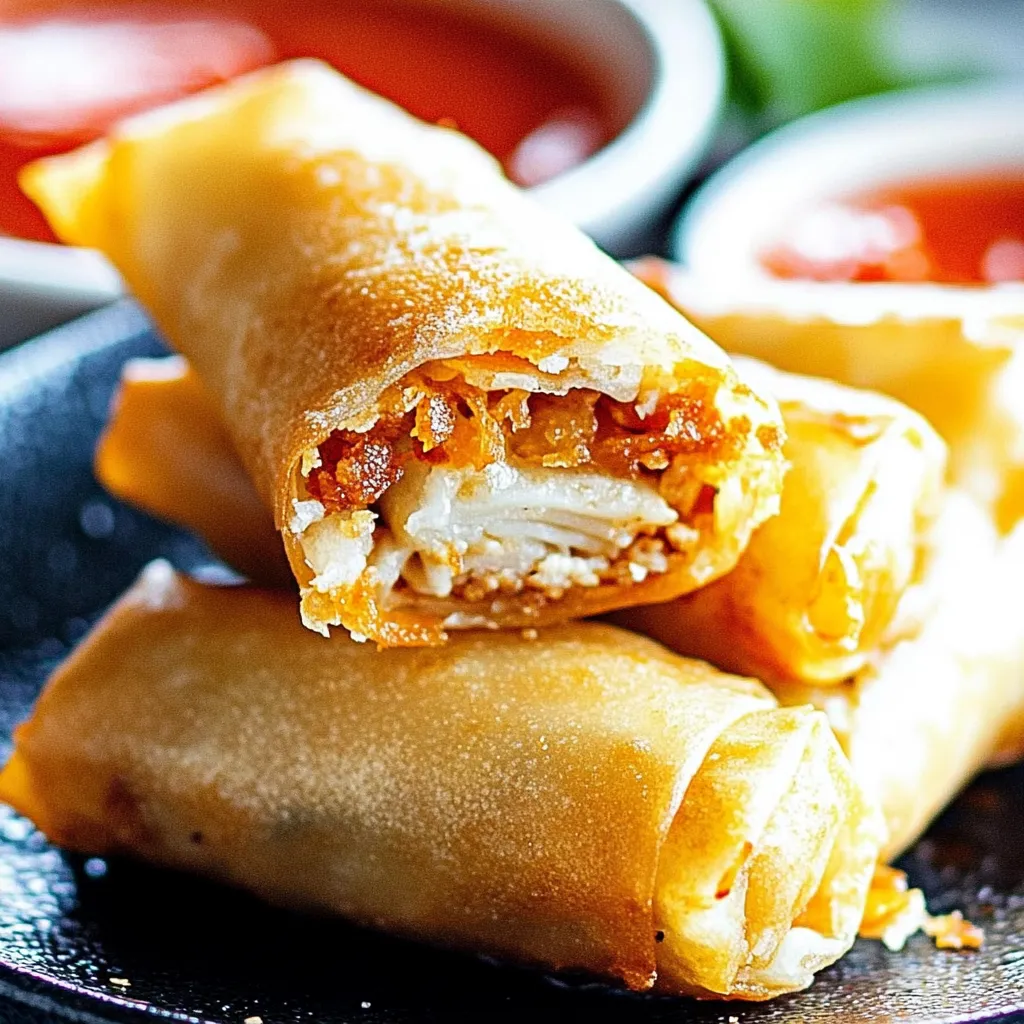
These homemade chicken spring rolls feature a delicately crisp shell encasing tender shredded chicken and fresh vegetables. Each roll delivers the perfect balance of crunchy texture and flavorful filling that surpasses any restaurant version.

At our recent dinner party, these spring rolls were an instant hit. The enticing aroma of the seasoned chicken and vegetables drew everyone to the kitchen, eagerly awaiting each freshly fried batch.

Key Ingredients Guide

  • Chicken: Use freshly cooked or leftover chicken breast, finely shredded. For fresh chicken, cook until just done as it will finish cooking during frying.
  • Cabbage: Select firm white cabbage heads with crisp leaves and fresh, light-colored cores.
  • Wrappers: Use traditional wheat-based egg roll wrappers - avoid rice paper. Look for fresh, flexible sheets.
  • Vegetables: Choose firm carrots and other vegetables with vibrant color. Cut into uniform matchsticks.
  • Oil: Select a neutral frying oil with high smoke point like vegetable or canola oil.

Assembly Instructions

Prepare the Filling:
Shred chicken into consistent small pieces. Mix thoroughly with shredded cabbage and julienned carrots, ensuring even distribution of ingredients.
Wrapper Handling:
Place wrapper in diamond position. Keep unused wrappers covered with damp cloth to prevent drying. Wrapper should be pliable but not wet.
Rolling Method:
Place two tablespoons filling below center. Fold bottom corner up and over filling, pulling gently to tighten. Fold in side corners to form envelope.
Sealing:
Continue rolling upward firmly, maintaining even pressure. Seal final edge with water to prevent filling from escaping.
A bowl of food with a sauce on top. Pin it
A bowl of food with a sauce on top. | quickierecipe.com

An old family technique passed down from my grandmother emphasizes that proper rolling tension is crucial - too loose creates sogginess, while too tight leads to bursting during frying.

Frying Guidelines

Maintain oil at steady 350°F. Fry in batches of 3-4 rolls for approximately 3-4 minutes per side until golden brown.
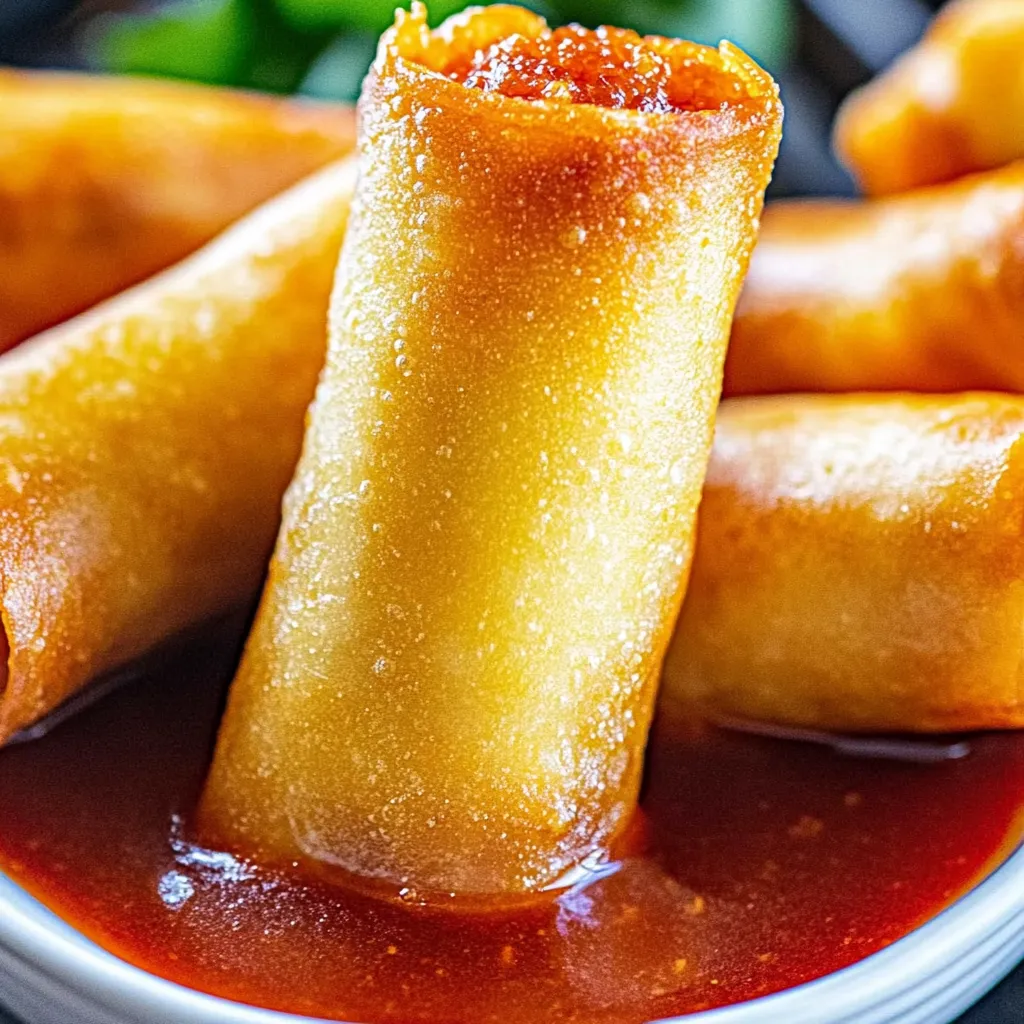
Presentation Tips

Serve hot and crispy on a decorative platter alongside assorted dipping sauces. For appetizer portions, slice diagonally.

Customization Options

Try varying the filling with different vegetable combinations or seasoning blends. Water chestnuts add delightful texture.

Storage Methods

Store uncooked rolls between parchment paper sheets in refrigerator. Restore crispiness of fried rolls using oven or air fryer.

A plate of food with a variety of dishes, including a sandwich and a bowl of soup. Pin it
A plate of food with a variety of dishes, including a sandwich and a bowl of soup. | quickierecipe.com

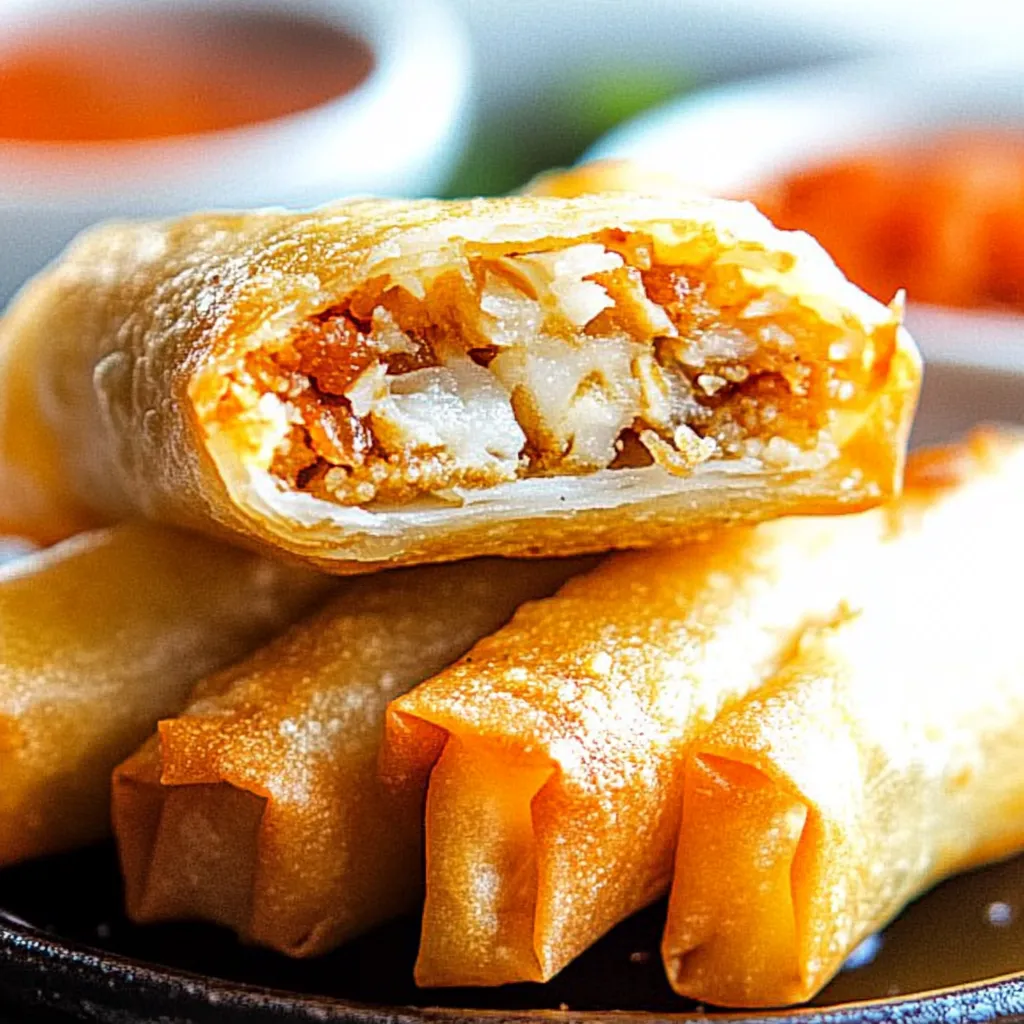
Years of perfecting this recipe have shown that careful preparation and proper technique are essential. Master these elements and you'll create restaurant-quality spring rolls in your own kitchen.

Frequently Asked Questions

→ Can I prep these ahead of time?
Absolutely, mix up the filling earlier, but only roll and fry them when you're ready to eat for maximum crunch.
→ Is baking these an option?
Totally, just brush them lightly with oil and bake at 400°F for about 15-20 minutes, flipping halfway through for even crispiness.
→ How can I freeze these rolls?
Arrange the uncooked rolls on a tray and freeze. Once solid, store them in a freezer bag. Fry them straight from the freezer—just allow for a little extra time to cook.
→ What can I swap for the chicken?
Try shrimp, pork, or tofu! They all make great substitutes depending on your taste.
→ Why do my rolls burst open during frying?
Be sure to close the edges tightly, don’t overstuff them, and roll lightly so there's space for steam to escape while frying.

Chicken Rolls Snack

Golden, crunchy rolls stuffed with shredded chicken, cabbage, and carrot—perfect for parties or snacks, all in 30 minutes!

Prep Time
15 Minutes
Cook Time
10 Minutes
Total Time
25 Minutes
By: Meryem


Difficulty: Intermediate

Cuisine: Asian

Yield: 15 Servings (15 rolls)

Dietary: Dairy-Free

Ingredients

→ Filling

01 8 ounces of chicken breast, cooked and torn into small pieces
02 1 tablespoon olive oil, the extra virgin kind
03 1 tablespoon finely chopped red onion
04 2 ounces of shredded carrots
05 2 ounces of finely sliced cabbage (white)
06 1 teaspoon soy sauce, regular or low-sodium
07 A sprinkle of black pepper and kosher salt, for taste

→ Assembly

08 15 wrappers for egg rolls
09 Oil for frying up those rolls

→ For Serving

10 Sweet and sour dipping sauce, or Sriracha, depending on your mood

Instructions

Step 01

In a non-stick pan over medium heat, warm up your olive oil. Toss in the onion, cabbage, and carrot, and cook them until they soften—give it about 3 minutes. Stir in the chicken and soy sauce, then season with salt and pepper. Let this cool for a while after cooking.

Step 02

Take a wrapper and place about a tablespoon of your filling in the middle. First, fold the bottom edge up and over the filling. Then fold the sides in, and roll it up nice and snug (but not too tight). Seal the edges shut by lightly pressing them.

Step 03

Add enough oil to your pan so it’s about a half-inch deep, and get it to medium heat. Fry your rolls in batches, flipping them until both sides are golden—this takes about a minute per side.

Step 04

Move the rolls onto a plate lined with paper towels. This helps get rid of extra oil.

Step 05

Enjoy your rolls immediately while they’re crispy and hot. Pair them with sweet and sour sauce or Sriracha.

Notes

  1. When rolling, don’t make them super tight or the wrapper might tear
  2. You’ll get the best experience if you eat them while they’re still crispy and warm
  3. While frying, don’t overcrowd the rolls—give them room to fry evenly

Tools You'll Need

  • A pan with a non-stick coating
  • A big pan for frying the rolls
  • Paper towels to soak up oil
  • A cutting board for prepping veggies

Allergy Information

Please check ingredients for potential allergens and consult a health professional if in doubt.
  • The wrappers contain wheat
  • This recipe contains soy products
  • Eggs are present in the ingredients