 Pin it
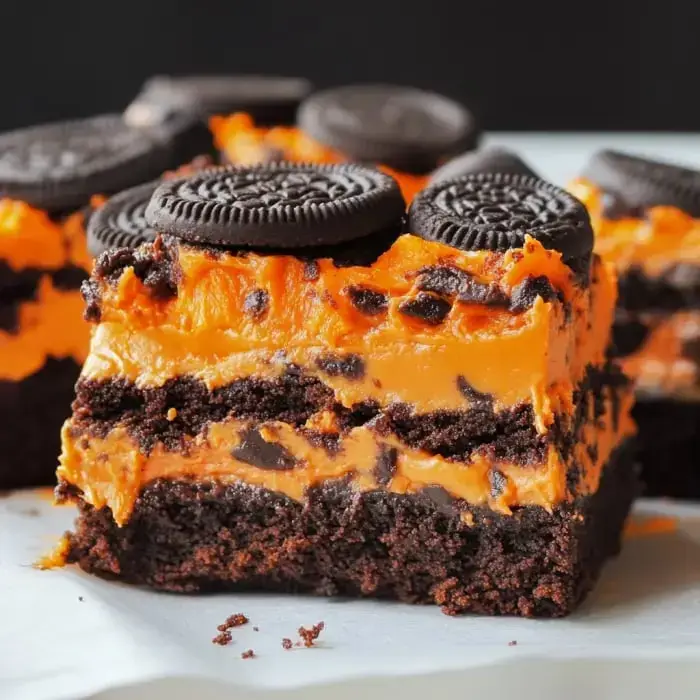
Oreo Layered Halloween Brownies are the ultimate treat for spooky season! These rich, chocolatey brownies are layered with festive Oreos, a vibrant orange frosting, and topped off with a decadent milk chocolate frosting. Perfect for Halloween gatherings or just to enjoy a seasonal dessert, these brownies will impress anyone with their gooey layers and fun flavors. Let's take a look at the ingredients that make these brownies so special.
INGREDIENTS
- 1 Brownie Mix: The base for these brownies, bringing a rich, chocolatey flavor.
- 2 eggs: Helps bind the ingredients together and adds richness to the brownies.
- 1/3 cup oil: Keeps the brownies moist and soft.
- 1/3 cup milk: Adds moisture and helps to create a smooth batter.
- 1 Package of Oreo's (with orange filling): Adds festive Halloween flair and a satisfying crunch.
- 1 can of Milk chocolate frosting: Creates a rich, sweet topping for the brownies.
- 1 can of White or Vanilla frosting: Used to create the orange frosting layer.
- Orange food coloring gel: Adds a bright, festive color to the frosting.
INSTRUCTIONS
- Step 1:
- Preheat your oven to 350°F and line a 9x9 inch baking pan with parchment paper.
- Step 2:
- In the mixing bowl of a stand mixer, combine the Brownie mix, eggs, oil, and milk. Blend on medium speed with the whisk attachment until smooth and well combined.
- Step 3:
- Pour the brownie batter into the prepared pan, smoothing it out evenly. Arrange Oreo cookies on top of the batter, covering the entire surface.
- Step 4:
- Bake the brownies for 25 to 30 minutes, or until a toothpick inserted into the center comes out clean. Once done, remove the pan from the oven and allow the brownies to cool completely in the pan.
- Step 5:
- While the brownies are cooling, prepare the frosting. In a bowl, combine the white or vanilla frosting with the orange centers from about 10 Oreo cookies. Add 1 teaspoon of orange food coloring gel and mix well until the frosting reaches a bright orange color.
- Step 6:
- Once the brownies are completely cool, spread the orange frosting evenly over the top. Place the brownies in the refrigerator for about 30 minutes to set the frosting.
- Step 7:
- After chilling, remove the brownies from the refrigerator and spread the milk chocolate frosting over the orange frosting layer. Crumble the remaining Oreo cookies on top for decoration.
- Step 8:
- Cut the brownies into 3x2 inch squares and serve immediately. Enjoy the gooey, chocolatey layers!
Serving and Storage Tips
- These brownies are best served slightly chilled to keep the frosting layers intact, but they can also be enjoyed at room temperature for a softer texture.
- For a fun presentation, cut the brownies into smaller bite-sized pieces and serve them on a Halloween-themed platter.
- Store any leftovers in an airtight container in the refrigerator for up to 3 days. The brownies can also be frozen for up to 2 months—just thaw in the fridge before serving.
Tips from Well-Known Chefs
- Chef Duff Goldman recommends using parchment paper to line your pan, making it easier to lift the brownies out without them sticking.
- Chef Christina Tosi suggests refrigerating the brownies briefly to help the frosting layers set and create a cleaner cut when slicing.
VARIATIONS
- For a twist, try using peanut butter Oreos or adding a layer of peanut butter between the brownie and Oreo layers.
- If you want to make them extra gooey, add chocolate chips to the brownie batter before baking.
- Switch up the colors of the frosting to match other holidays or celebrations, like red and green for Christmas.
