
 Pin it
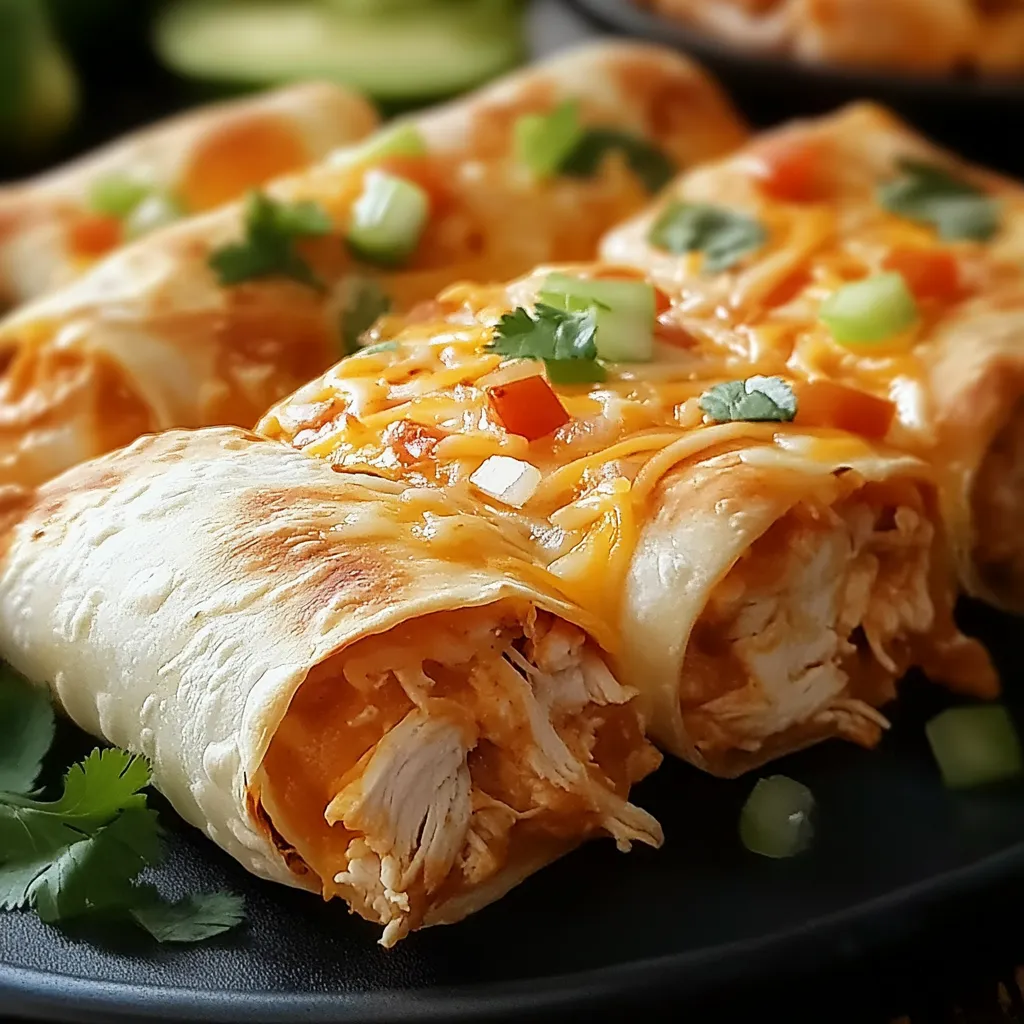
A lighter twist on the classic Mexican chimichanga emerges from the oven golden and crispy, filled with a creamy, spiced chicken mixture that makes every bite memorable. After discovering this baked version during my quest for healthier comfort food, it's become my go-to recipe for satisfying Mexican food cravings without the guilt of deep frying. The technique of baking rather than frying not only reduces calories but also creates a wonderfully crispy exterior that rivals any restaurant version.
During countless family dinners, these chimichangas have earned their place as our favorite Mexican-inspired meal. The way the tortilla crisps up in the oven while the filling stays creamy and flavorful creates an irresistible combination that keeps everyone coming back for seconds.
Essential Ingredients Guide
- Cream cheese: Use full-fat, room temperature for smoothest blending. Choose block cream cheese rather than whipped.
- Pepperjack cheese: Freshly shredded melts better than pre-shredded and provides a gentle heat.
- Flour tortillas: Choose burrito-size for proper wrapping. Look for fresh, pliable tortillas without tears.
- Cooked chicken: Rotisserie chicken provides excellent flavor and convenience. Shred while warm for best texture.
- Taco seasoning: Select low-sodium to control overall saltiness or make your own blend for custom flavor.
Creating Perfect Chimichangas
- Temperature Management:
- Remove cream cheese from refrigerator 2 hours before starting. Preheat oven to 350°F (175°C). Allow 15 minutes for proper preheating. Meanwhile, gather all ingredients and equipment. Shred cheeses if using whole blocks. This organization ensures smooth assembly.
- Mixing Method:
- In a large bowl, combine softened cream cheese with shredded pepperjack and taco seasoning. Mix until completely smooth with no cream cheese lumps remaining. Fold in shredded chicken gradually using a folding motion to maintain texture. The mixture should be creamy but hold its shape when scooped.
- Rolling Process:
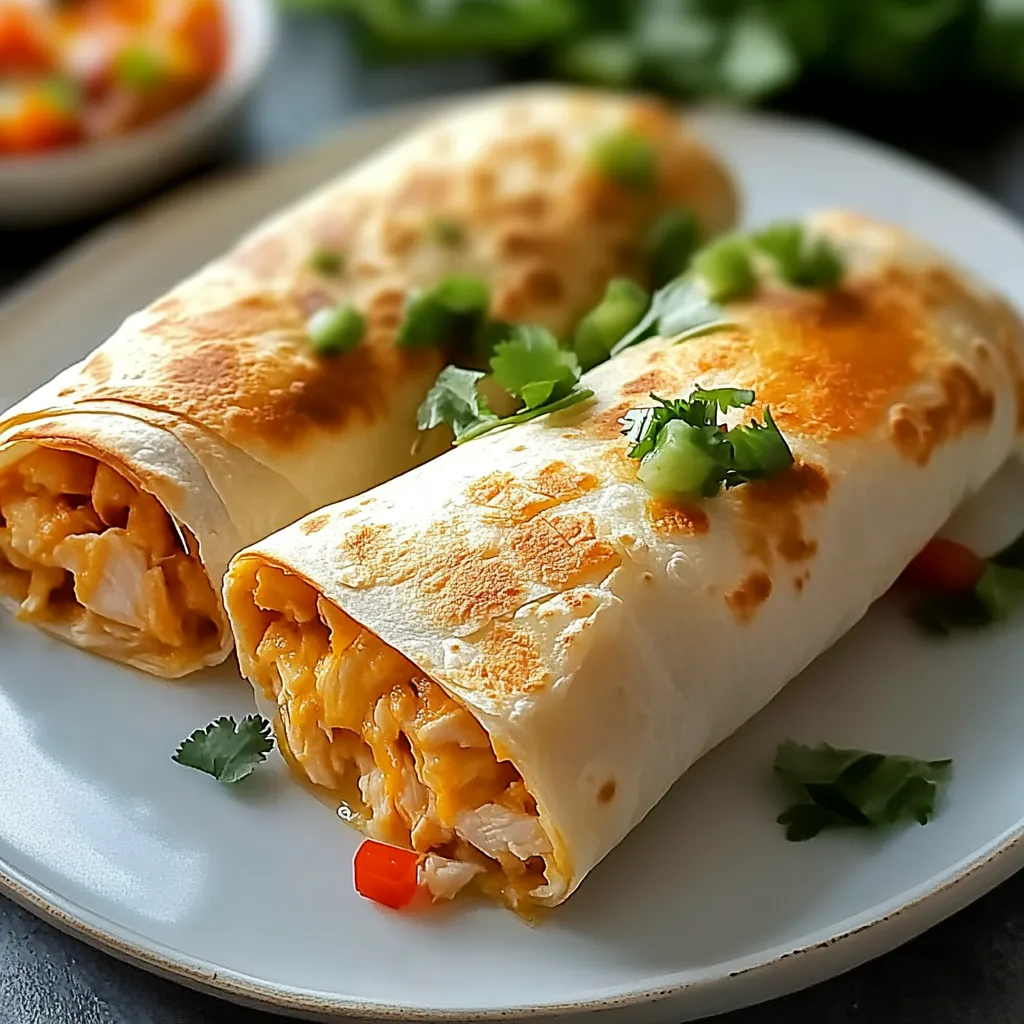
- Place one tortilla on a clean work surface. Scoop approximately 1/2 cup filling slightly below center. Fold bottom edge over filling, ensuring it's snug. Fold in both sides tightly, then continue rolling forward while keeping sides tucked. The final roll should create a secure package with no filling exposed. Place seam-side down on prepared baking sheet.
- Crispiness Achievement:
- Using cooking spray, thoroughly coat each chimichanga on all sides, paying special attention to corners and seams. This ensures even browning and creates that crucial crispy exterior. Arrange in baking pan with at least 1 inch between each for proper air circulation. The space allows hot air to crisp all sides evenly.
- Garnish Preparation:
- While chimichangas bake, prepare fresh garnishes. Finely slice green onions, portion sour cream into small serving bowls, and arrange salsa in ramekins. Having everything ready allows for immediate serving when they emerge hot from the oven, ensuring the perfect temperature and texture contrast.
 Pin it
After years of making these chimichangas, I've discovered that temperature control is crucial. My grandmother taught me to always let the cream cheese reach true room temperature—not just slightly softened—for the silkiest filling texture.
Serving Suggestions
Present these crispy delights with an array of fresh toppings arranged in colorful bowls. Offer warm refried beans sprinkled with cotija cheese alongside. Serve Spanish rice flavored with lime and cilantro for a complete meal. Add a crisp cabbage slaw dressed with lime and jalapeño for brightness and crunch. For special occasions, create a topping bar with multiple salsas, guacamole, Mexican crema, and pickled jalapeños.
Creative Variations
- Transform these chimichangas by incorporating black beans and corn for a hearty vegetable boost.
- Try different cheese combinations like Oaxaca for authentic Mexican flavor or smoked Gouda for depth.
- Add roasted poblano peppers or chipotle peppers in adobo for smoky heat.
- Create a breakfast version with scrambled eggs and chorizo.
- For vegetarian options, substitute the chicken with roasted sweet potatoes and black beans.
Smart Storage
Keep leftover chimichangas in an airtight container in the refrigerator for up to three days. Place parchment paper between layers to prevent sticking. Reheat in a 350°F oven for 10-15 minutes to restore crispiness. Avoid microwaving, which makes tortillas soggy and ruins the texture. For make-ahead preparation, assemble chimichangas and refrigerate unbaked for up to 24 hours before cooking.
 Pin it
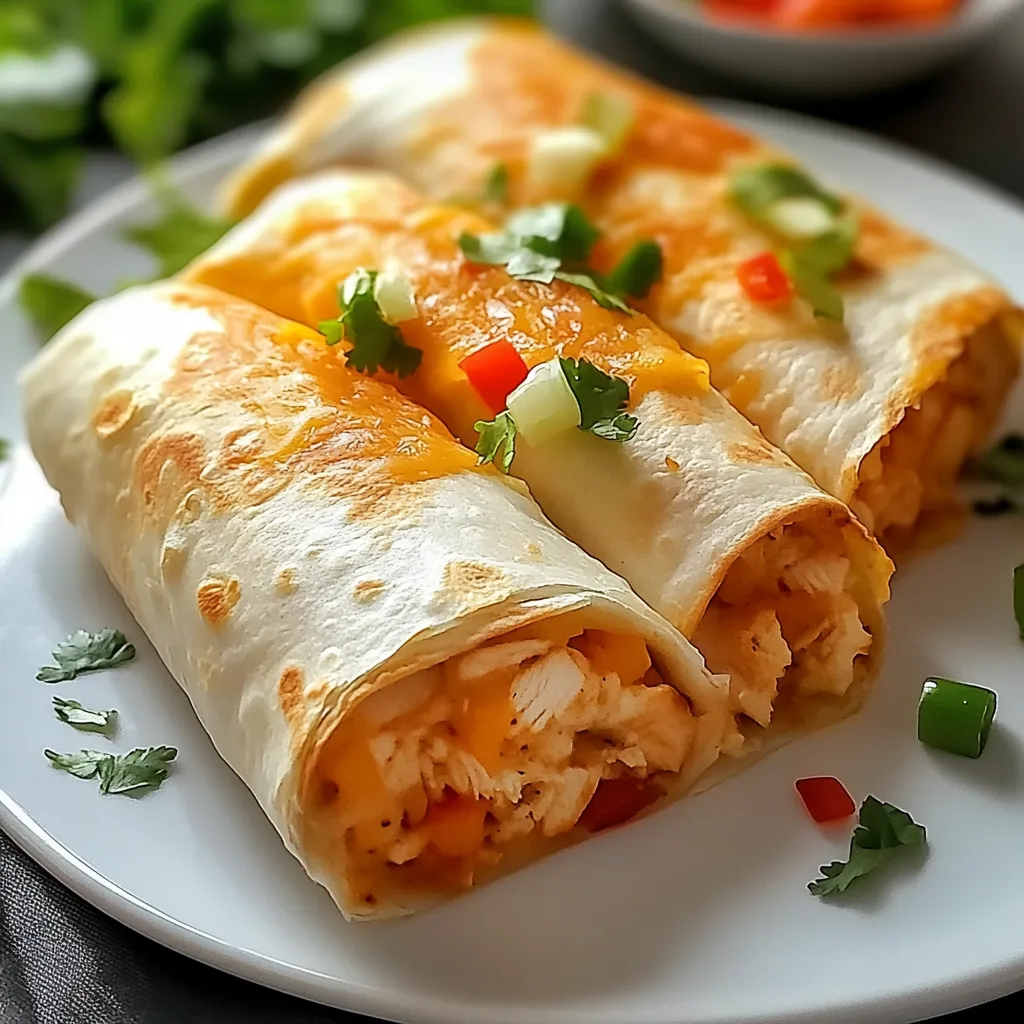
These baked chimichangas have revolutionized my approach to Mexican cooking, proving that healthier versions can be just as satisfying as their traditional counterparts. The combination of crispy exterior, creamy filling, and customizable toppings makes this dish a winner every time I serve it. Whether for a casual family dinner or entertaining friends, these chimichangas never fail to impress while keeping preparation simple and cleanup minimal.
Frequently Asked Questions
- → Can I make these chimichangas ahead of time?
- Yes, you can assemble them up to 24 hours in advance, store covered in the refrigerator, and bake when ready to serve.
- → What's the best way to shred chicken for this recipe?
- Use two forks to pull apart warm, cooked chicken breasts, or shred rotisserie chicken for a convenient shortcut.
- → Can I freeze these chimichangas?
- Yes, wrap assembled unbaked chimichangas individually in foil, freeze for up to 3 months, and bake directly from frozen, adding 10-15 minutes to cooking time.
- → What can I serve with these chimichangas?
- Mexican rice, refried beans, guacamole, pico de gallo, or a fresh green salad make perfect side dishes.
- → Can I use corn tortillas instead of flour tortillas?
- Flour tortillas work best as they're more pliable and crisp better when baked. Corn tortillas may crack when rolled.