
 Pin it
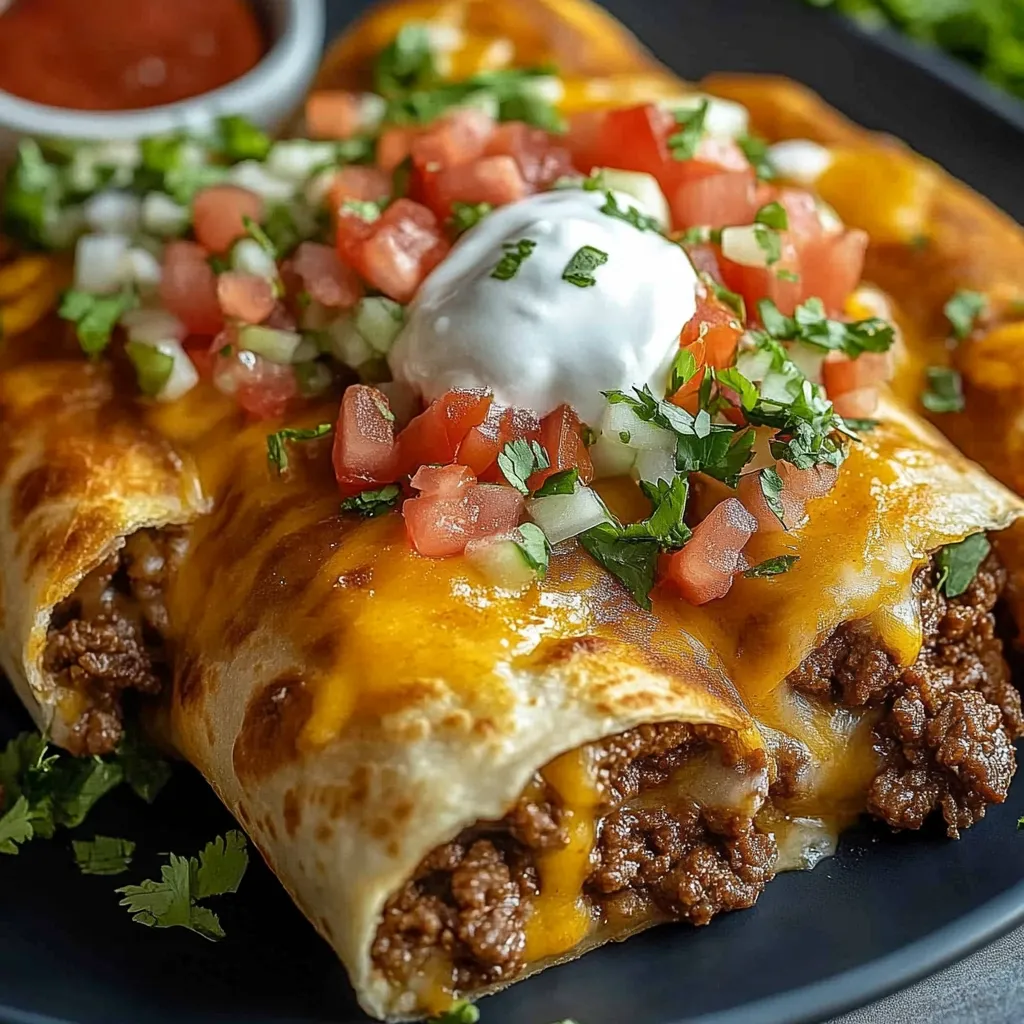
These oven-baked beef and cheese chimichangas deliver all the crispy, cheesy satisfaction of traditional deep-fried versions without the hassle of hot oil. This family-friendly Mexican-inspired dish transforms simple ingredients into a crowd-pleasing meal perfect for weeknight dinners or casual entertaining.
I first made these chimichangas when looking for a healthier alternative to restaurant versions. The oven-baking method was such a success that it's become our Friday night tradition, with everyone gathering around to customize their toppings.
Ingredients
- Ground beef: Provides the hearty protein base; choose 80/20 for best flavor
- Onion and garlic: Create an aromatic foundation that enhances the beef
- Taco seasoning packet: Offers convenience without sacrificing flavor
- Water: Helps the seasoning coat the meat evenly and creates the right consistency
- Cheddar cheese: Adds sharp flavor while Monterey Jack brings the melt factor
- Large flour tortillas: Must be fresh for proper folding without tearing
- Butter or oil: Creates that crucial golden crispy exterior in the oven
- Sour cream, salsa, and cilantro: Provide fresh, bright finishing touches
Step-by-Step Instructions
- Prepare Your Oven:
- Heat your oven to 400°F and prepare your baking sheet with parchment paper or a light coating of oil. This temperature is ideal for achieving crispy exteriors without burning.
- Cook The Meat Mixture:
- Brown the ground beef with onions and garlic over medium heat until completely cooked through, about 7 minutes. Be sure to break up any large chunks for even texture. Drain excess fat thoroughly to prevent soggy chimichangas.
- Season The Filling:
- Add the taco seasoning and water, stirring constantly to distribute the flavors evenly. Allow the mixture to simmer until it thickens slightly, about 3 minutes. The filling should be moist but not watery. Let it cool for 5 minutes before adding cheese.
- Add The Cheese:
- Stir both cheeses into the warm meat mixture. The residual heat will slightly melt the cheese, creating pockets of stretchy goodness without completely liquefying it.
- Warm And Fill Tortillas:
- Microwave tortillas for 15 seconds or warm briefly in a dry skillet to make them pliable. Place approximately half cup of filling in each tortilla, keeping it centered for easy rolling.
- Roll The Chimichangas:
- Fold the sides of each tortilla inward, then roll from bottom to top, enclosing the filling completely. Place each chimichanga seam-side down on the baking sheet to prevent unraveling during baking.
- Brush With Fat:
- Use a pastry brush to apply melted butter or oil generously over all surfaces. This is the secret to achieving that restaurant-style crispy exterior in the oven.
- Bake To Perfection:
- Bake for 20 to 25 minutes, flipping once halfway through cooking time. Look for a deep golden brown color and crisp texture on all sides. The corners should be just starting to darken.
- Serve Immediately:
- Transfer to plates while hot and serve with cold toppings for the perfect temperature contrast.
 Pin it
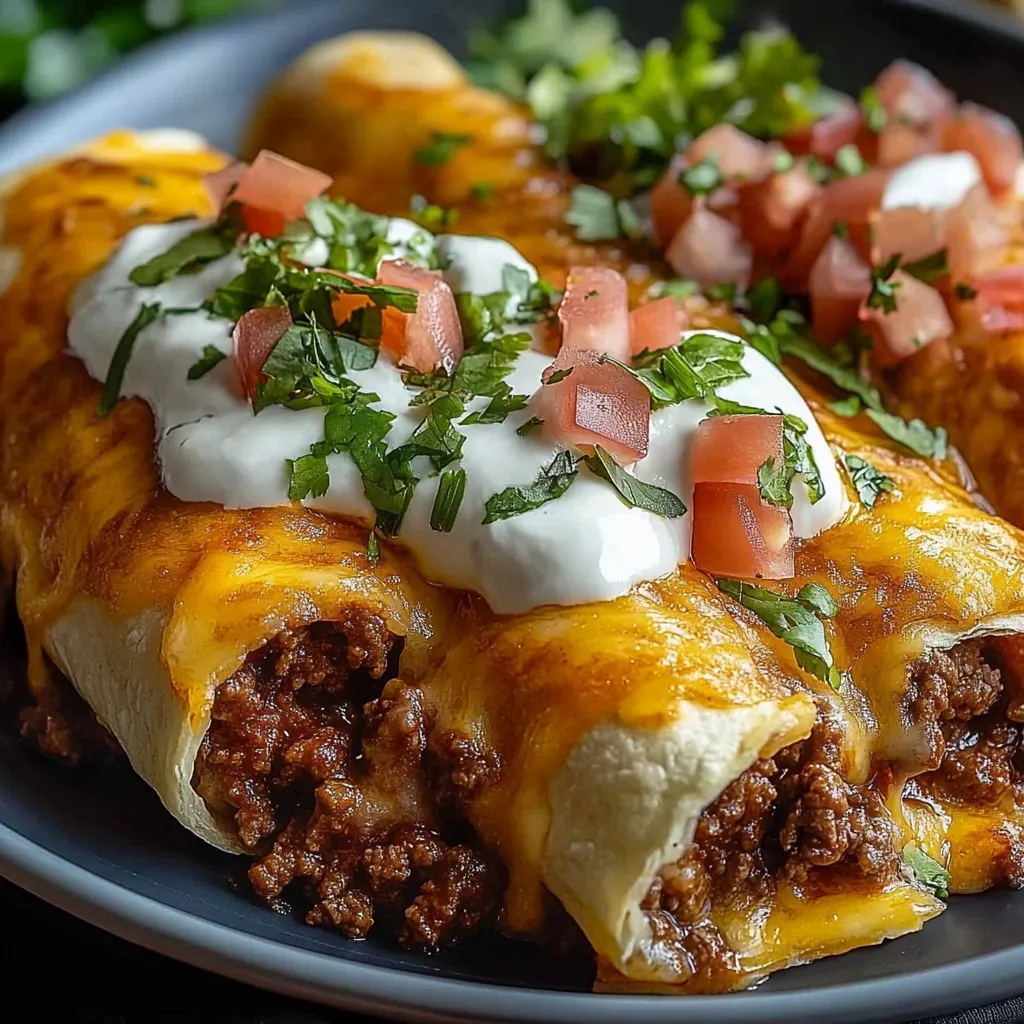
My favorite part of this recipe is the contrast between the crispy exterior and the gooey cheese inside. My daughter once requested these for her birthday dinner instead of going out to eat, which became a sweet family tradition we've continued for three years running.
Make-Ahead Options
These chimichangas work beautifully for meal prep. Prepare the filling up to two days in advance and store it in the refrigerator. You can even assemble the entire chimichangas and refrigerate them uncooked for up to 24 hours. Simply brush with butter or oil right before baking and add an extra 5 minutes to the cooking time if baking from cold.
Creative Variations
While this classic beef and cheese version is delicious, consider trying different protein options. Shredded chicken mixed with cream cheese and green chiles makes a creamy variation. For vegetarian chimichangas, substitute the beef with a mixture of black beans, roasted sweet potatoes, and corn. The technique remains the same regardless of filling choice.
Serving Suggestions
Create a festive spread by serving these chimichangas with Mexican rice, refried beans, and a simple avocado salad. For a complete experience, offer a toppings bar with guacamole, pico de gallo, various hot sauces, and lime wedges. This interactive approach makes dinner more fun, especially when entertaining guests.
The History Behind Chimichangas
Chimichangas originated in the Southwestern United States, though their exact creation story is debated. The most popular tale claims they were invented in Arizona when a cook accidentally dropped a burrito into the fryer and exclaimed a Spanish expletive that sounded like "chimichanga." This happy accident became a beloved staple in Tex-Mex cuisine, transforming a simple burrito into something more indulgent and special.
 Pin it
Frequently Asked Questions
- → How do you ensure the chimichangas are crispy?
Brushing the tortillas with melted butter or vegetable oil before baking helps create that signature golden, crispy texture.
- → Can I substitute the cheeses used?
Yes, you can use any melting cheese like mozzarella or pepper jack for a different flavor profile.
- → Can I make these ahead of time?
Yes, you can assemble the chimichangas, refrigerate them covered, and bake when ready. Add a few extra minutes to the baking time.
- → What sides pair well with beef chimichangas?
Try serving them with Mexican rice, refried beans, or a fresh side salad to complete the meal.
- → Can these be air-fried instead of baked?
Absolutely! Air-fry them at 375°F (190°C) for about 10-12 minutes, flipping halfway, for a similarly crispy finish.