 Pin it
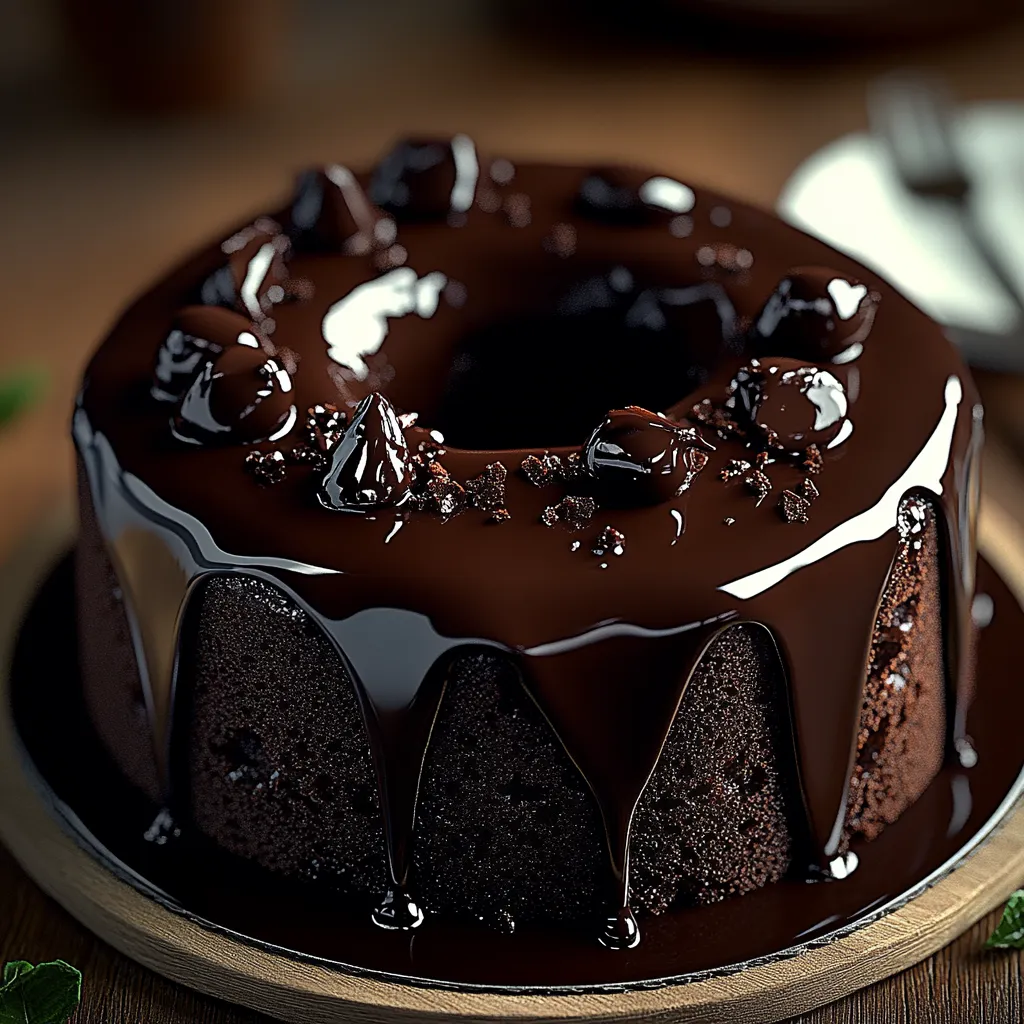
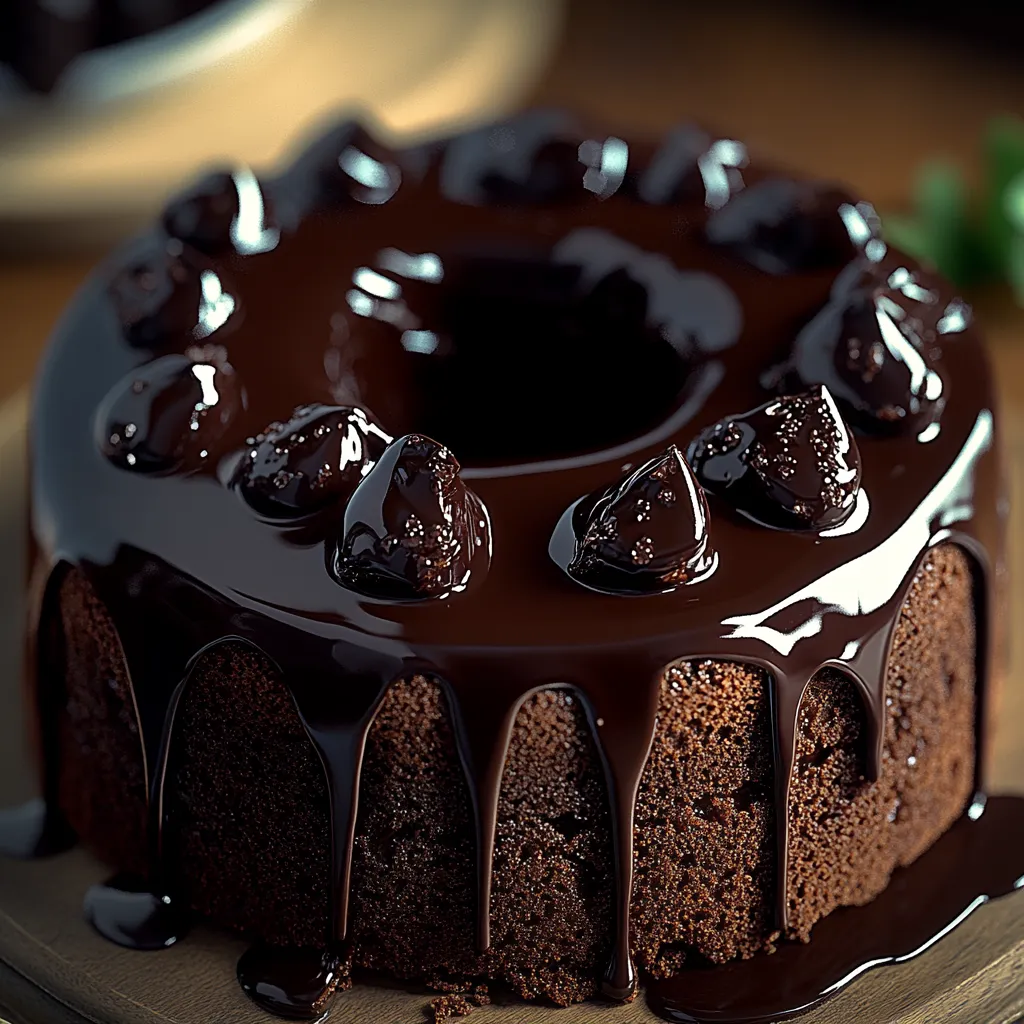
This Nestlé Toll House Death by Chocolate Cake packs an intense chocolate punch in every mouthful. When cocoa powder meets chocolate chips, you get flavor layers that grow stronger as you dig into each bite. The buttermilk doesn't just keep everything super moist—it adds a slight tang that cuts through the sweetness just right. Top it all with smooth chocolate frosting and you've got the ultimate chocolate fix that'll knock out even the strongest cravings, yet it's surprisingly easy to whip up.
I baked this cake the first time for my husband's birthday after learning he was crazy about chocolate as a kid. One look at his face after he took his first taste told me we'd be making this again and again. These days our kids beg for it on their birthdays too, saying they can't find another chocolate cake that hits the same way this rich version does. We've noticed even folks who usually pass on sweet treats end up asking for another slice.
Key Ingredients
- Chocolate Chips: Add gooey spots throughout and boost the texture. Nestlé Toll House Semi-Sweet ones melt perfectly and taste just right.
- Cocoa Powder: Gives the batter that deep chocolate kick. Go for Dutch-processed if you want a darker look and smoother flavor.
- Butter: Adds richness and helps the cake stand tall. Make sure it's unsalted and sitting at room temp so it mixes well.
- Buttermilk: Makes the cake super soft with a hint of tang. Full-fat works best for keeping things moist and tasty.
- Vanilla Extract: Brings out those chocolate flavors with its warm notes. Stick with the real stuff instead of imitation for better taste.
Baking Method
- Setting up your kitchen
- Get your oven nice and hot at 350°F before you start. Grease your pan completely, then dust it with cocoa powder instead of flour to keep everything chocolatey. Have all your ingredients measured and ready to go before mixing.
- Making the chocolate base
- Mix flour, cocoa powder, baking soda, and salt in a bowl until you can't see any streaks. This step makes sure the chocolate flavor and rising agents spread evenly through the whole cake.
- Building the flavor core
- Beat butter and sugar with an electric mixer until it looks lighter and feels fluffy. This puts air in the mix, which helps the cake's structure. Add eggs one by one, mixing well after each. Put in the vanilla and mix until it's all blended.
- Putting it all together
- Switch between adding dry ingredients and buttermilk, starting and ending with the flour mix. Mix just enough after each addition to avoid overdoing it. Gently fold in the chocolate chips so they spread out evenly without deflating your batter.
- Getting the bake just right
- Pour everything into your pan and smooth the top with a spatula. Bake on the middle rack until a toothpick comes out with a few moist crumbs but not wet batter. Let it cool in the pan for ten minutes before moving it to a wire rack to cool completely before adding frosting.
 Pin it
My family loves eating this cake when it's still a bit warm with some vanilla ice cream on the side—the hot-cold mix makes the chocolate taste even better. My daughter always wants extra chocolate chips between the layers, saying they're like finding little treasures in each bite. We've found that cutting thin slices and serving them with fresh berries lets everyone enjoy the rich chocolate flavor without it being too much for folks who don't have a major sweet tooth.
Temperature Control
Getting the texture just right starts with knowing how temperature affects everything in this chocolatey treat. Butter at room temperature whips up properly with sugar, making the structure you need, while eggs at the same temperature blend in without breaking apart. While it bakes, keeping your oven at a steady temperature helps the cake rise evenly without peaking or sinking. Cooling is just as important—the cake needs to set completely before you frost it. When it's time to eat, try warming slices slightly to get those chocolate chips a little melty while keeping the cake from falling apart.
Serving Style
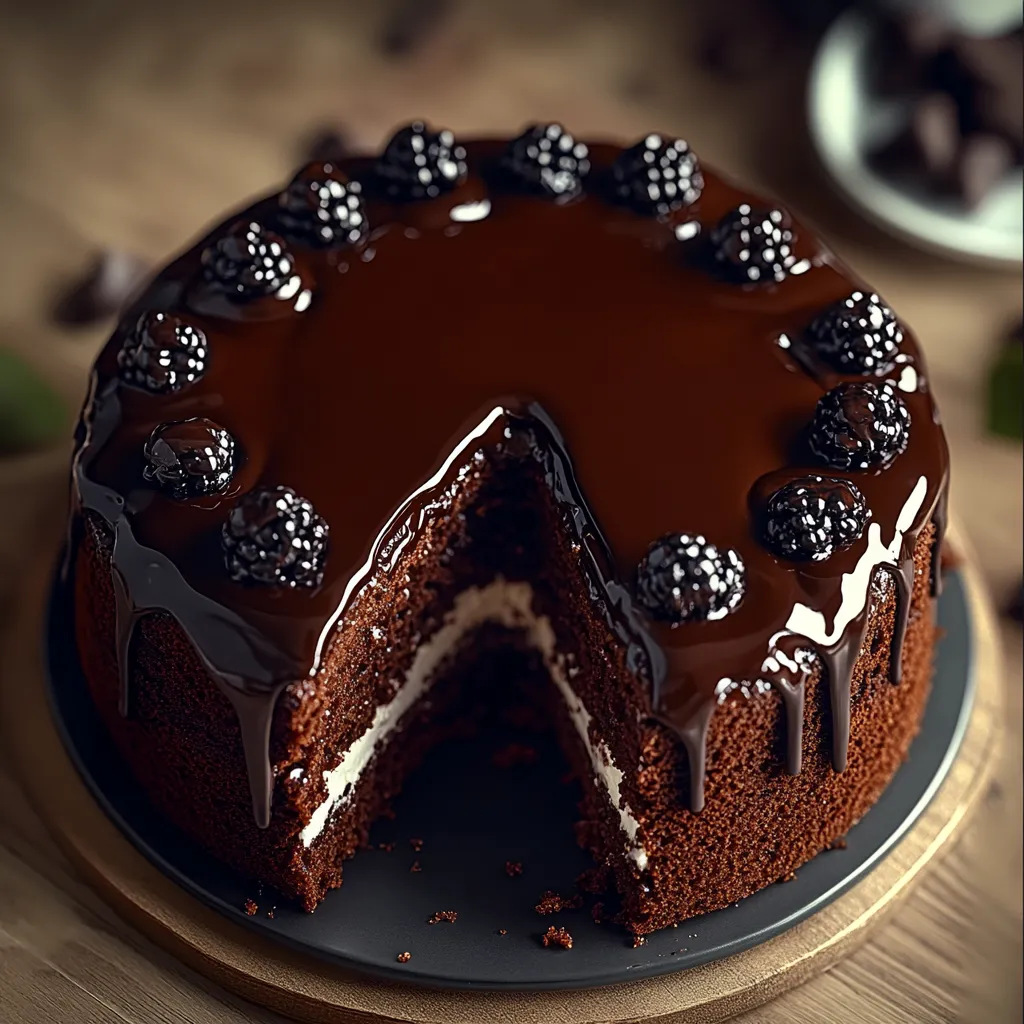
Turn this already amazing chocolate cake into something unforgettable with a few simple touches. Make it look bakery-fancy by piping a pretty border around the edge with extra frosting. For birthdays or special nights, put fresh raspberries in a circle on top to pop against the dark chocolate background. Try dusting some fine cocoa powder over everything right before bringing it to the table for that wow factor, or add chocolate curls made by running a vegetable peeler down a chocolate bar to give it height and extra texture.
Flavor Twists
Take this chocolatey base and switch it up to create whole new experiences while keeping that intense chocolate punch. Make a coffee version by throwing two tablespoons of instant espresso powder in with the dry ingredients—it actually makes the chocolate taste even more chocolatey. When fall comes around, mix in some cinnamon and a tiny bit of cayenne for a Mexican hot chocolate vibe. For really special occasions, try adding orange zest and swapping some of the vanilla for Grand Marnier to create a grown-up chocolate-orange combo that builds on what makes the original so good.
Keeping It Fresh
Get more enjoyment beyond day one by storing your cake the right way and understanding how the chocolate flavors actually get better with time. Keep it at room temperature under a cake cover or in a sealed container—you'll notice the flavors actually get stronger during the first day as everything melds together. If you want to save it longer, wrap single slices in plastic then foil before freezing for up to three months. When you're ready to eat frozen slices, let them thaw in the fridge overnight, then bring to room temp or warm them slightly to bring back that fresh-baked taste and feel.
 Pin it
This Nestlé Toll House Death by Chocolate Cake stands out as chocolate heaven for good reason. By bringing together multiple chocolate elements, you get amazing depth of flavor, while the straightforward steps make it doable for bakers at any level. What really sets it apart is how it turns basic ingredients into something that feels truly special without needing fancy techniques or weird equipment. Unlike desserts that sacrifice flavor for simplicity or need complicated methods to impress, this cake hits the sweet spot—giving you a memorable chocolate experience that anyone craving a serious chocolate fix can pull off.
Frequently Asked Questions
- → Can I skip the coffee in this cake?
- Yes, swap the coffee with hot milk or water. Coffee just boosts the chocolate flavor, but skipping it won't ruin the cake.
- → How should I store the leftover cake?
- Keep uneaten cake in a sealed container at room temperature (3 days max) or pop it in the fridge for about a week. Microwave slices for 15-20 seconds to warm them up before eating.
- → Is it okay to freeze this cake?
- Totally! Wrap the cake or single pieces tightly in plastic and foil, then freeze for up to 3 months. Let it thaw in the fridge overnight and warm slices before enjoying.
- → What pan can I use if I don’t have a bundt pan?
- A 9x13 inch pan or two 9-inch round pans can work instead. Just adjust the baking time to around 30-35 minutes for these options.
- → Why did my cake stick to the bundt pan?
- To avoid sticking, fully coat the pan with butter or shortening and sprinkle it with cocoa powder instead of flour. Cool the cake for exactly 10 minutes before turning it out—too early and it could break, too late and it might get stuck.
