
 Pin it
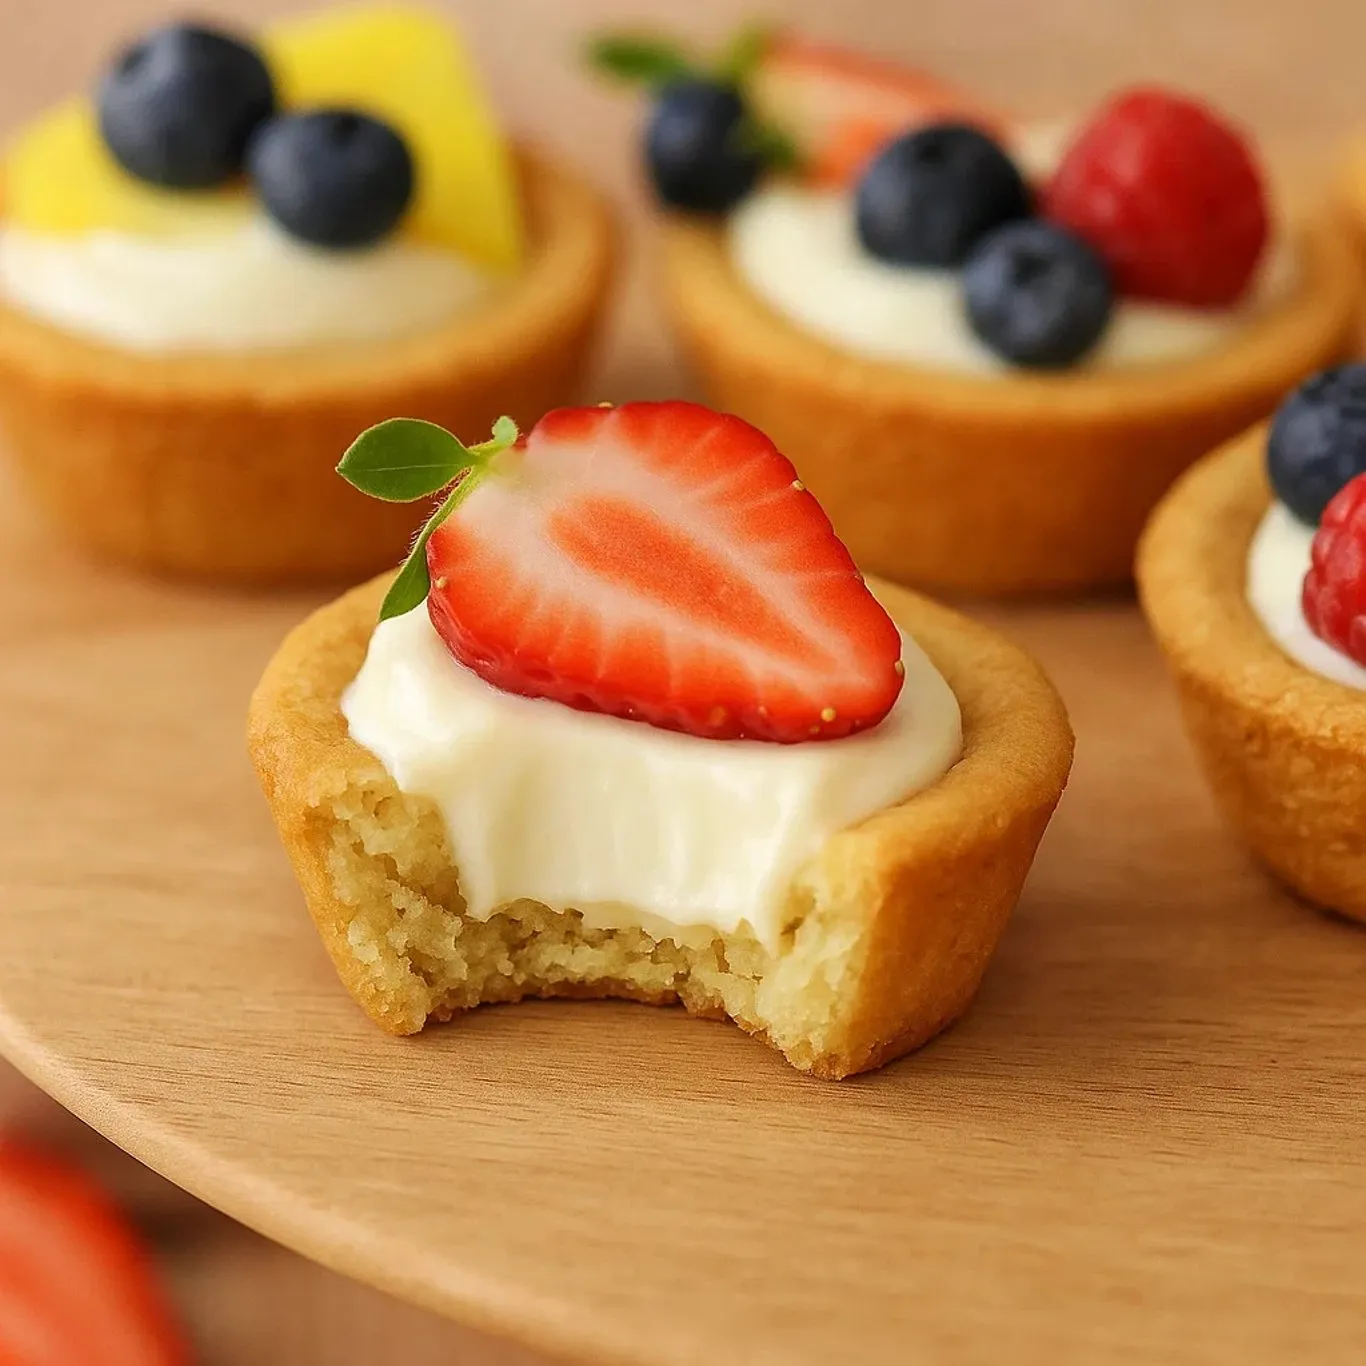
This delightful cookie cup dessert combines the best of both worlds with crisp sugar cookie bases filled with creamy cheesecake and topped with vibrant fresh fruit. The contrast of textures and flavors makes these treats perfect for spring gatherings, summer parties, or anytime you need an impressive yet manageable dessert option.
I first created these for my daughter's garden party, and they disappeared faster than any other dessert I've ever served. The combination of crunchy cookie, creamy filling, and fresh fruit creates the perfect bite that guests always rave about.
Ingredients For Cookie Cups
- All-purpose flour: Creates the perfect structure for our cookie cups
- Baking soda: Provides just enough lift without making them too cakey
- Cornstarch: Is the secret ingredient that keeps these cookies tender
- Salt: Balances the sweetness and enhances flavor
- Room temperature unsalted butter: Allows you to control the salt level while providing richness
- Granulated sugar: Gives the perfect sweetness and helps create crisp edges
- Large egg: Binds everything together
- Vanilla extract: Adds warmth and depth to the cookie base
Ingredients For Cheesecake Filling and Topping
- Room temperature cream cheese: Ensures a smooth filling without lumps
- Powdered sugar: Dissolves perfectly into the filling creating silky sweetness
- Vanilla extract: Complements both the cookies and fruit
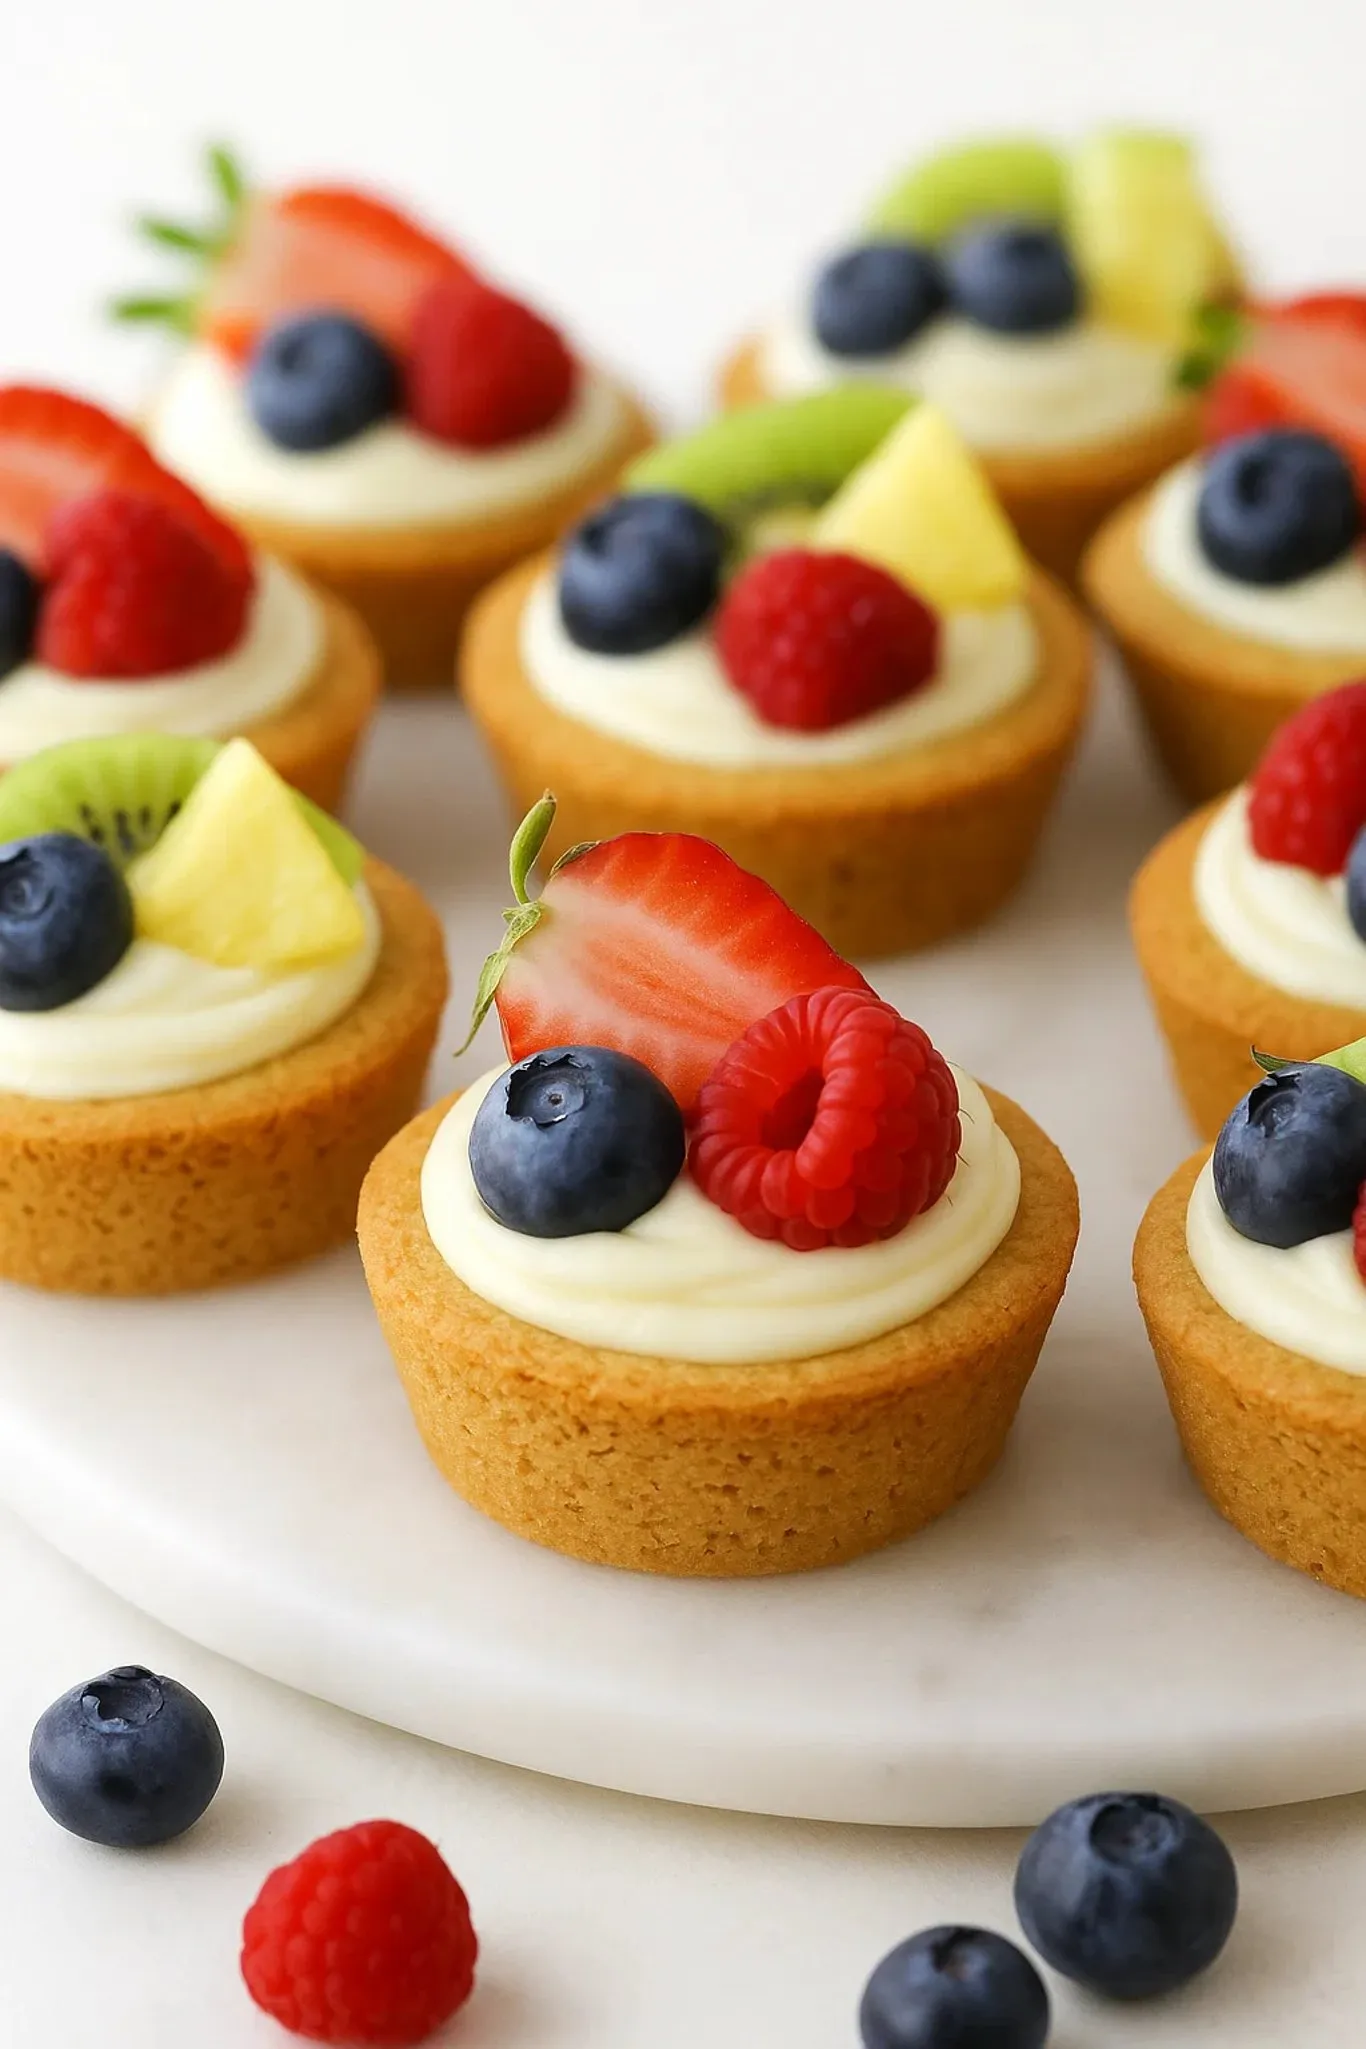
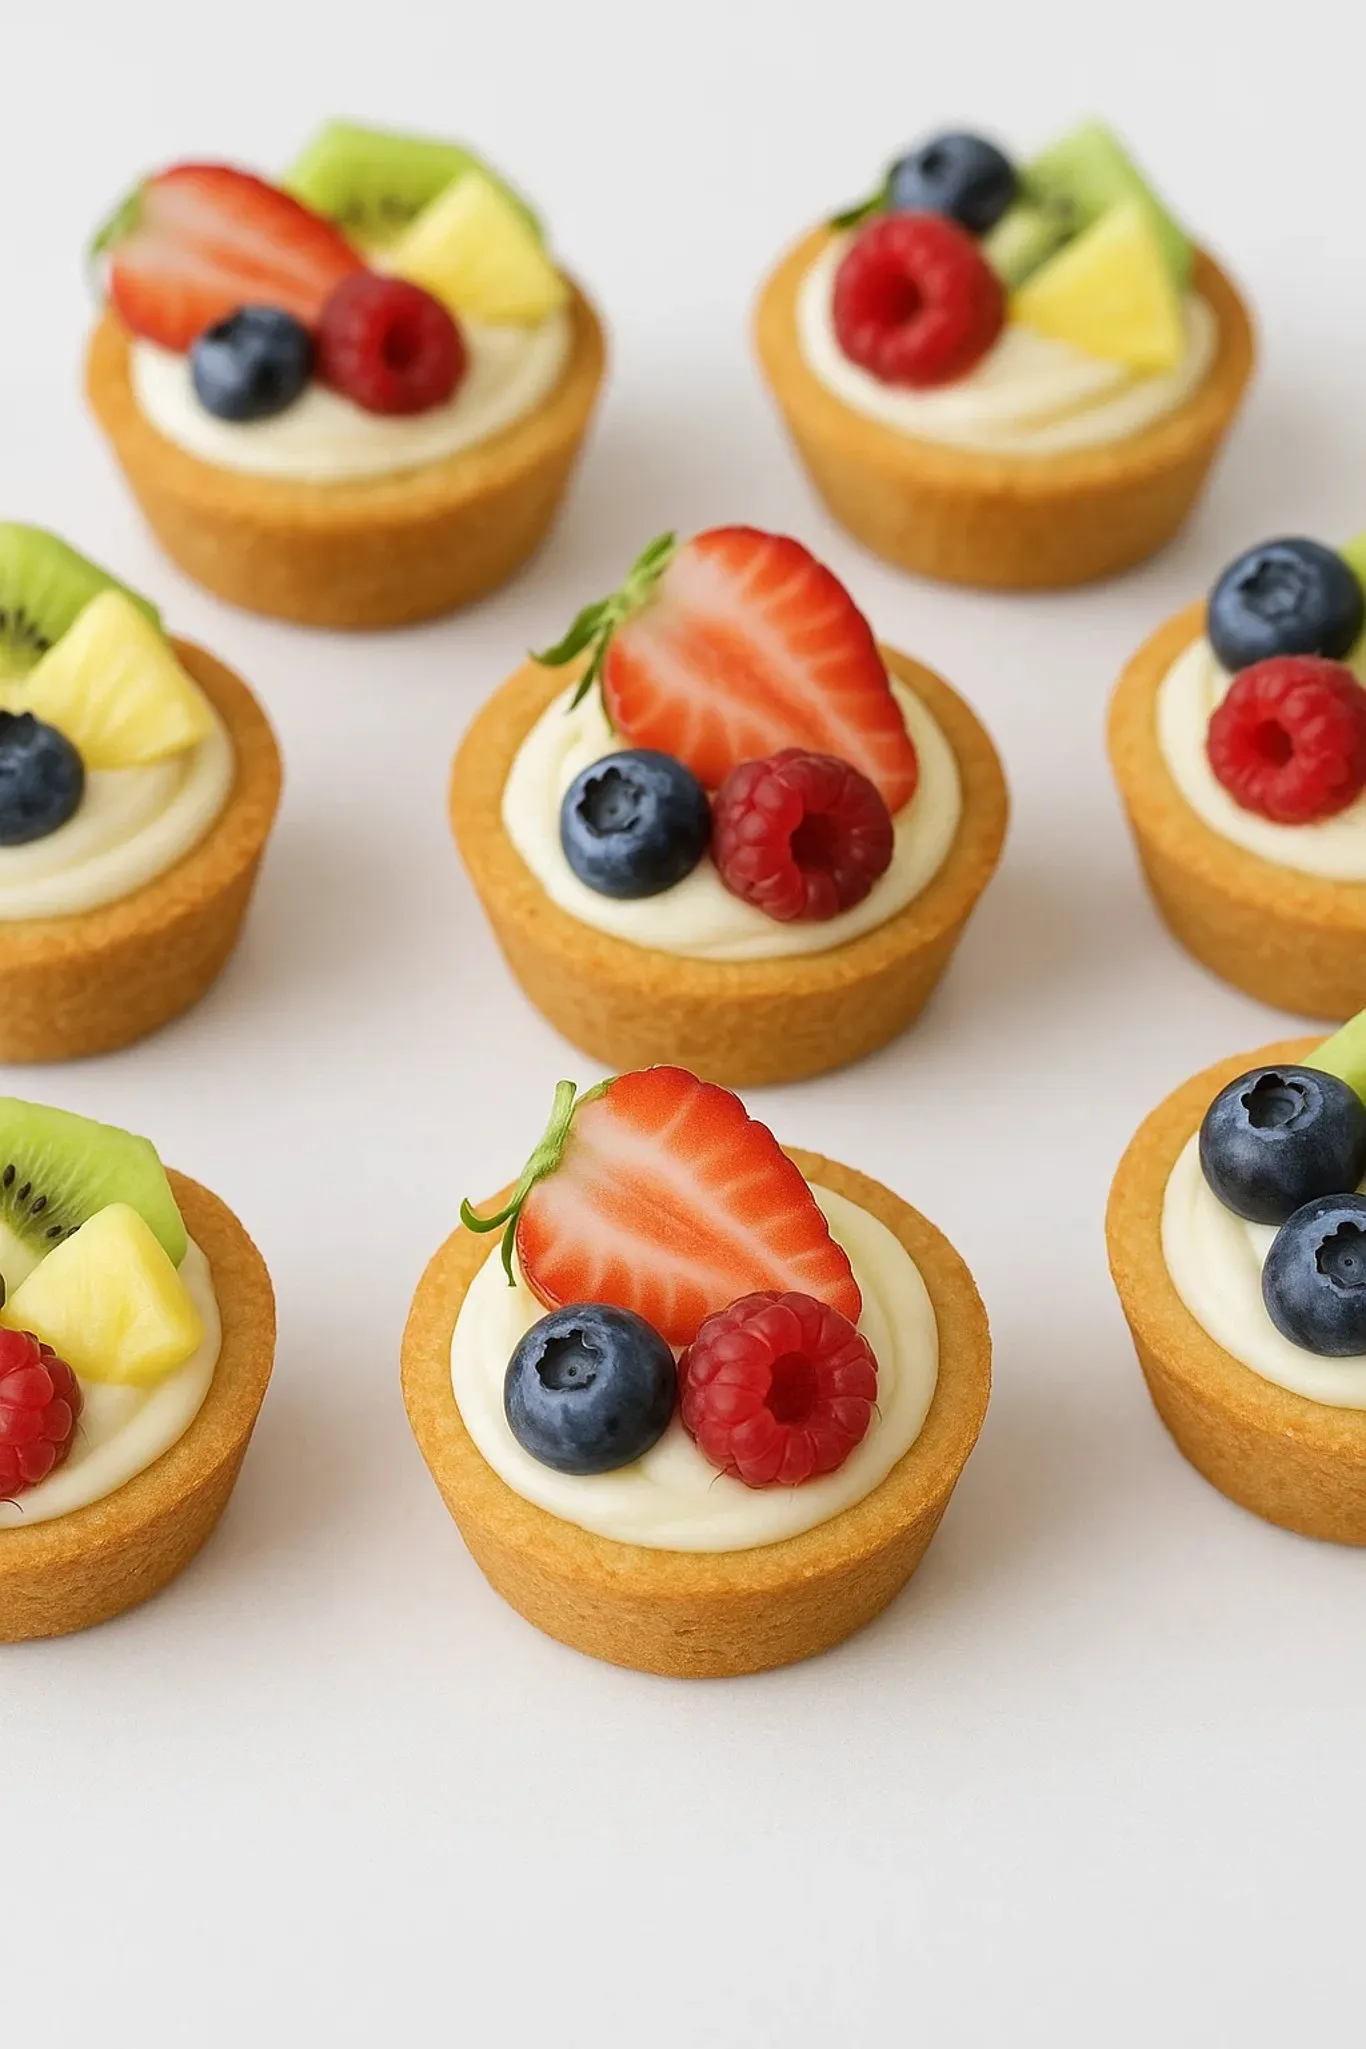
- Fresh fruit: Adds color vibrance and a refreshing contrast; use whatever looks best at your market
Step-by-Step Instructions
- Prepare the Pan:
- Thoroughly coat your cupcake pan with nonstick cooking spray ensuring you cover the sides as well. Preheat your oven to 175°C which allows for perfect golden cookies without burning.
- Mix Dry Ingredients:
- Combine your flour, baking soda, cornstarch, and salt in a medium bowl. This premixing ensures even distribution of leavening agents throughout the dough which results in uniformly textured cookies.
- Cream Butter and Sugar:
- Beat the butter and sugar together for a full 2-3 minutes until the mixture becomes noticeably lighter in color and fluffy in texture. This incorporates air which helps create the perfect cookie texture.
- Add Wet Ingredients:
- Mix in the egg and vanilla until completely incorporated. The mixture might look slightly curdled at first but continue mixing until smooth.
- Combine Wet and Dry:
- Add the dry ingredients to your butter mixture and mix just until combined. The dough will be thick but avoid overmixing which can develop gluten and make tough cookies.
- Form Cookie Cups:
- Take approximately 2 tablespoons of dough for each cup, rolling into balls before pressing into the cupcake wells. Press firmly against the bottom and halfway up the sides creating a cup shape with even thickness throughout.
- Bake the Cups:
- Bake for 7-10 minutes watching carefully for light golden edges. They might seem slightly underdone in the center which is perfect as they will continue cooking from residual heat.
- Cool and Shape:
- Allow the cups to cool in the pan for about 5 minutes before transferring to a cooling rack. While still warm, use the end of a wooden spoon to gently press down any centers that have puffed up ensuring you have space for filling.
- Prepare Filling:
- Beat the cream cheese, powdered sugar, and vanilla until completely smooth and creamy. Take your time with this step to ensure no lumps remain in your filling.
- Assemble and Garnish:
- Once cookies are completely cool, fill each cup with cheesecake mixture either using a piping bag for a polished look or simply spooning it in. Top with your freshly chopped fruit, arranging in an appealing pattern.
 Pin it
The cream cheese filling is truly the heart of this recipe. My grandmother always said a proper cheesecake should have that perfect balance between sweetness and tanginess. Every time I make these I remember helping her in the kitchen testing for that perfect consistency.
Storage Tips
These cheesecake cups should be refrigerated in an airtight container as soon as they're assembled. The cookie base will gradually soften over time which many people actually prefer. For optimal freshness consume within 3-4 days though they rarely last that long in my household. If you want to prepare ahead I recommend making the cookie cups and cheesecake filling separately storing them unfilled then assembling just before serving.
Seasonal Variations
The beauty of this recipe lies in its adaptability to seasonal fruits. In summer use a mix of berries, peaches, and cherries for vibrant color and flavor. Fall calls for diced apples or pears tossed with a touch of cinnamon. Winter months work beautifully with citrus segments or pomegranate arils. Spring brings strawberries and rhubarb for a classic combination. You can even create themed versions for holidays using specific color combinations of fruits.
Serving Suggestions
These treats shine as part of a dessert buffet but also make elegant plated desserts. For an extra special presentation place each cup on a small pool of fruit coulis and add a sprig of mint. They pair wonderfully with coffee or dessert wines. Consider serving them slightly larger in ramekins for a sitdown dinner party where guests can enjoy them with forks rather than as finger food.
 Pin it
Frequently Asked Questions
- → Can I make these fruit cheesecake cups ahead of time?
Yes! You can prepare the cookie cups and cheesecake filling up to 2 days in advance. Store the cookie cups in an airtight container at room temperature and the filling in the refrigerator. Assemble and add fresh fruit just before serving for the best presentation and texture.
- → What fruits work best as toppings?
Berries (strawberries, blueberries, raspberries) work especially well as they're colorful and don't release too much juice. Other excellent options include kiwi, mandarin segments, peaches, and grapes. Choose fruits that are firm and not overly juicy to prevent soggy cookie cups.
- → Can I freeze these cheesecake cups?
You can freeze the assembled cups without fruit for up to 1 month. Thaw in the refrigerator overnight and add fresh fruit before serving. The cookie cups alone freeze well for up to 3 months in an airtight container.
- → How do I prevent the cookie cups from cracking?
Make sure to press the dough evenly into the cupcake tin. Don't overbake—remove from the oven when just lightly golden. Allow them to cool in the pan for 5 minutes before transferring to a cooling rack, and if needed, gently reshape the centers while still warm.
- → Can I make mini versions of these cheesecake cups?
Absolutely! Use a mini muffin tin and reduce the baking time to about 5-7 minutes. You'll need less dough per cup (about 1 tablespoon) and less filling. These mini versions make perfect bite-sized treats for parties.
- → What can I substitute for cream cheese?
Mascarpone cheese makes an excellent substitute for a richer flavor. For a lighter option, try a blend of Greek yogurt and cream cheese (equal parts). Dairy-free cream cheese alternatives also work well if you need a non-dairy option.