
 Pin it
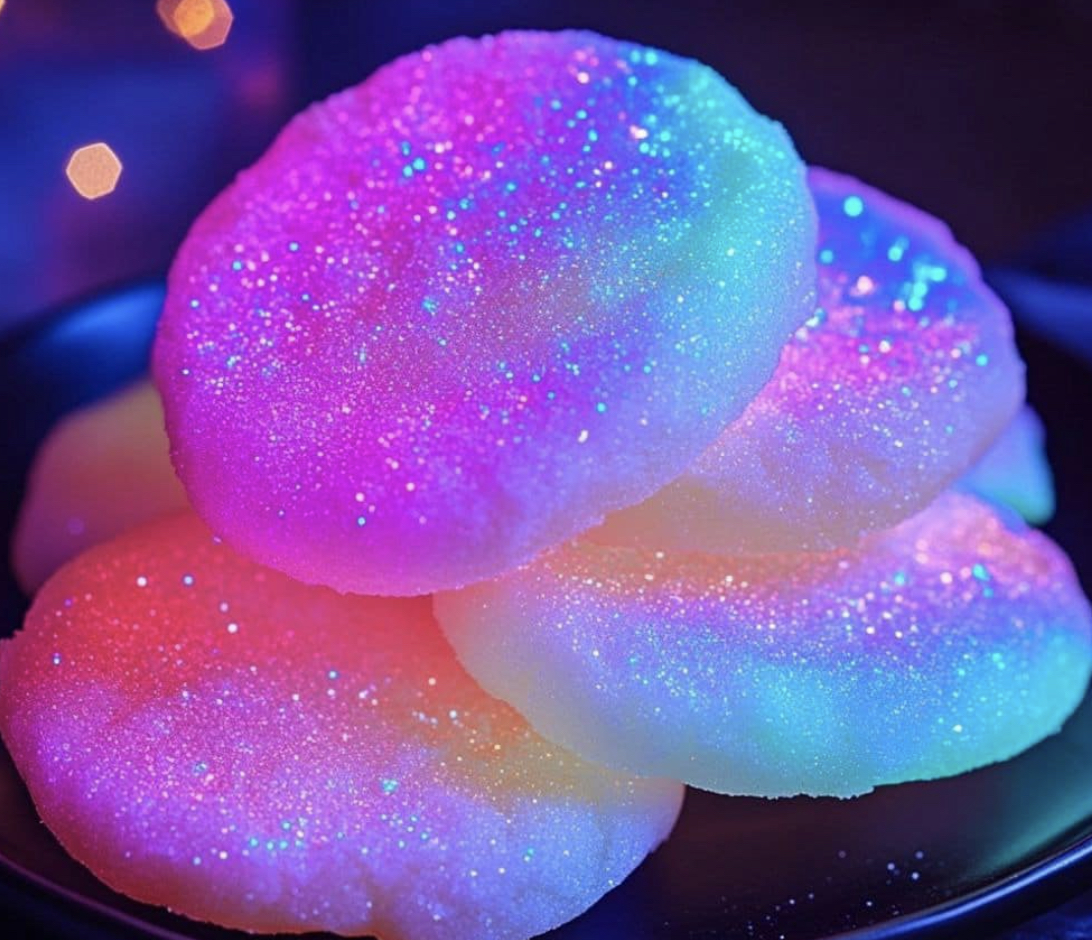
This spectacularly fun cotton candy cookie recipe transforms ordinary baking into a magical experience that delights both kids and adults. The combination of sweet cotton candy flavor and the unexpected glow-in-the-dark effect makes these treats perfect for parties, sleepovers, or anytime you want to add a touch of whimsy to your dessert table.
I first made these for my niece's science-themed birthday party, and the moment we dimmed the lights and switched on the blacklight, the gasps of delight made all the effort worthwhile. Now they've become our signature treat for movie nights and Halloween gatherings.
Ingredients
- All-purpose flour: forms the foundation for these soft, chewy cookies
- Baking powder: gives just enough lift without making them cakey
- Salt: balances the sweetness and enhances the cotton candy flavor
- Unsalted butter: provides rich texture and allows you to control the salt level
- Granulated sugar: creates the perfect crisp exterior and sweet interior
- Large egg: binds everything together while adding moisture
- Vanilla extract: adds depth to the cotton candy flavor
- Cotton candy extract: delivers that authentic fairground taste
- Tonic water: contains quinine which creates the glow effect under UV light
- Neon food coloring: transforms the cookies into vibrant carnival treats
- Edible glitter or luster dust: adds sparkle and enhances the magical appearance
Step-by-Step Instructions
- Preheat and Prep:
- Turn your oven to 350°F and line your baking sheet with parchment paper. This temperature creates the perfect environment for cookies with slightly crisp edges and soft centers. The parchment prevents sticking and helps achieve even browning.
- Mix Dry Ingredients:
- Combine the flour, baking powder, and salt in a bowl with a whisk. This aerates the dry ingredients and ensures the leavening agent and salt are distributed evenly throughout the dough, preventing flavor pockets or uneven rising.
- Cream Butter and Sugar:
- Beat the softened butter and sugar together until the mixture becomes noticeably lighter in color and fluffy in texture. This usually takes about 3-4 minutes with an electric mixer. This step incorporates air into the dough which creates tender cookies.
- Add Wet Ingredients:
- Incorporate the egg, both extracts, and tonic water into the butter mixture. The egg provides structure while the extracts infuse the signature cotton candy flavor. The tonic water is crucial for the glow effect, so measure it precisely for the best results.
- Combine Wet and Dry Ingredients:
- Gradually add the flour mixture to the wet ingredients, mixing just until no dry flour remains visible. Overmixing develops gluten which can make cookies tough, so use a gentle hand during this stage. If making multiple colors, divide the dough now before adding food coloring.
- Shape the Cookies:
- Form tablespoon-sized balls of dough and roll them in edible glitter or luster dust. Place them on the baking sheet about 2 inches apart as they will spread during baking. For extra sparkle, press additional glitter on top of each dough ball.
- Bake:
- Slide the cookies into your preheated oven and bake for 10-12 minutes. Look for set edges but slightly soft centers for the perfect texture. The cookies may appear underdone in the middle but will continue cooking from residual heat after removal.
- Serve and Glow:
- Allow the cookies to cool completely on the baking sheet for 5 minutes before transferring to a wire rack. Once cooled, arrange on a serving plate and introduce them to a blacklight to reveal their magical glow.
My favorite part of making these cookies is watching people's reactions when they see them glow for the first time. My brother-in-law, typically unimpressed by baked goods, actually applauded when I brought these out at our last family gathering. That moment alone made the recipe worth perfecting.
The Science Behind the Glow
The secret to these glowing cookies lies in the quinine found in tonic water. When exposed to ultraviolet light from a blacklight, quinine molecules become excited and emit visible blue-white light. This phenomenon, called fluorescence, creates the magical glow effect without any artificial or harmful ingredients. The neon food coloring also contributes to the glow, as many contain fluorescent compounds that enhance the visual effect.
Storage and Shelf Life
These cookies maintain their flavor and texture for up to 5 days when stored in an airtight container at room temperature. The glow effect gradually diminishes after baking but remains noticeable for about 2-3 days. For longer storage, freeze the baked cookies for up to 3 months. The unbaked dough can also be frozen in balls and baked straight from frozen by adding 2-3 minutes to the baking time.
Ingredient Substitutions
If cotton candy extract is unavailable, try using 1 teaspoon of vanilla plus ¼ teaspoon of almond extract for a similar sweet flavor profile. For dairy-free options, substitute plant-based butter in equal amounts. The tonic water is essential for the glow effect, but you can replace it with club soda if you only want the cotton candy flavor without the glow. Food coloring can be natural or artificial depending on your preference.
Party Presentation Ideas
Elevate these cookies at your next gathering by creating a glow station. Set up a separate table with a blacklight and arrange the cookies on white platters for maximum visibility. Provide glow sticks and neon accessories for guests to wear. For an interactive experience, serve some cookies without the edible glitter and provide various colors of edible dust and small paintbrushes so guests can decorate their own cookies before seeing them glow.
Frequently Asked Questions
- → How do the cookies glow in the dark?
The glow effect comes from the tonic water, which contains quinine—an ingredient that fluoresces under a blacklight.
- → Can I skip the tonic water?
If you skip the tonic water, the cookies won’t glow under a blacklight, but they will still taste delicious!
- → What type of food coloring works best?
Neon or gel-based food coloring works best to achieve the vibrant hues for these cookies.
- → Do I need edible glitter?
Edible glitter adds a fun sparkle to the cookies but is optional if you prefer a simpler look.
- → Can these cookies be made ahead of time?
Yes, you can bake them a day or two in advance. Just store them in an airtight container to maintain freshness.
- → Are the neon colors safe to eat?
Yes, as long as you use food-grade neon food coloring, it's completely safe to eat.