
 Pin it
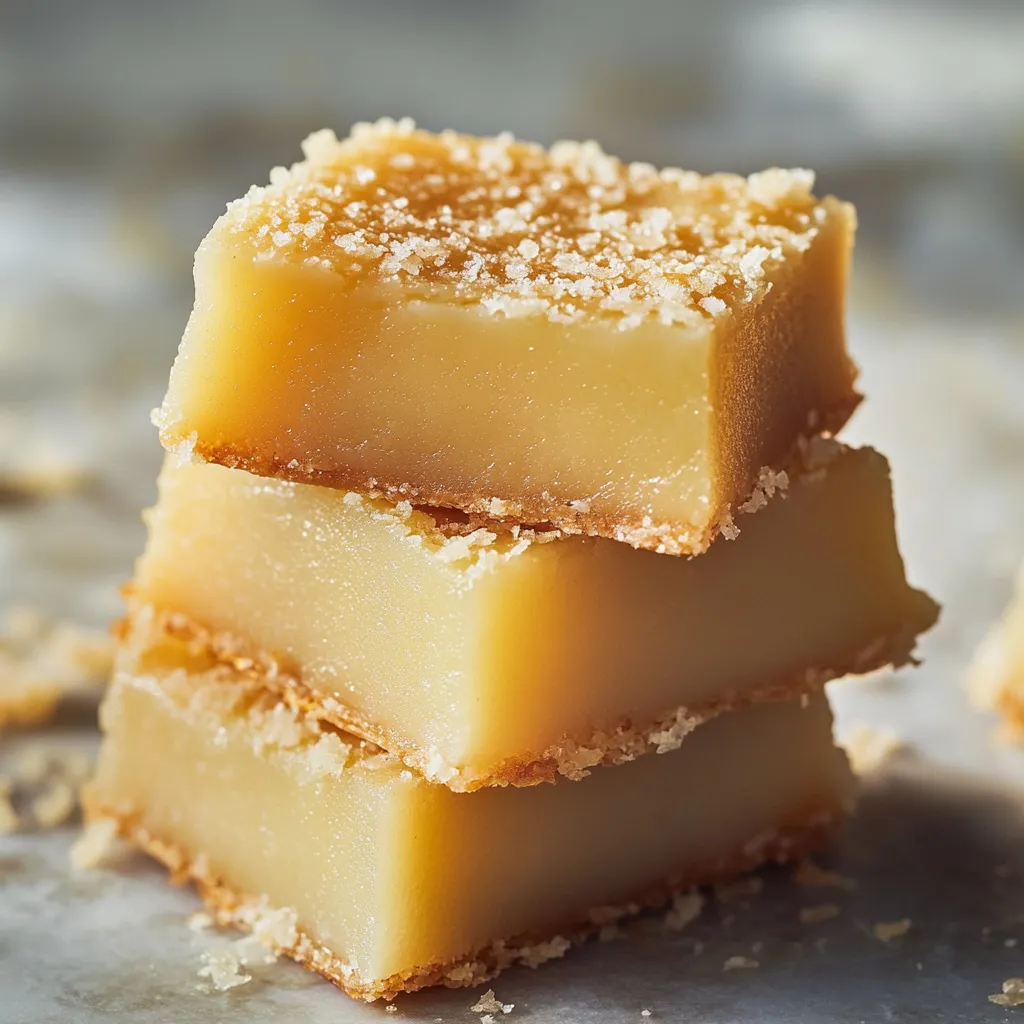
Hawaiian butter mochi delivers pure comfort in every bite - tender and chewy on the inside with a golden, crispy coconut crust. This beloved island dessert transforms basic pantry ingredients into an irresistible treat with the perfect balance of sweetness and texture.
At a recent neighborhood luau party, these butter mochi squares disappeared within minutes. The crispy coconut topping and chewy center had everyone reaching for seconds - even those trying mochi for the first time.
Essential Ingredients
- Mochiko Sweet Rice Flour: 16 oz/454g box, essential for classic mochi texture
- Butter: 1 cup/226g unsalted, melted, creates crispy edges
- Sugar: 2 cups/400g granulated, provides balanced sweetness
- Milk: 1 cup/240ml whole, adds rich creaminess
- Eggs: 4 large, room temperature, binds ingredients
- Coconut Milk: 13.5 oz/400ml can unsweetened, gives tropical flavor
- Baking Powder: 2 teaspoons, provides gentle lift
- Vanilla Extract: 1 tablespoon pure, enhances flavor
- Salt: 1 teaspoon kosher, balances sweetness
- Coconut: 1 cup/85g unsweetened shredded, makes signature crust
- Sea Salt: 1/2 teaspoon flaky (optional), final seasoning
Preparation Method
- Initial Setup:
- Preheat oven to 350°F (175°C). Thoroughly butter a 9x13-inch metal baking pan.
- Mix Dry Ingredients:
- Combine mochiko, sugar, baking powder, and salt until lump-free.
- Prepare Wet Mixture:
- Whisk eggs well, then blend in milk and vanilla until smooth.
- Combine Mixtures:
- Pour wet into dry ingredients, mixing thoroughly. Mochiko allows vigorous mixing.
- Final Steps:
- Add melted butter and coconut milk, stirring to silky smoothness. Pour into pan, tap to release bubbles. Top evenly with coconut and optional sea salt.
 Pin it
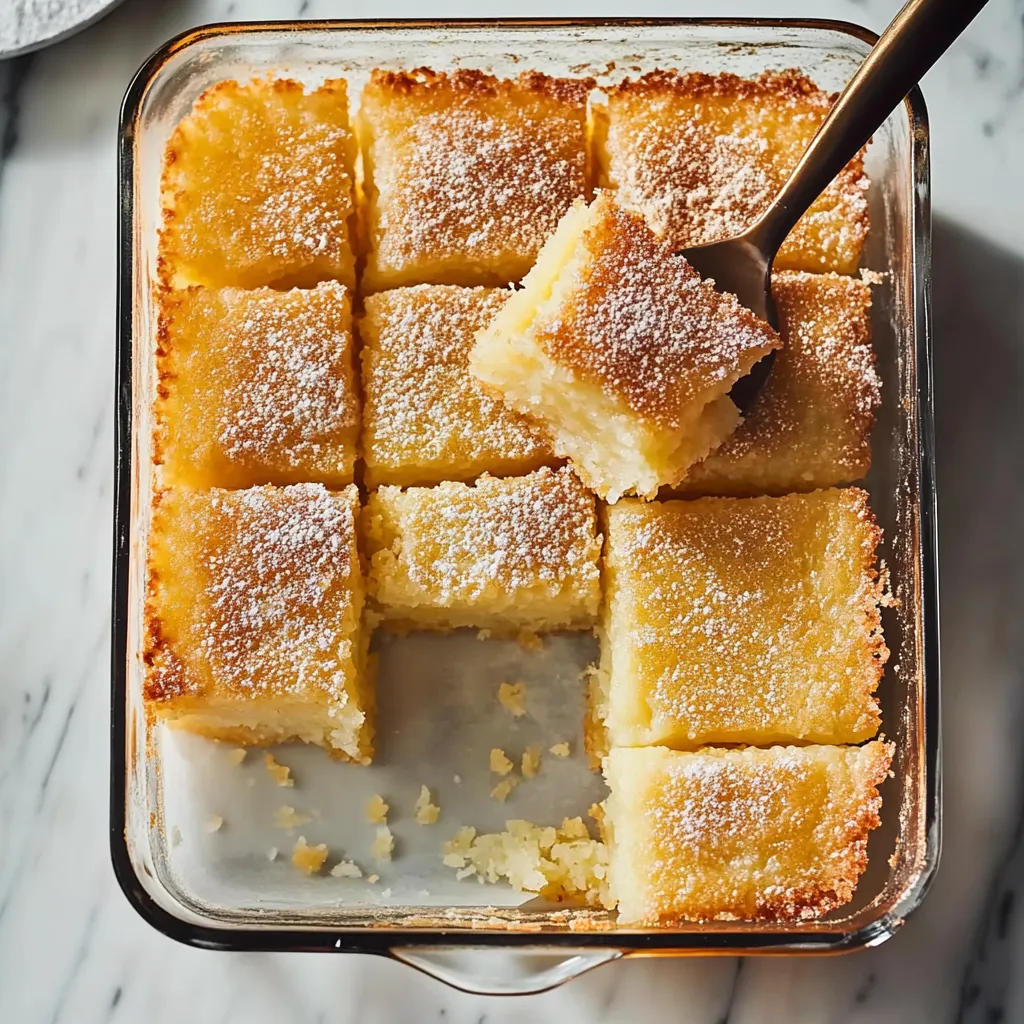
The corner pieces always get claimed first in my household - their extra chewy edges paired with the soft center make them especially coveted. I've learned to cut these pieces slightly larger to keep the peace.
Baking Guidance
Watch for a golden brown top with slight jiggle in the center. When gently shaken, the mochi should wobble slightly - this indicates perfect doneness.
Cooling Process
Let cool completely on a wire rack for one hour before cutting. This rest period allows the texture to fully develop and ensures clean slices.
Preparation Tips
Measure and arrange all ingredients before starting. This organized approach ensures smooth, efficient preparation from start to finish.
Service Suggestions
Cut into generous squares for serving. Though traditionally enjoyed plain, fresh tropical fruit makes an excellent accompaniment.
Recipe Variations
Consider incorporating almond or coconut extract for subtle flavor variations while maintaining the classic mochi texture.
Storage Guidelines
Store at room temperature in an airtight container up to three days. Texture evolves but maintains delightful chewiness.
 Pin it
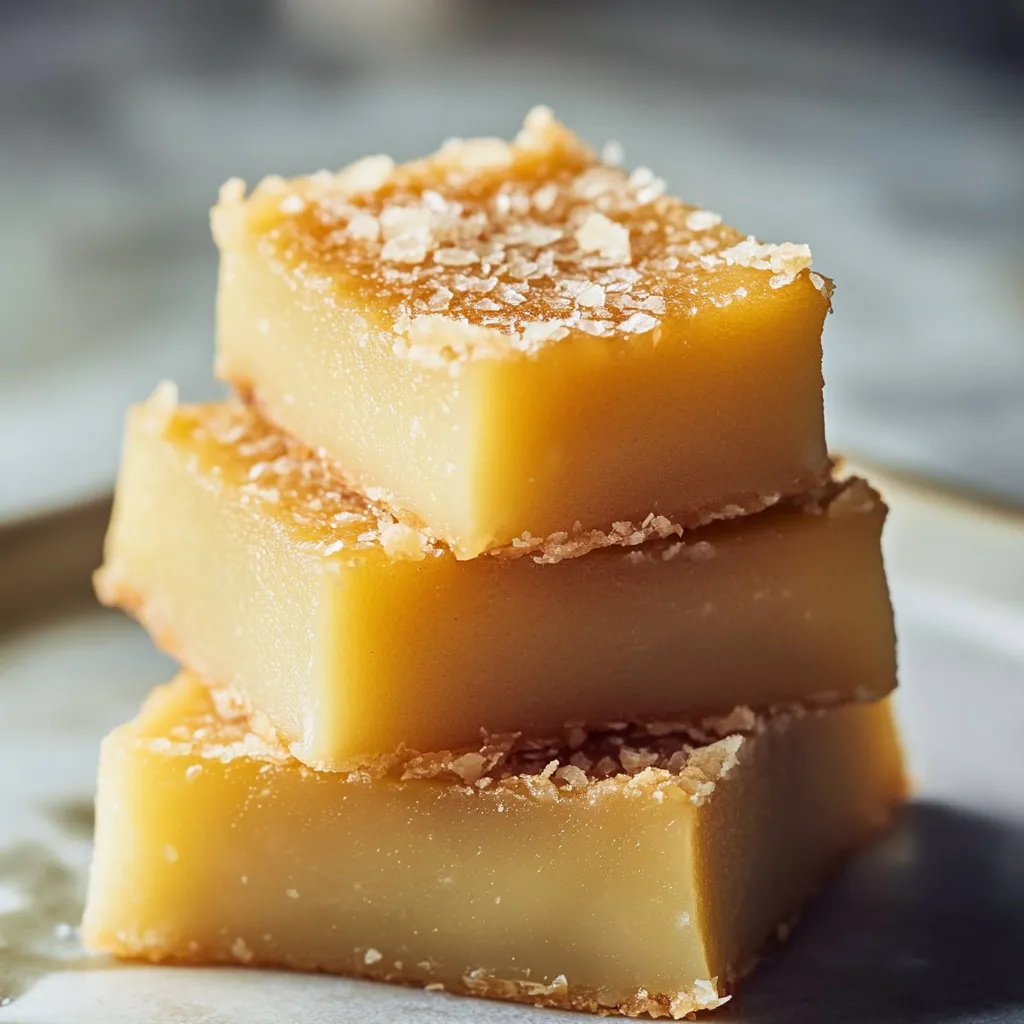
Years of perfecting this butter mochi recipe have led to this version - one that consistently creates moments of pure delight with each chewy bite. The way it brings together traditional Hawaiian flavors makes it a treasured addition to any gathering, offering authentic island comfort in every piece.
Frequently Asked Questions
- → What exactly is mochiko flour, and where can I buy it?
- Mochiko is a type of glutinous rice flour, also called sweet rice flour. You’ll often find it at Asian markets or in the international sections of grocery stores.
- → Why is a plastic knife better for cutting mochi?
- Because mochi is so sticky, a plastic knife works better to slice it smoothly without everything sticking to the blade.
- → How can I make this recipe suitable for someone avoiding dairy?
- For a dairy-free version, swap out the regular milk with extra coconut milk and replace the butter with melted coconut oil.
- → What’s the best way to keep butter mochi fresh?
- Store it in an airtight container. You can keep it at room temperature for three days or refrigerate it for up to a week.
- → Why did cracks form on top of my mochi?
- A bit of cracking is totally normal and doesn’t impact the taste. To reduce cracks, make sure your oven temperature isn’t set too high, and let the dessert cool down gradually.