
 Pin it
Chocolate Easter nests are a beloved springtime treat that perfectly captures the magic of the season. This classic recipe combines crispy cereal with smooth melted chocolate to create charming edible nests that make the perfect home for colorful Easter candies. Years of making these treats have helped me develop the ideal texture - crisp yet perfectly biteable.
The kitchen may get a bit messy during preparation, but seeing everyone's delight when decorating their own chocolate nests makes it all worthwhile.
Key Ingredients
- Cereal Base: Shredded wheat creates authentic-looking nests, though cornflakes are a classic alternative
- Chocolate Selection: A combination of milk and dark chocolate provides balanced flavor
- Unsalted Butter: Essential for achieving the right consistency
- Golden Syrup: Creates the perfect binding texture while adding subtle sweetness
 Pin it
Step-by-Step Method
- Preparing the Chocolate
- Melt chocolate, butter and syrup together using gentle heat. Stir periodically until completely smooth and glossy.
- Preparing the Cereal
- Break cereal into varied sizes, maintaining some larger pieces for texture. Avoid over-crushing.
- Assembly
- Combine melted mixture with cereal until fully coated. Shape into nests on lined baking sheet, creating indents for candies.
This recipe carries on a cherished baking tradition that brings families together during Easter celebrations.
Chocolate Techniques
Gentle melting preserves chocolate's smooth texture. Monitor temperature carefully to prevent overheating.
Shaping Methods
Traditional spoon-shaping allows for natural-looking nests with authentic texture variations.
Advance Preparation
Store completed nests in airtight containers for up to 5 days. Decorate just before serving.
Alternative Toppings
Experiment with different Easter candies, sprinkles, or even pastel-colored chocolate chips.
These chocolate nests represent the perfect blend of traditional Easter baking and creative expression, making them a timeless holiday favorite.
 Pin it
Frequently Asked Questions
- → How far in advance can these be made?
- These cookies stay fresh in an airtight container for about a week, and you can keep the dough frozen for up to 3 months.
- → Can I replace butter in the recipe?
- Absolutely! A mild olive oil works wonderfully for a more classic take.
- → What’s the best way to shape the dough?
- Roll out thin sections about 5-6 inches long, then tie them into simple knots or connect the ends to form circles.
- → Is glazing the cookies a must?
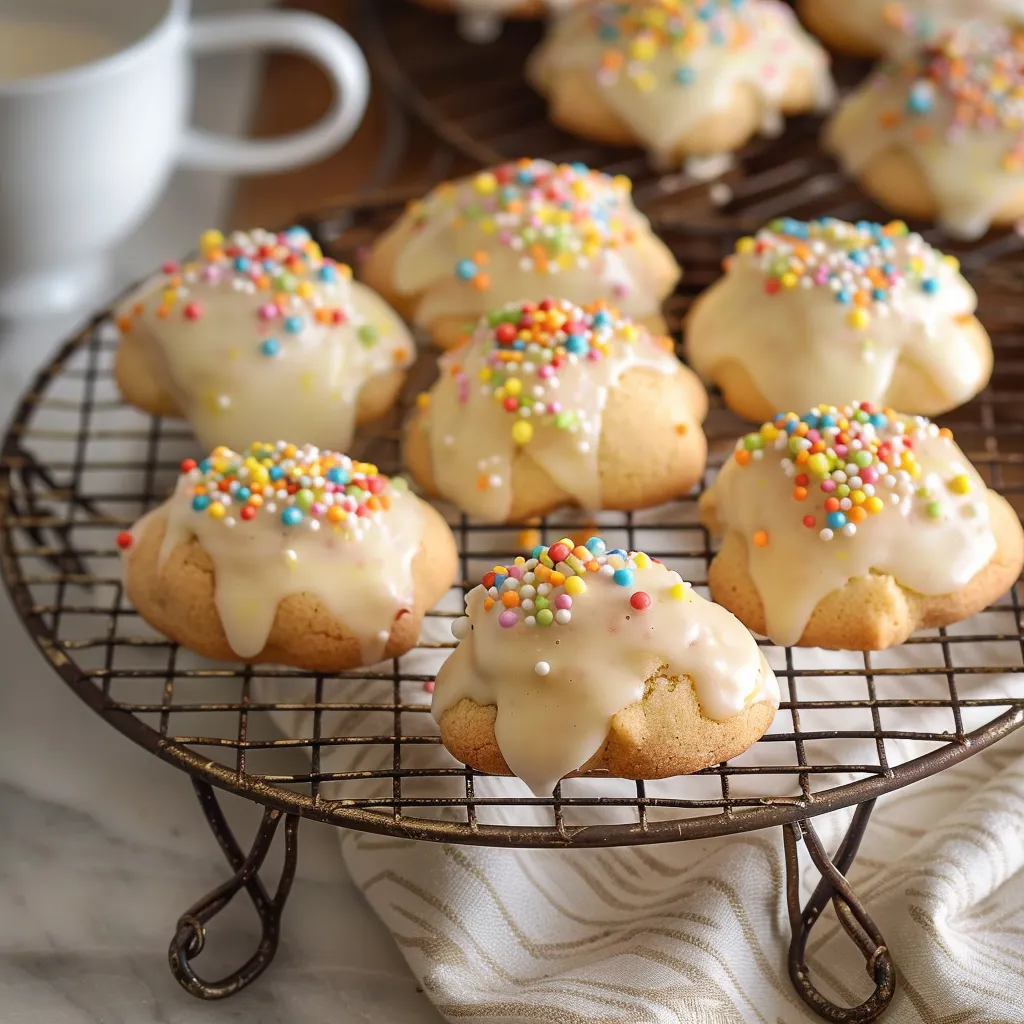
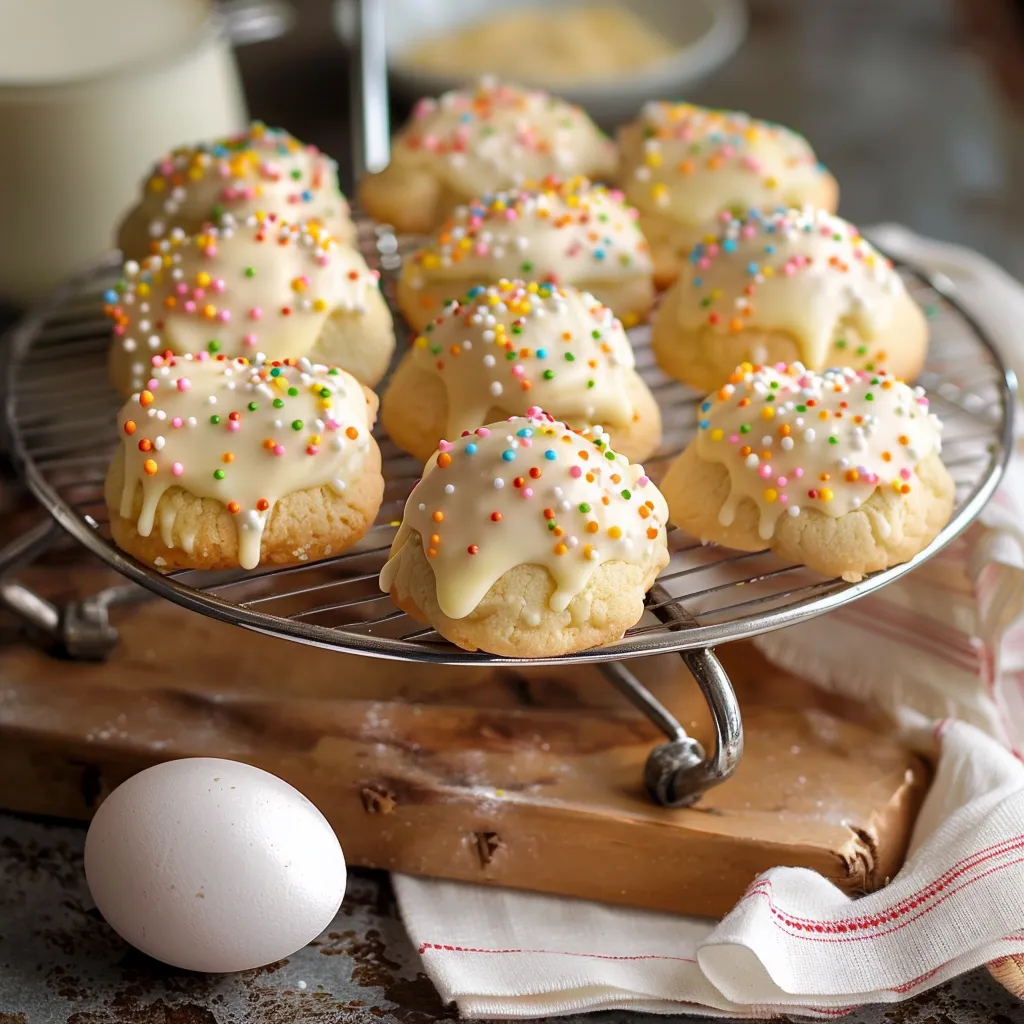
- Not at all! While the glaze is traditional, you can switch it with a light dusting of powdered sugar if you want something simpler.
- → What temperature should I use to bake them?
- Set your oven to 300°F and bake for 15-18 minutes. Alternatively, you can try 350°F for about 13 minutes instead.