
 Pin it
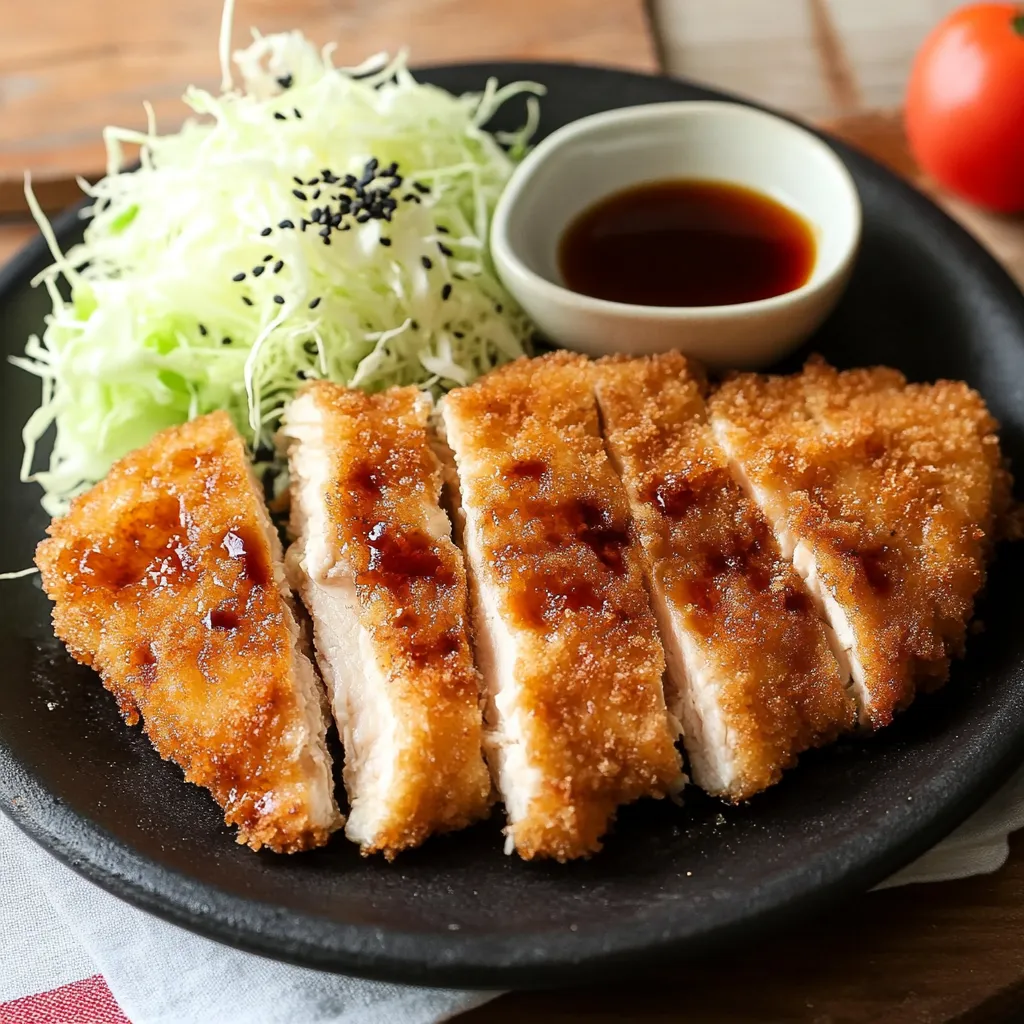
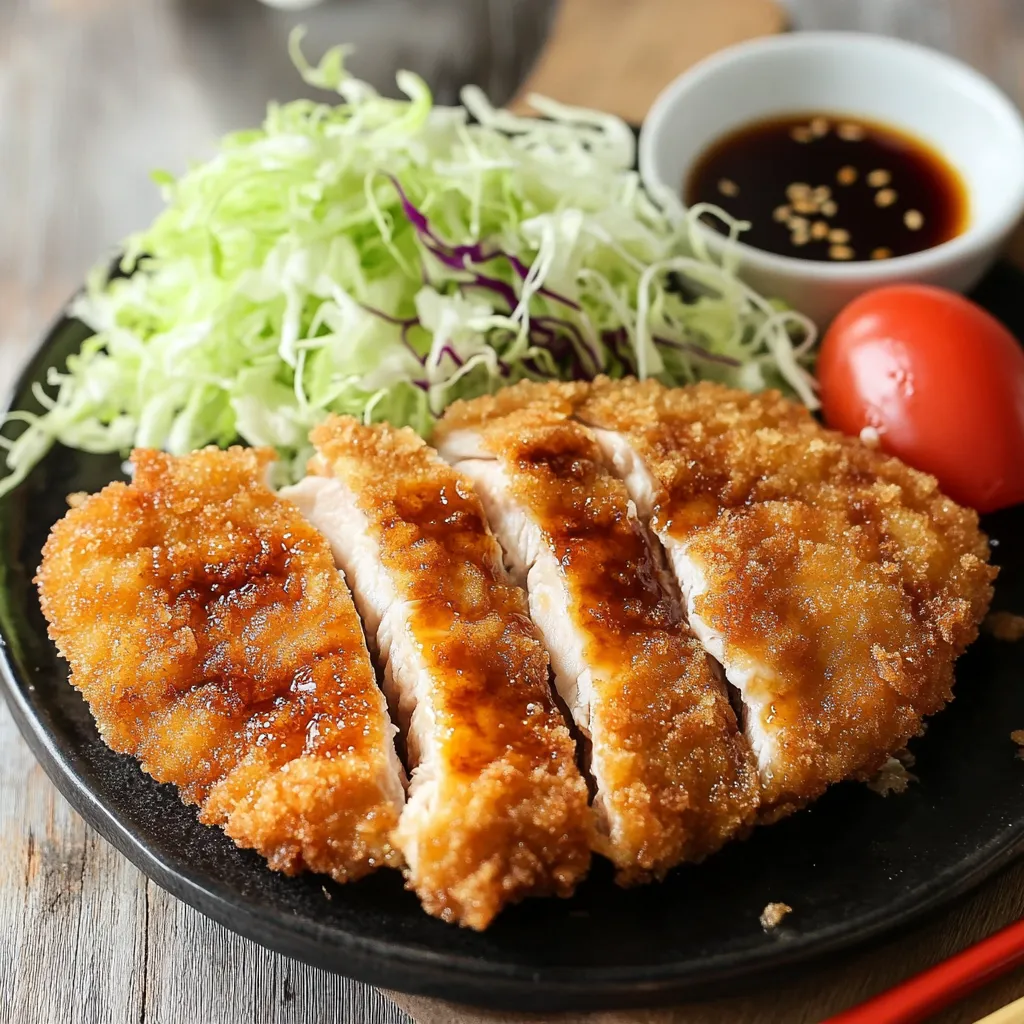
Golden-brown and perfectly crispy on the outside, yet tender and juicy within—that's the magic of Chicken Katsu. This Japanese comfort food transforms simple chicken breast into an irresistible cutlet that proves homemade can be better than restaurant-quality.
I discovered this recipe during my exploration of Japanese home cooking, and it's become my foolproof method for transforming ordinary chicken breast into something extraordinary. The sound of that first crunch tells you you've done it right.
Essential Ingredients Selection
- Boneless, skinless chicken breast: Use a fresh chicken breast weighing approximately 270g for the best texture and flavor. Trim any excess fat before cooking.
- Diamond Crystal kosher salt: Preferred for its lighter, less dense crystals, ensuring even seasoning without overpowering the dish.
- Freshly ground black pepper: Adds a touch of heat and depth. Use freshly ground for the best flavor.
- All-purpose flour: Creates a light coating that helps the egg mixture stick to the chicken evenly.
- Panko (Japanese breadcrumbs): These coarse, airy breadcrumbs produce an exceptionally crispy coating. Use fresh panko for the best results.
- Large egg: Acts as a binding agent for the coating. Weighs around 50g without the shell.
- Neutral oil (for the egg mixture): A small amount of neutral oil helps prevent the egg mixture from being too thick, making it easier to coat the chicken.
- Neutral oil (for frying): Use a high-smoke-point oil like vegetable or canola oil for deep-frying. Ensure the oil is 1½ inches deep for even frying.
- Tonkatsu sauce: A tangy, sweet-savory sauce that perfectly complements the crispy chicken.
- Shredded green cabbage (optional): Adds a fresh, crunchy contrast. Serve alongside for a balanced meal.
- Japanese sesame dressing (optional): Creamy and nutty, it pairs well with shredded cabbage for added flavor.
- Tomato wedges (optional): Fresh tomato wedges bring a juicy, slightly acidic element that refreshes the palate.
Detailed Cooking Instructions
- Butterfly the Chicken
- Place your hand flat on top of the chicken breast and carefully slice horizontally, opening like a book.
- Seasoning
- Season both sides with salt and pepper, then let rest for 10 minutes to ensure even seasoning.
- Breading Station
- Set up your breading station with flour, beaten eggs (with a splash of oil), and panko in separate shallow dishes.
- Coating Process
- Coat the chicken in flour, patting off excess. Dip into the beaten egg mixture, letting excess drip off. Press firmly into panko, ensuring complete coverage. Let rest for 5 minutes to set the coating.
- Frying Process
- Heat oil to exactly 350°F (175°C) using a thermometer for precision. Carefully lower the chicken into the oil—it should sizzle immediately but not violently. Fry for 4-5 minutes per side until deep golden brown.
- Resting
- Rest on a wire rack, not paper towels, to maintain crispiness.
 Pin it
My Japanese neighbor taught me that good katsu should "sing" when you cut into it—that distinctive crackly sound means you've achieved the perfect crust. Her secret was double-pressing the panko coating for maximum crunch.
Additional Important Details
- Temperature Management: Keep your eye on the oil temperature—if it's too hot, the outside burns before the inside cooks. Too cool, and the coating gets greasy.
- Breading Technique: Use one hand for dry ingredients (flour, panko) and the other for egg. This prevents the dreaded "breadcrumb fingers" and ensures a cleaner coating.
Storage Success
Cool completely before refrigerating or freezing to maintain crispiness. Reheat in the oven rather than the microwave to restore the crunch.
Serving Strategy
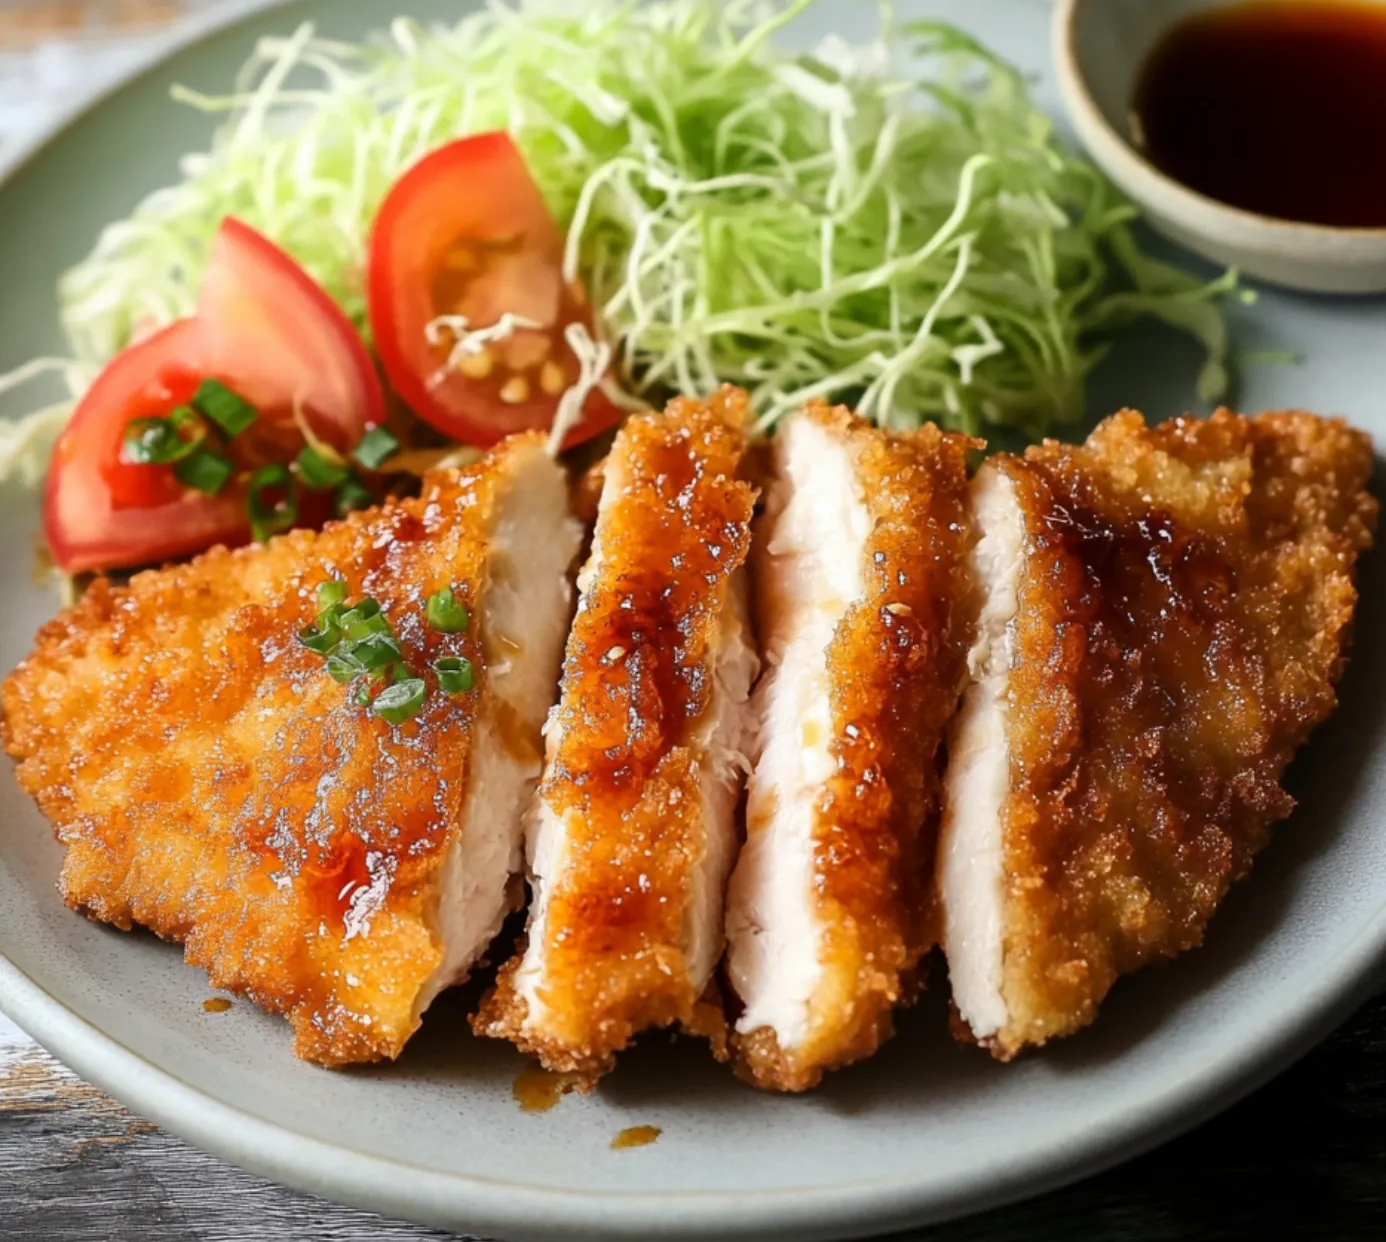
Cut the katsu at a slight angle for the most attractive presentation, and serve immediately while the coating is at its crispiest.
Sauce Secrets
While store-bought tonkatsu sauce is convenient, mixing Worcestershire sauce, ketchup, and soy sauce creates a delicious homemade version.
After countless katsu preparations, I've learned that patience is key to perfection. The right oil temperature, careful breading, and proper resting time transform this simple dish into something spectacular. Remember, great katsu is about balance—crispy exterior, juicy interior, and that satisfying crunch that makes everyone at the table smile.
 Pin it
Frequently Asked Questions
- → Can I bake this chicken katsu instead of frying?
- Yes, there's a baked version available that's also delicious and uses less oil while still achieving a crispy coating.
- → What's the best way to store and reheat chicken katsu?
- Store in an airtight container for up to 2 days in the fridge or 1 month frozen. Reheat in a 350°F oven for 15-20 minutes from refrigerated, or 30 minutes from frozen.
- → Why do you add oil to the egg mixture?
- Adding oil to the egg helps the breading stick to the chicken during cooking and keeps the meat juicy.
- → What's the best oil temperature for frying chicken katsu?
- Maintain the oil at 340°F (170°C) for perfect golden-brown katsu that's crispy outside and fully cooked inside.
- → What should I serve with chicken katsu?
- Traditionally served with shredded cabbage salad, tonkatsu sauce, and Japanese sesame dressing. Rice makes a perfect accompaniment.