 Pin it
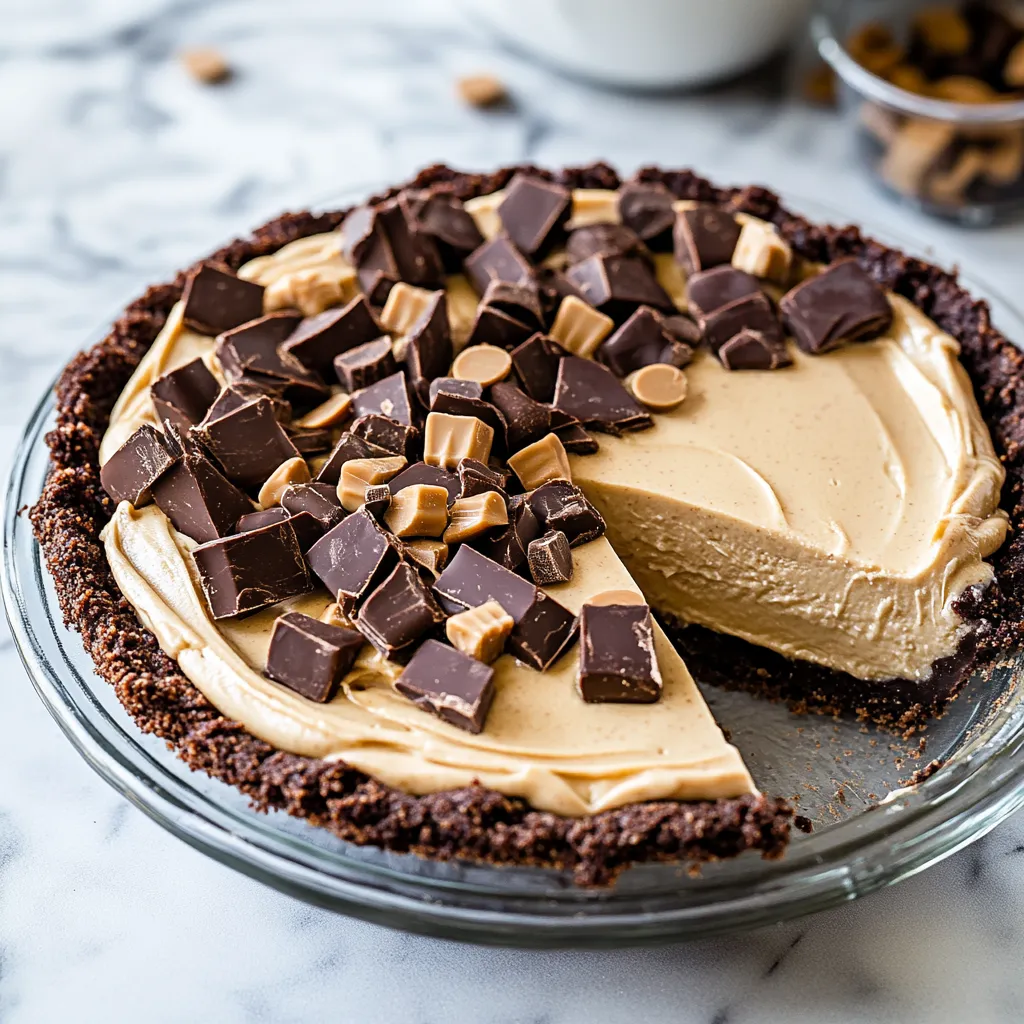
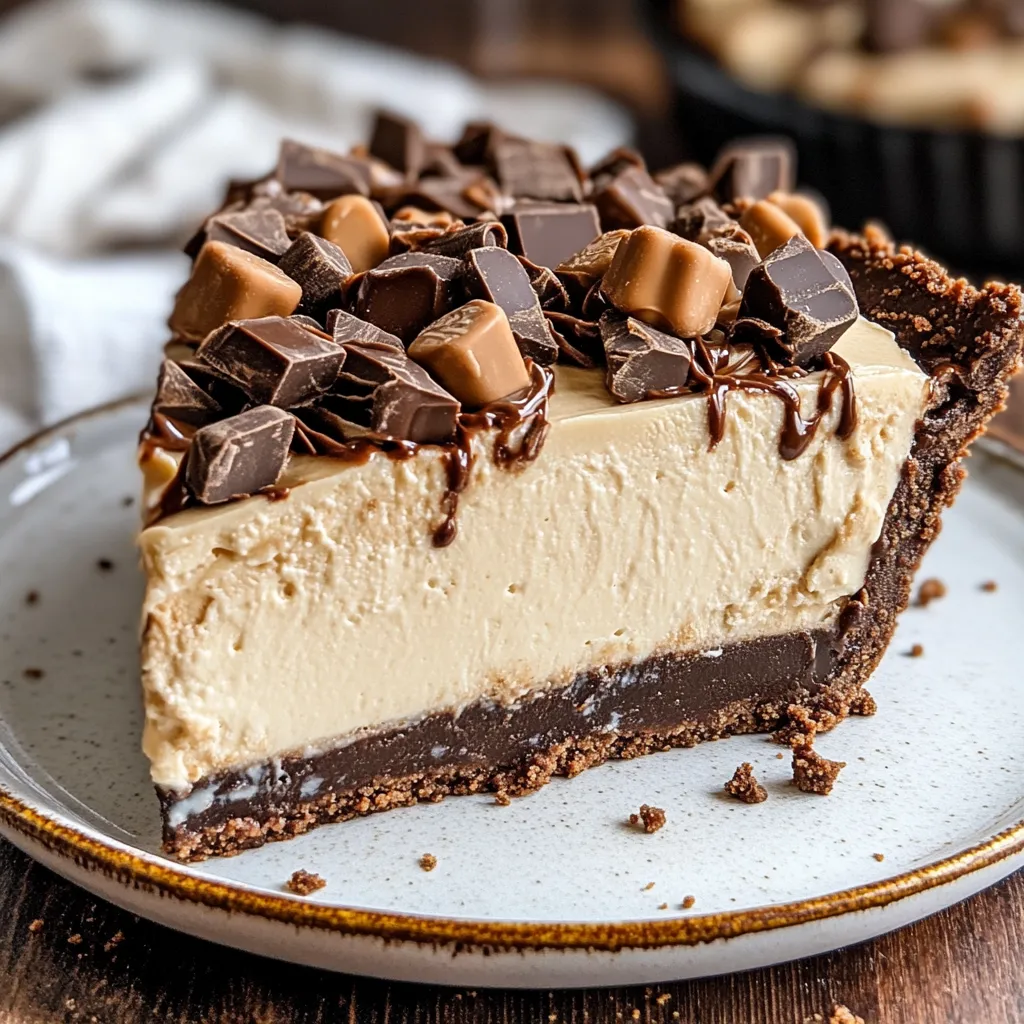
A silky-smooth peanut butter pie that requires no baking makes this dessert a year-round favorite. The combination of creamy filling and crunchy Oreo crust creates an irresistible texture that reminds me of those beloved peanut butter cups, but in an elegant, grown-up form.
The first time I made this pie for my daughter's birthday party, it disappeared so quickly that I started making two at a time. Now it's become our most-requested dessert for family gatherings, especially during summer barbecues when no one wants to turn on the oven.
Essential Ingredients
- Oreos: Regular, not double-stuffed - they create the perfect crumb texture
- Cream Cheese: Full-fat, room temperature ensures a silky-smooth filling
- Peanut Butter: Use conventional brands like Skippy or Jif for best texture
- Heavy Cream: Must be very cold for proper whipping
- Powdered Sugar: Dissolves completely, leaving no graininess
- Vanilla Extract: Adds depth that brings out the peanut butter flavor
 Pin it
Detailed Instructions
- Step 1:
- Start by letting your cream cheese soften on the counter for at least 2 hours - even slightly cold cream cheese will create lumps.
- Step 2:
- When crushing Oreos, pulse until they're fine crumbs but stop before they turn to powder.
- Step 3:
- Mix butter into crumbs gradually, stopping when the mixture feels like wet sand.
- Step 4:
- Press crust firmly using the bottom of a measuring cup, paying special attention to where the bottom meets the sides.
- Step 5:
- Chill crust until firm to touch - this prevents crumbling when you add filling.
- Step 6:
- Whip cream in a chilled bowl until soft peaks form, then add sugar and continue to stiff peaks.
- Step 7:
- Beat cream cheese alone first until completely smooth before adding other ingredients.
- Step 8:
- Add peanut butter to cream cheese gradually, scraping bowl often.
- Step 9:
- Fold in whipped cream using gentle, over-and-under motions to maintain airiness.
- Step 10:
- Chill until completely set for clean slices.
My family discovered that slightly frozen slices taste amazing during hot summer days. My grandson calls it "peanut butter ice cream pie" and always requests it for his birthday.
Perfect for Entertaining
Creating this pie ahead of time makes entertaining stress-free. The filling stays perfectly set for hours, and the crust maintains its crunch.
Seasonal Adaptations
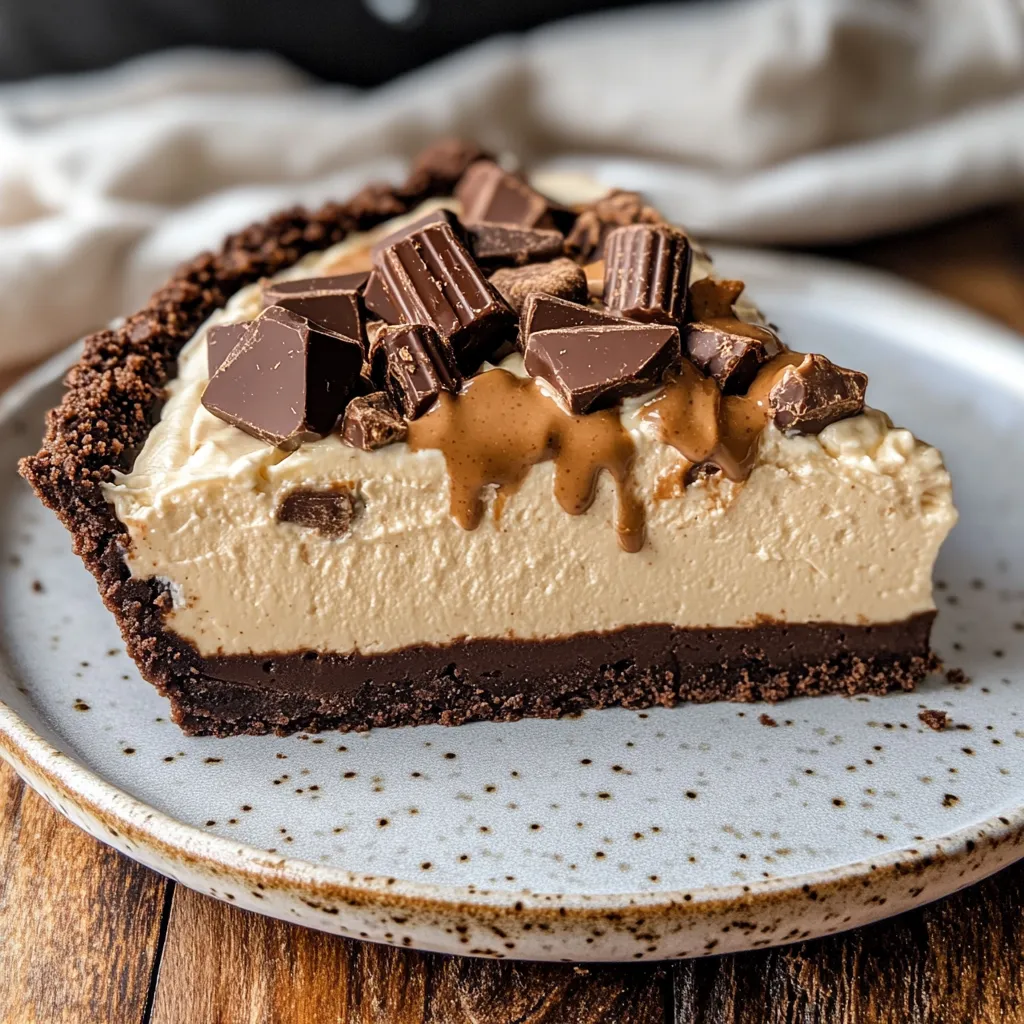
Summer calls for a frozen version topped with chocolate sauce, while winter gatherings might feature warm butterscotch drizzle and chopped nuts.
 Pin it
Make-Ahead Magic
The pie actually improves after a day in the refrigerator as the flavors meld and the texture sets perfectly.
This no-bake peanut butter pie has become my signature dessert, the one friends and family always expect me to bring to gatherings. Its simplicity and reliability make it perfect for any occasion, while the rich, creamy texture ensures empty plates and happy smiles every time.
Frequently Asked Questions
- → Can I make this pie ahead of time?
- Yes, make up to 3 days ahead and store in the fridge, or freeze for up to 1 month.
- → Why does the cream cheese need to be room temperature?
- Room temperature cream cheese blends smoothly without lumps in the filling.
- → Can I use crunchy peanut butter?
- Stick to creamy peanut butter for the smoothest texture in the filling.
- → What can I use instead of chocolate graham crackers?
- Chocolate Teddy Grahams or Oreo cookies work well for the crust.
- → Can I make this without peanut butter?
- Yes, substitute with almond butter and follow the recipe note modifications.
