
 Pin it
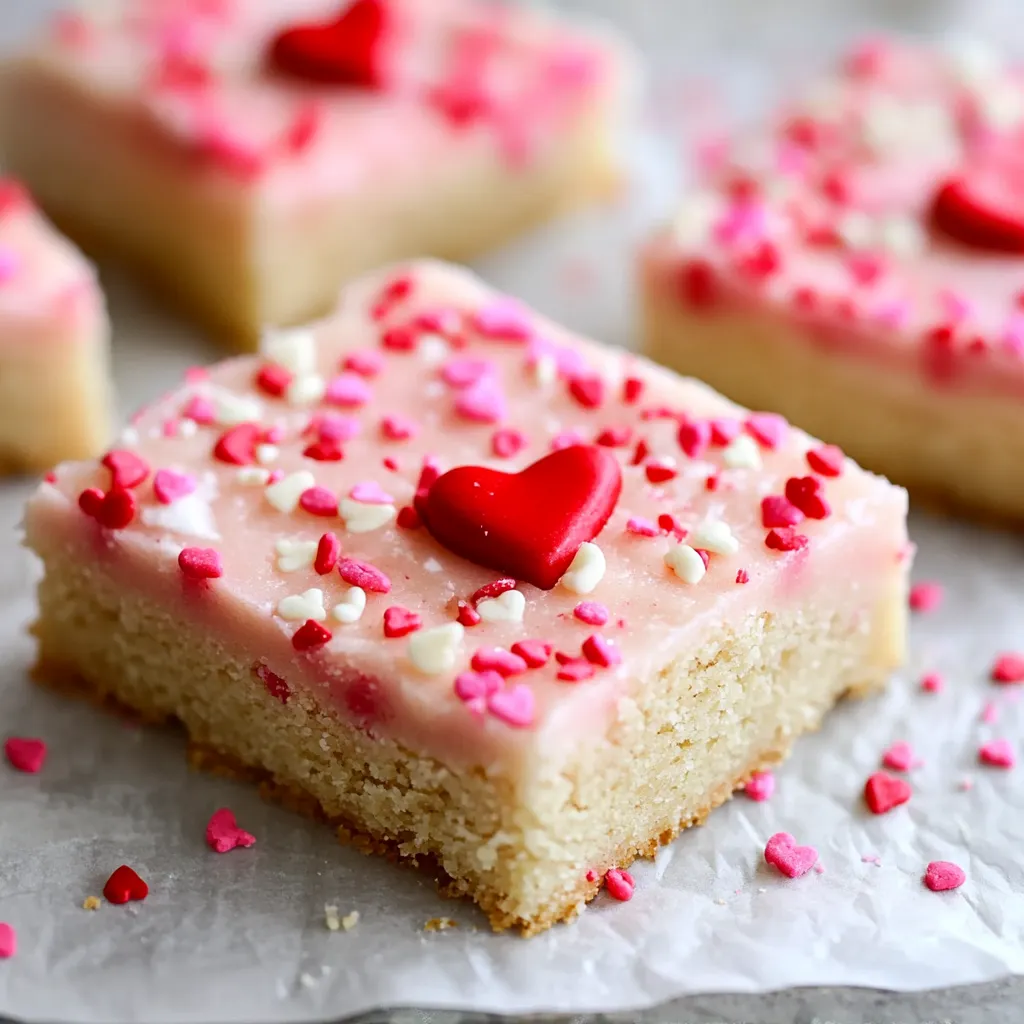
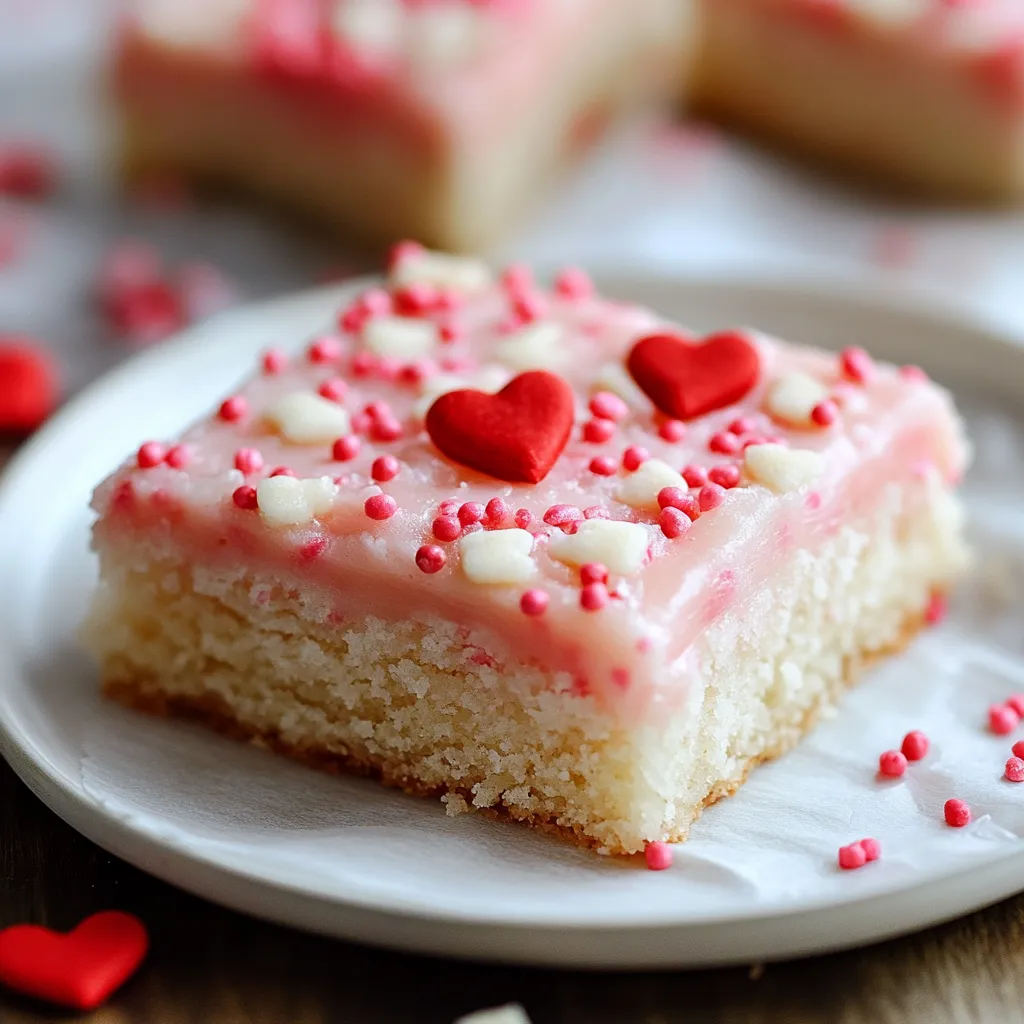
Tender, buttery sugar cookie bars crowned with silky vanilla frosting and festive Valentine sprinkles turn ordinary moments into sweet celebrations. These bars combine the comforting essence of classic sugar cookies with the convenience of a bar format, creating the perfect shareable treat for spreading love and joy.
Making these bars with my grandchildren has become our cherished tradition. Their eyes sparkle with delight as they scatter heart shaped sprinkles across the creamy frosting. The kitchen fills with sweet vanilla warmth, creating memories as precious as the treats themselves.
Essential Ingredients Guide
- Softened Butter: Choose unsalted butter at room temperature. It should be soft enough to leave a slight indent when pressed but still cool to touch.
- Large Eggs: Fresh, room temperature eggs create a smoother blend and better texture.
- All Purpose Flour: Unbleached flour measured by spooning into cups and leveling off ensures consistent results.
- Pure Vanilla Extract: Real vanilla extract adds depth to both the cookie base and frosting.
- Valentine Sprinkles: Select sprinkles that maintain their color during baking.
- White Frosting: Store bought saves time, but homemade works beautifully too.
Creating Perfect Bars
- Preheat Your Oven:
- Perfect temperature control begins with preheating to exactly 350°F. Position your rack in the middle of the oven for optimal heat circulation. While waiting, line your 8x8 baking pan with parchment paper, creating overhanging edges for easy removal later.
- Create The Base:
- Start with room temperature butter in your mixing bowl. Beat it until it becomes notably lighter in color and creamy in texture, typically taking three full minutes. Gradually incorporate sugar while continuing to mix until the mixture becomes fluffy and almost white in color.
- Incorporate Wet Ingredients:
- Add your eggs one at a time, ensuring each egg fully blends into the mixture before adding the next. The batter should become smooth and glossy. Pour in your vanilla extract, mixing until everything looks uniform and silky.
- Blend Dry Elements:
- Whisk together your flour, baking soda, and salt in a separate bowl until well combined. Gradually add this mixture to your wet ingredients in three portions. Mix gently just until you see the last traces of flour disappear.
- Transfer And Shape:
- Spread your prepared dough into the lined baking pan. Use gentle pressure to create an even layer, paying special attention to reaching the corners. The surface should be level but not firmly compressed.
- Monitor Your Bake:
- Bake for 15 minutes initially. Watch for slightly golden edges while the center remains light in color. Test doneness with a toothpick inserted into the center it should come out clean or with just a few moist crumbs.
- Master The Cooling Phase:
- Let your bars cool in the pan for 10 minutes. Using the parchment paper handles, carefully lift the entire block onto a cooling rack. Allow them to cool completely before proceeding with frosting.
- Apply The Frosting:
- Once your bars have reached room temperature, spread your frosting in an even layer. Work from the center outward using smooth, steady strokes.
- Add Festive Touches:
- While the frosting remains soft, add your Valentine sprinkles and decorations. Begin at the edges and work your way toward the center for even coverage.
 Pin it
The Art Of Storage
Proper storage keeps these bars fresh and delicious. An airtight container at room temperature maintains their soft texture for up to five days. Layer them between sheets of parchment paper to prevent sticking. For longer storage, these bars freeze beautifully for up to three months.
Creative Variations
These versatile bars welcome your personal touch. Try adding almond extract for subtle nutty notes, or fold in white chocolate chips for extra indulgence. The frosting can be tinted any color to match your celebration theme. Consider adding a touch of citrus zest to the dough for a bright flavor twist that complements the sweet frosting perfectly.
Perfect Serving Suggestions
Serve these bars slightly chilled for clean, sharp cuts. A warm glass of milk or hot cocoa makes the perfect accompaniment. For special occasions, try plating them with a small scoop of vanilla ice cream and a drizzle of warm caramel sauce.
My grandmother always said baking is about patience and love. She taught me that the best sugar cookies come from taking time with each step, especially creaming the butter and sugar. This attention to detail creates that perfect tender yet chewy texture we all adore.
 Pin it
These Valentine Sugar Cookie Bars remind me why baking brings such joy - they create moments of togetherness and celebration through simple, shared sweetness. Each time I make them, I'm reminded that the best recipes aren't just about following steps; they're about creating memories that taste as good as they feel.
Frequently Asked Questions
- → Can I use pre-made cookie dough for these Valentine's Sugar Cookie Bars?
- Yes, you can use pre-made sugar cookie dough to save time while still creating delicious and festive cookie bars.
- → How should I store these Valentine's Sugar Cookie Bars?
- Store the cookie bars in an airtight container at room temperature for up to 5 days, or in the refrigerator for up to a week.
- → Why should I chill the dough before baking?
- Chilling the dough for 10-15 minutes helps firm it up, allowing the bars to bake more evenly and hold their shape better.
- → Can I freeze these cookie bars?
- Yes, you can freeze the unfrosted cookie bars for up to 3 months. Thaw completely before frosting and decorating.
- → What pan size works best for this recipe?
- An 8x8-inch square pan works perfectly, yielding 16 nicely-sized portions. You can use a 9x12-inch pan for thinner bars, adjusting baking time accordingly.