
 Pin it
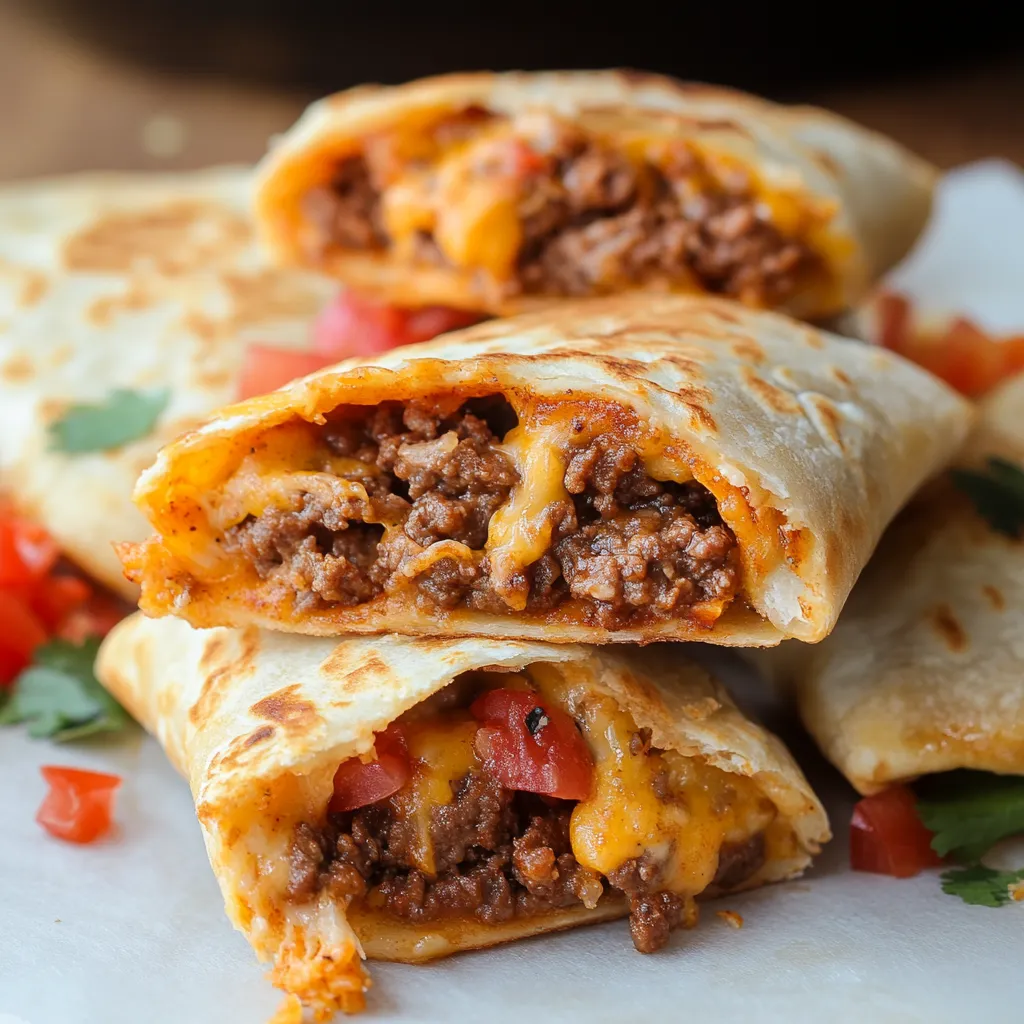
Ground beef seasoned with zesty taco spices combines with creamy cheese and tangy salsa before being wrapped in soft tortillas and baked to golden perfection. These cheesy taco pockets deliver restaurant-worthy flavor with simple preparation that fits easily into busy weeknight schedules. The handheld format creates convenient eating while trapping all the delicious flavors and juices inside a neatly folded package.
I discovered this recipe during a particularly hectic sports season when our family needed portable meals between practices and games. After experimenting with several variations, this version became our unanimous favorite. My children request these regularly, appreciating how they can enjoy complete taco flavor without the typical mess of traditional shell tacos.
Perfect Components
- Ground beef: Provides the hearty base that accepts flavorful seasonings beautifully—choose leaner varieties for less grease or substitute ground turkey for lighter results.
- Cream cheese: Creates luxurious richness while helping bind ingredients together, preventing filling from spilling during eating—softening to room temperature ensures proper blending.
- Flour tortillas: Offer perfect flexibility for folding without tearing while developing beautiful golden color during baking—fresher tortillas perform significantly better than older ones.
Creation Method
- Meat Preparation:
- Brown your ground beef in a skillet over medium heat, using a wooden spoon to break it into small, even crumbles. Drain excess fat thoroughly, removing as much as possible to prevent greasy filling. Add taco seasoning with recommended water amount, allowing it to simmer until liquid reduces, creating concentrated flavor throughout the meat.
- Cheese Mixture:
- Beat your softened cream cheese using a spatula or mixer until completely smooth with no lumps remaining. Gradually incorporate salsa in small amounts, blending thoroughly between additions until achieving uniform color and consistency.
- Assembly Technique:
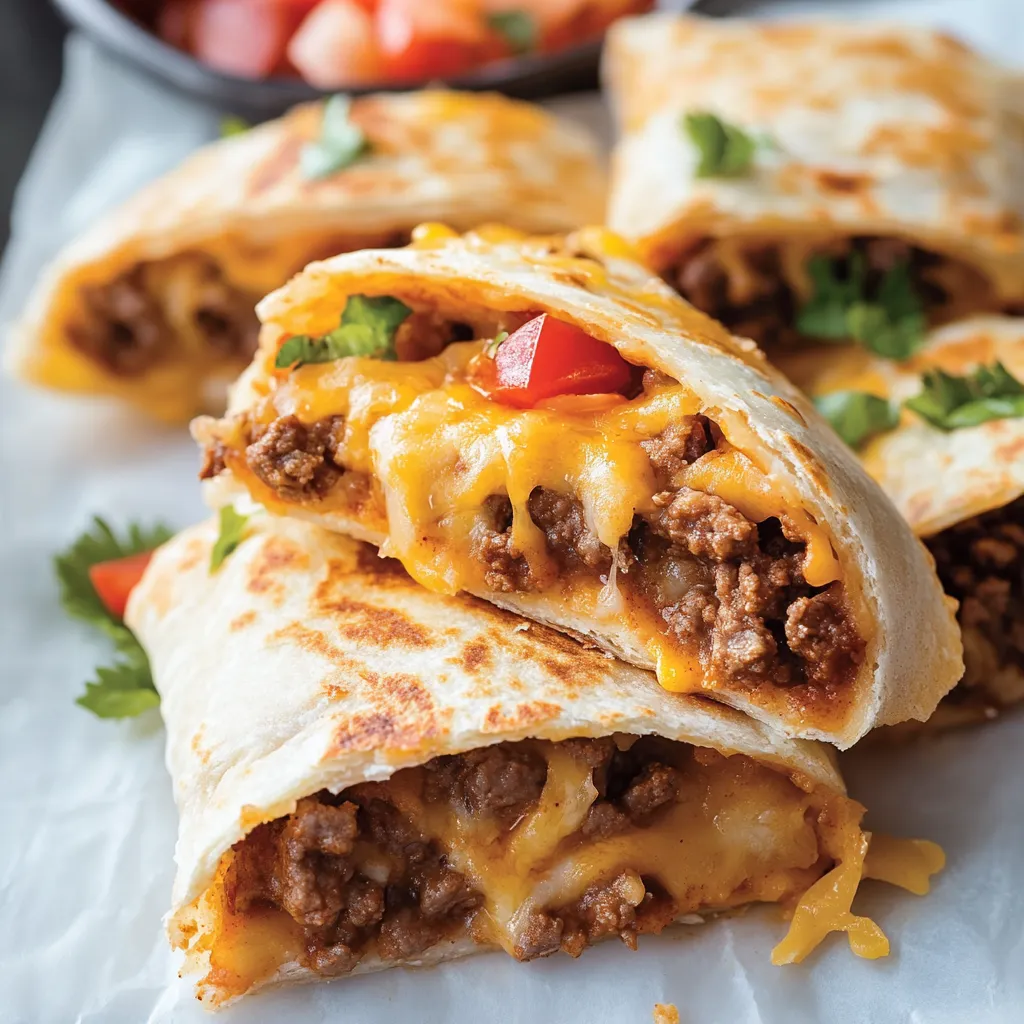
- Place each tortilla on a flat surface and spread cream cheese mixture across the center, creating a foundation that helps secure other ingredients. Add a portion of seasoned meat followed by generous shredded cheese on top. Fold bottom edge upward over filling, then fold sides inward before rolling upward, creating a sealed packet that contains all ingredients securely.
- Proper Arrangement:
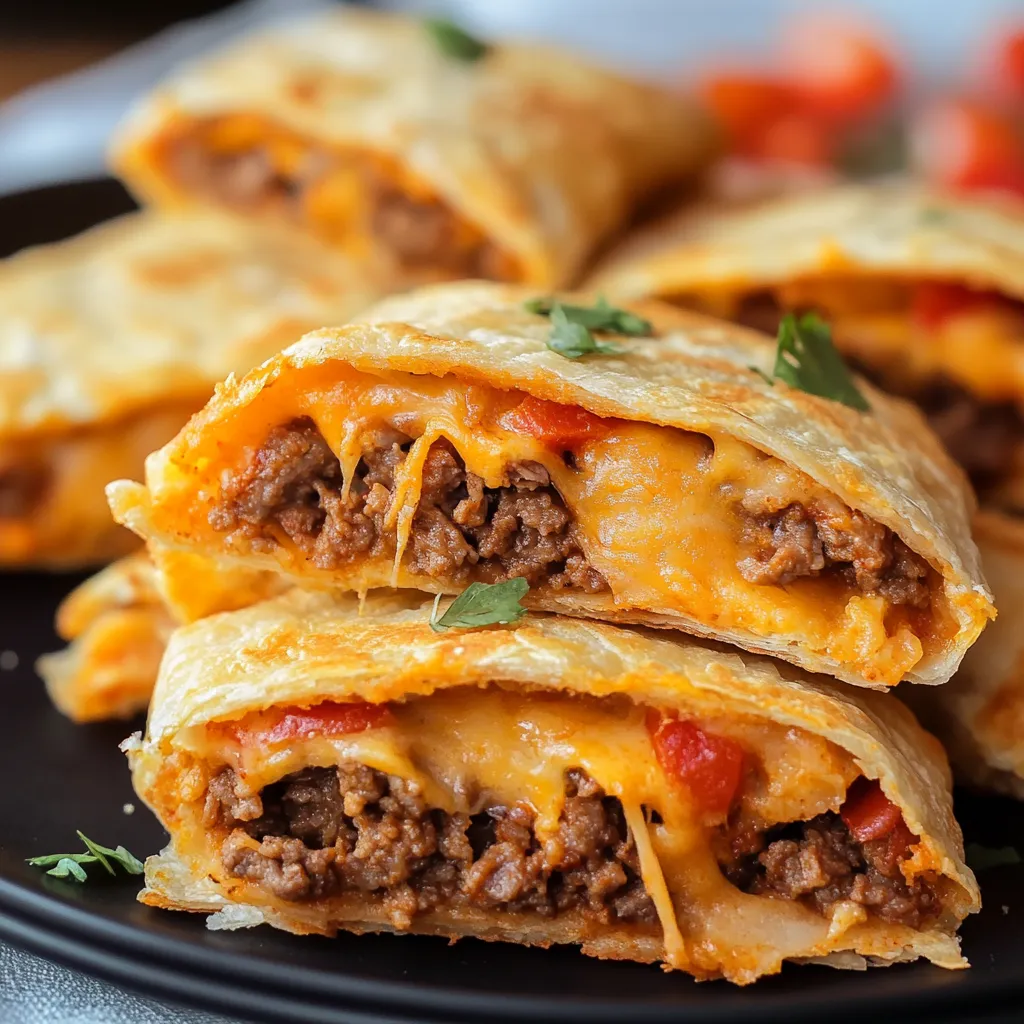
- Position assembled pockets seam-side down on baking sheet, maintaining adequate spacing between each to allow even browning. Brush tops completely with melted butter using gentle strokes to avoid tearing delicate tortillas.
- Final Baking:
- Place baking sheet in preheated oven positioned in the center rack for optimal heat circulation. Watch carefully during final minutes as browning can accelerate quickly once begun.
 Pin it
My neighbor initially questioned whether baked tortillas could achieve satisfying texture until she tried these during an impromptu dinner gathering. After her first bite, she immediately noted how the butter-brushed exterior created delightful crispness while maintaining interior softness.
Storage Suggestions
Store any leftovers in an airtight container in the refrigerator for up to three days. Reheat gently in an oven at 325°F until warmed through, or use an air fryer for crispier texture. Avoid microwaving as it may soften the tortilla excessively.
 Pin it
Frequently Asked Questions
- → Can I make these ahead?
- Assemble up to 24 hours ahead, brush with butter just before baking.
- → Can I freeze these?
- Yes, freeze before baking, then bake from frozen adding extra time.
- → What can I serve with these?
- Serve with guacamole, sour cream, or Mexican rice.
- → Can I use different meat?
- Try ground turkey or chicken with the same seasonings.
- → Why add cream cheese?
- It creates a creamy filling and helps hold ingredients together.