
 Pin it
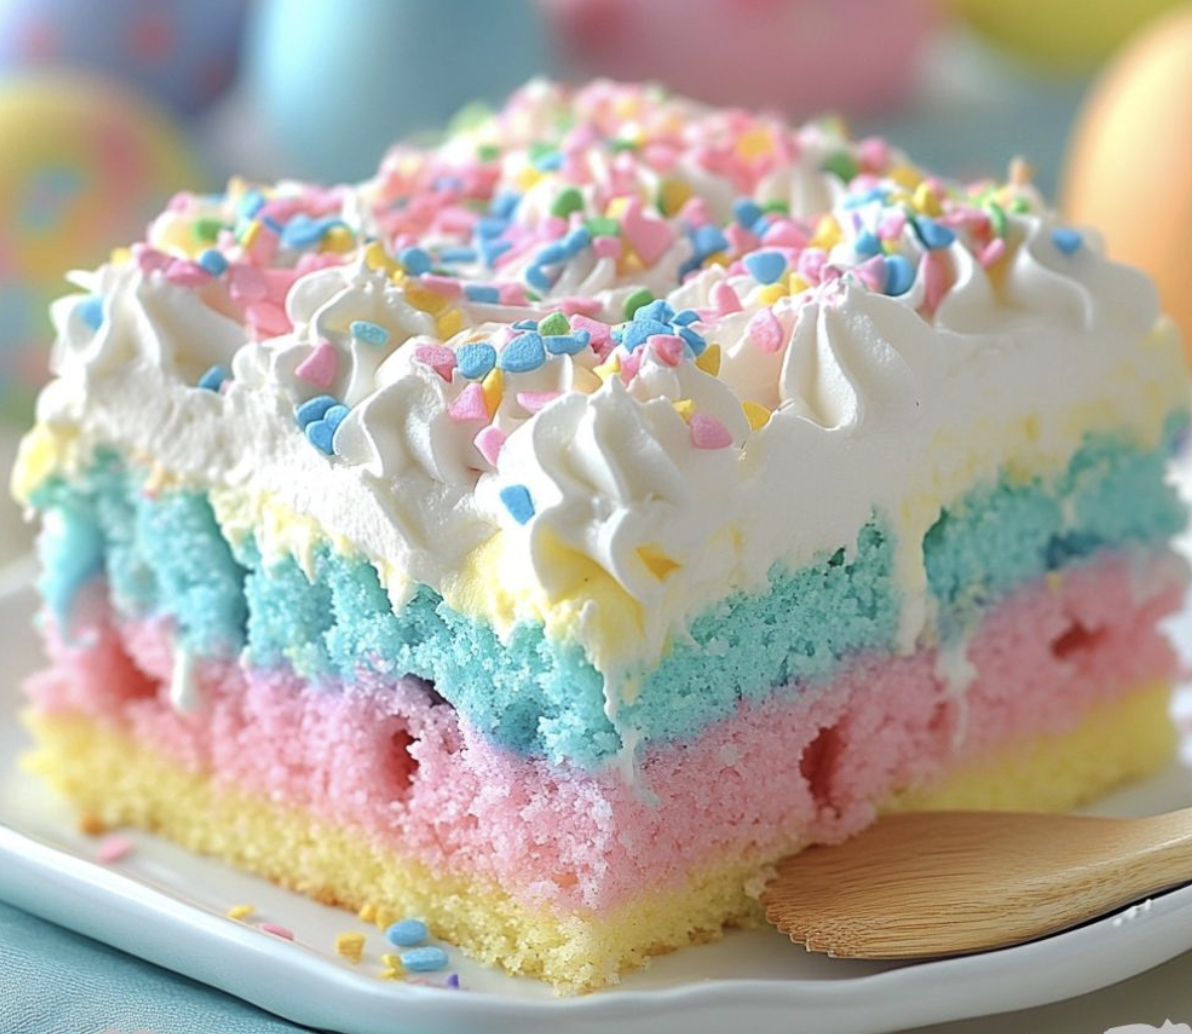
This colorful Easter Bunny Poke Cake transforms an ordinary boxed cake mix into a festive springtime dessert that delights both children and adults. Each slice reveals a beautiful pastel rainbow interior with pudding-filled pockets that create a moist, indulgent treat perfect for your Easter celebration.
I first made this cake for my nieces during our annual Easter egg hunt weekend. Their eyes lit up at the colorful reveal when I sliced into it, and now they insist this cake makes an appearance at every spring gathering.
Essentials Ingredients
- White cake mix plus box ingredients: Provides the perfect blank canvas for your pastel colors with reliable results every time
- Instant vanilla pudding mix: Creates those pockets of creamy goodness that make this a true poke cake
- Milk: Whole milk yields the richest pudding texture but any type works
- Whipped topping: Both mixed into pudding and for frosting delivers a light cloud-like texture
- Vanilla extract: A splash enhances the homemade flavor that boxed mixes sometimes lack
- Food coloring in pink, blue, and yellow: Pastel shades create that springtime Easter feel
- White chocolate chips: When melted and drizzled adds a sweet surprise layer and prevents the cake from getting soggy
- Pastel sprinkles: The finishing touch that makes this cake truly celebration-worthy
Step-by-Step Instructions
- Prepare the batter:
- Whisk your cake mix according to package directions until completely smooth with no lumps. Take your time here as proper mixing ensures an even texture throughout your cake. This is also when you should preheat your oven to 350°F and thoroughly grease your baking dish to prevent sticking.
- Create the pastel layers:
- Divide your batter equally among three bowls using a measuring cup for precision. Add a few drops of food coloring to each bowl starting with less than you think you need. Stir thoroughly and add more color gradually until you achieve soft pastel shades. The colors will lighten slightly when baked.
- Layer the colors:
- Pour the first colored batter into your prepared baking dish spreading it evenly to the corners. Gently add the second color allowing it to create a partial layer on top. Finally add the third color creating a marbled effect. Resist the urge to mix them completely you want distinct color sections.
- Bake to perfection:
- Place in the preheated oven for exactly 30 minutes then check with a toothpick. Look for a clean toothpick with perhaps a few moist crumbs but no wet batter. Allow the cake to cool completely about 1 to 2 hours or speed the process in the refrigerator for 30 minutes.
- Create the poke effect:
- Using a wooden spoon handle poke holes approximately 1 inch apart throughout the entire cake. Press down until you nearly reach the bottom of the pan but not all the way through. The holes should be visible but not so large that they destroy the cake structure.
- Prepare the filling:
- Whisk the pudding mix and milk vigorously for a full 2 minutes until it begins to thicken but remains pourable. Fold in 1 cup of whipped topping and vanilla extract for extra creaminess and flavor. The filling should be silky and smooth.
- Fill and soak:
- Pour the pudding mixture evenly over the entire cake focusing on filling the holes. Use a spatula to help guide the pudding into the openings. Gently tap the pan on the counter a few times to help the pudding settle into the holes completely.
- Add white chocolate layer:
- Melt white chocolate chips in the microwave in 30-second intervals stirring between each until completely smooth. Drizzle this over the cake while still slightly warm and spread into an even layer. This creates a delicious barrier between the moist cake and final topping.
- Frost and decorate:
- Once the chocolate layer has set spread a generous layer of whipped topping over the entire cake creating decorative swirls if desired. Immediately add sprinkles before the topping sets so they adhere properly. Choose pastel colors for a cohesive Easter theme.
- Chill and serve:
- Refrigerate the cake for at least 2 hours before serving allowing all the layers to set and flavors to meld together. For best results and flavor development refrigerate overnight. Cut into squares to serve revealing the beautiful pastel interior.
The vanilla pudding is secretly my favorite element of this recipe. I discovered its magic after years of making lackluster poke cakes. The addition of whipped topping to the pudding creates a mousse-like filling that transforms this from a simple cake into something truly special that guests always ask about.
Make-Ahead Magic
This Easter Bunny Poke Cake is the perfect make-ahead dessert. You can prepare it up to two days before your celebration with the flavors actually improving as it rests in the refrigerator. The pudding continues to soften the cake while maintaining its structure making each bite more delicious. If making far in advance wait to add the final sprinkles until a few hours before serving to maintain their vibrant colors.
Creative Variations
The basic template of this Easter cake opens up countless possibilities for personalization. Try lemon pudding with a yellow cake base for a bright citrus version. Chocolate lovers might prefer chocolate cake with chocolate pudding for an indulgent treat. During other seasons swap the pastel colors for holiday themes like red and green for Christmas or orange and black for Halloween. The technique remains the same while the presentation can be customized for any occasion.
Serving Suggestions
For a stunning Easter dessert table present this cake alongside fresh berries and mint sprigs for a pop of natural color. A dollop of homemade whipped cream on each serving plate elevates the presentation further. For an extra special touch serve slices with pastel-colored ice cream that complements the cake colors. This cake pairs beautifully with coffee or tea for adults and milk for children making it versatile for any Easter gathering from brunch to dinner.
The Story Behind Poke Cakes
Poke cakes first gained popularity in the 1970s when Jell-O began promoting recipes that incorporated their products into everyday baking. The technique of poking holes and filling them with flavored liquids revolutionized home baking by creating moist delicious cakes with minimal effort. Today poke cakes remain beloved for their versatility eye-catching appearance and crowd-pleasing flavors. This Easter version carries on the tradition while incorporating modern touches like the white chocolate layer and festive color scheme.
Frequently Asked Questions
- → Can I use other pudding flavors?
Yes, you can substitute vanilla pudding with coconut, lemon, or even chocolate pudding for a creative twist.
- → How do I prevent the cake from sticking to the pan?
Grease the baking dish thoroughly with butter or non-stick spray, and you can also line the bottom with parchment paper for extra insurance.
- → How long should I chill the cake?
Chill the cake for at least 2 hours, but overnight refrigeration improves texture and flavor blending.
- → Can I make this cake ahead of time?
Yes, prepare and chill the cake up to 24 hours in advance. Add the whipped topping and sprinkles just before serving for the best presentation.
- → What’s the purpose of poking holes in the cake?
Poking holes allows the pudding mixture to seep into the cake, creating a moist and flavorful dessert.