 Pin it
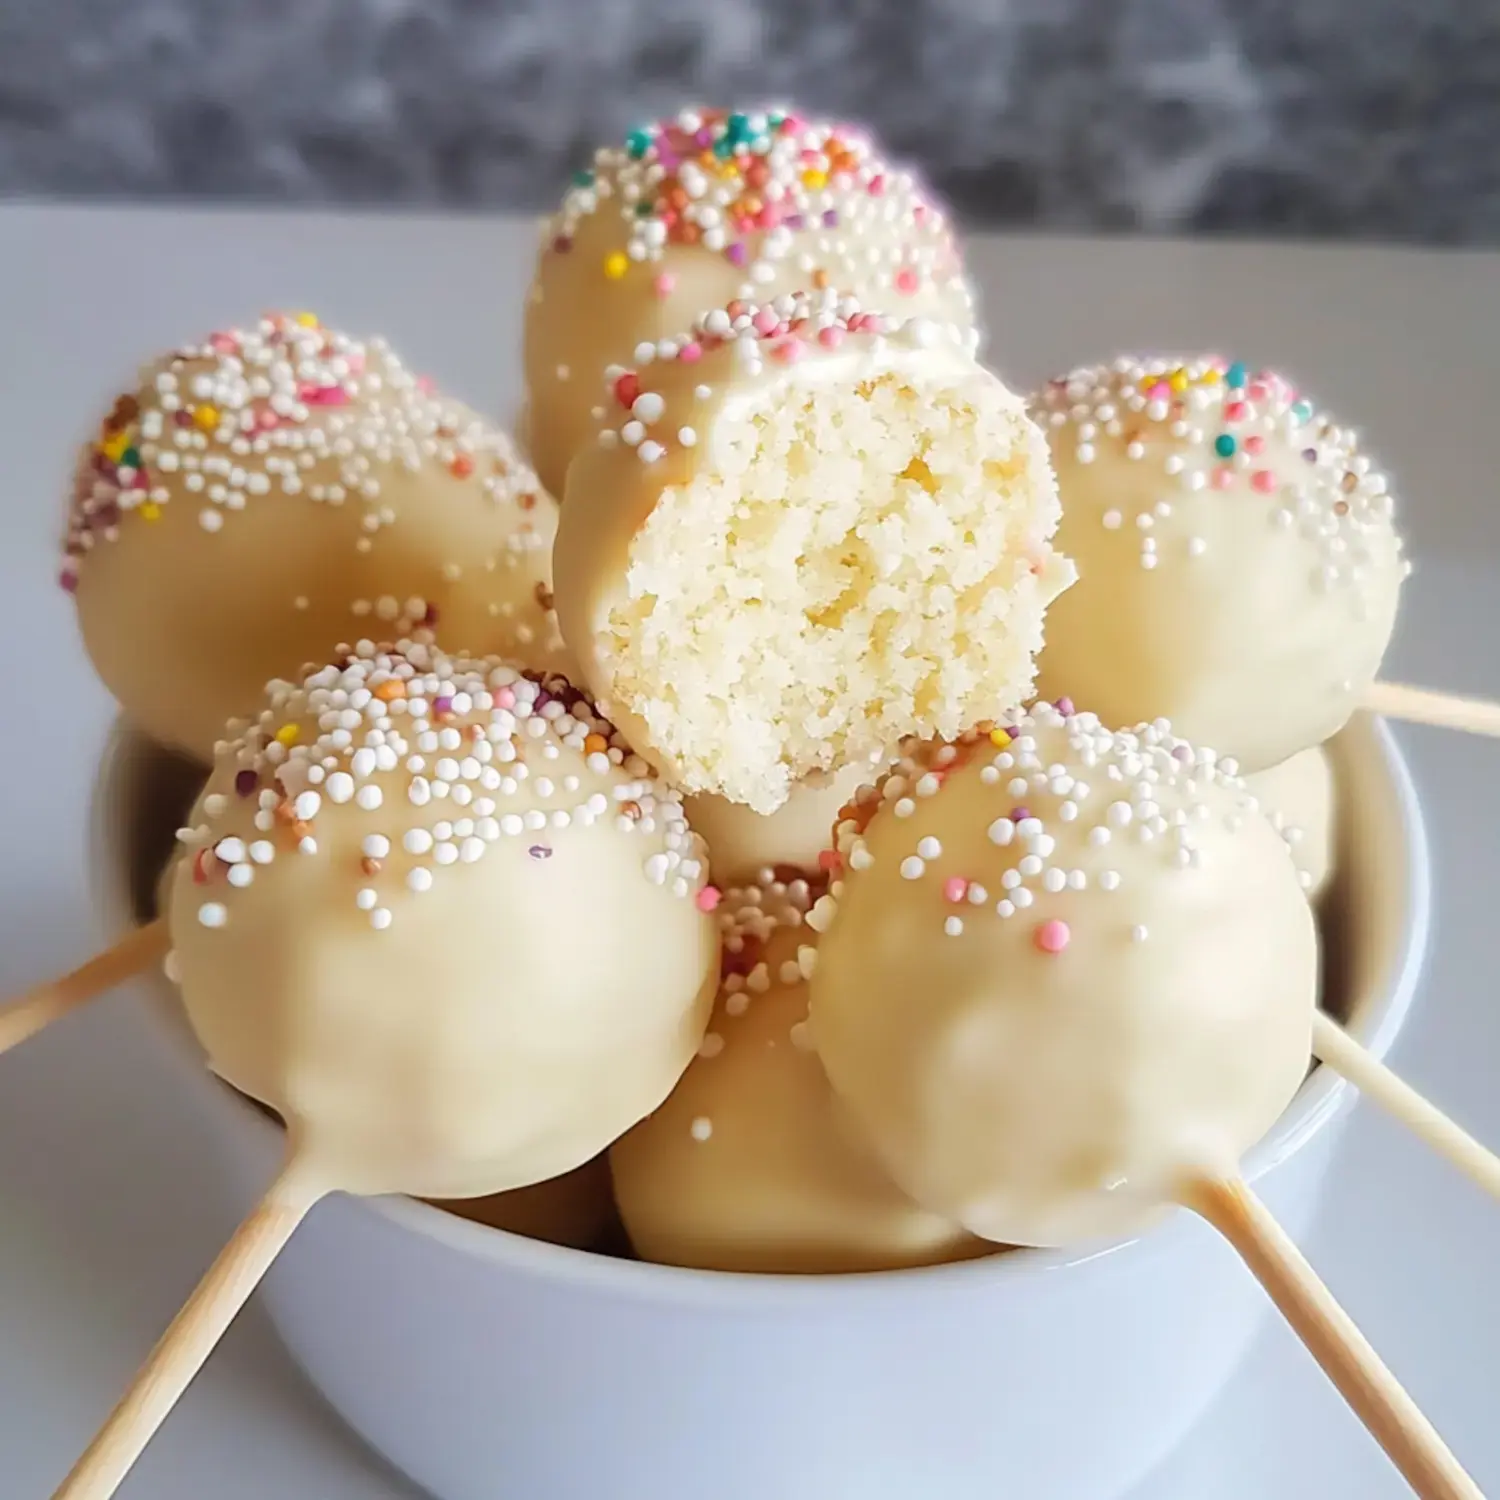
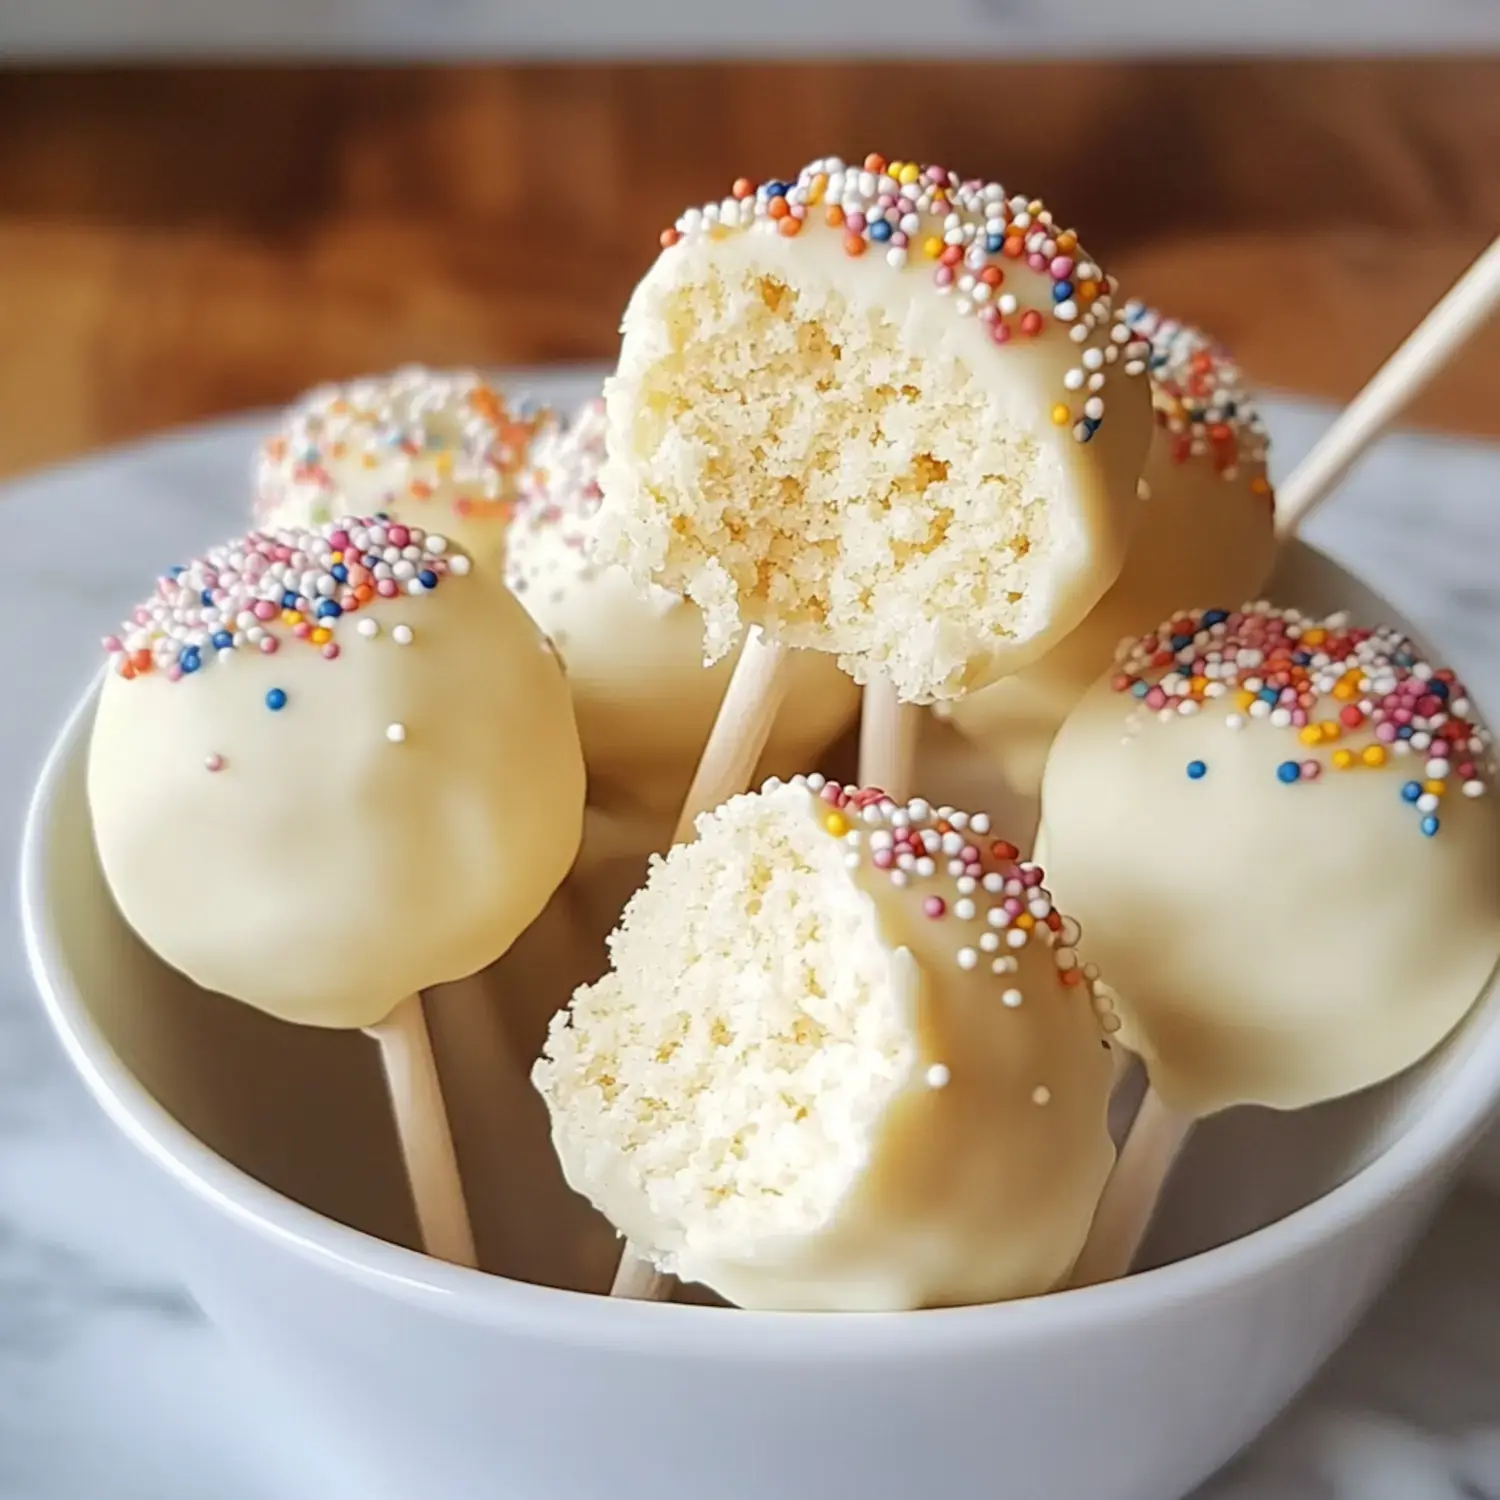
After countless hours in my kitchen testing cake pop recipes I'm thrilled to share my foolproof method. These sweet little treats combine crumbled cake and creamy frosting rolled into the cutest balls dipped in smooth chocolate. My recipe walks you through exactly how to make these crowd pleasers whether you're baking for a party or just craving something special.
The Magic Behind These Sweet Bites
You'll fall in love with how versatile these treats are. I've made them with both boxed cake mix when I'm short on time and my grandmother's cake recipe for special occasions. The magic happens when that soft cake mingles with silky frosting and gets enrobed in a crisp chocolate shell. Pure bliss in every bite.
What You'll Need From Your Kitchen
- Cake: Your favorite vanilla cake works beautifully here. I often use my trusted white cake recipe but a box mix does the trick too.
- Frosting: Nothing beats my homemade buttercream with real butter powdered sugar and pure vanilla.
- Chocolate Melts: These are my secret weapon for that perfect coating that sets like a dream.
- Sprinkles: Pick your favorites to make these pops truly yours.
- Vegetable Oil: Just a touch helps thin regular chocolate if you're not using candy melts.
- Cake Pop Sticks: Find these at any craft store they're essential for that classic look.
Let's Make Some Cake Pops
- First Things First
- Bake your cake and let it cool completely. Then crumble it into tiny pieces in your biggest mixing bowl.
- The Fun Part
- Mix in most of your frosting. Start slowly you can always add more until it feels just right.
- Shape Those Balls
- Scoop tablespoon amounts and roll them between your palms. Pop them in the freezer for 10 minutes then give them another roll to smooth them out. Back in the freezer for 30 minutes.
- Chocolate Time
- Melt your chocolate in short bursts stirring well between each one. A tall cup works great for dipping.
- Putting It All Together
- Dip your stick in melted chocolate push it into a cake ball then dip the whole thing. Give it a gentle tap to smooth the coating.
- Final Touches
- Add your sprinkles while the chocolate is still wet then stand them upright in a styrofoam block or cup filled with rice.
My Best Kitchen Secrets
The real game changer is starting with just a little frosting. Trust me it's easier to add more than deal with soggy cake pops. Keep your chocolate warm and fluid and those cake balls nice and cold. Stand them up while they set for that bakery perfect look.
Keeping Your Treats Fresh
Pop these beauties in an airtight container and they'll stay perfect at room temp for 3 days. Need them to last longer? Stick them in the fridge for a week. If you're planning ahead you can freeze the naked cake balls for up to 3 months.
What Makes These Extra Special
My recipe gives you those dreamy cake pops that are just the right amount of moist with the smoothest coating. Once you master these simple tricks you'll be making treats that look straight from a fancy bakery. Everyone who tries them simply can't believe they're homemade.
Make Them Your Own
This is where you can let your creativity shine. Sometimes I add a drop of food coloring to match a party theme or mix in crushed Oreos for extra texture. The decorating possibilities are endless from simple drizzled chocolate to fancy edible glitter.
Presentation Ideas
In my catering days I learned presentation is everything. Try arranging your cake pops in a pretty vase with colorful tissue paper or nestle them in a vintage teacup filled with sugar. They look gorgeous wrapped in cellophane with ribbon for gift giving.
My Favorite Tricks
Take your time rolling those cake balls twice is my secret for perfect spheres. If your chocolate starts getting thick just pop it back in the microwave. I always work with small batches keeping the rest chilled so they stay firm for dipping.
Perfect for Every Celebration
Over the years I've made these sweet treats for countless birthday parties baby showers and weddings. There's something magical about these bite sized desserts that brings smiles to everyone's faces. Once you try making them you'll be hooked on the joy they bring to any occasion.
 Pin it
Frequently Asked Questions
- → Why add extra oil to boxed cake mix?
- Additional oil makes the cake more moist and helps it bind better with the frosting when forming the balls. This creates a better texture in the final cake pops.
- → Why roll the cake balls twice?
- The initial chill and second roll helps create perfectly smooth, round balls. This ensures even coating and professional-looking cake pops.
- → Why use candy melts instead of regular chocolate?
- Candy melts set quickly and are thinner when melted, making them ideal for coating. Regular chocolate needs thinning with oil and may not set as well.
- → Can I make these ahead of time?
- Yes, unmounted cake balls can be frozen for up to six weeks. Once dipped in chocolate, they keep in the fridge for up to a week.
- → Why dip the sticks in chocolate first?
- Dipping the sticks in chocolate before inserting them creates a 'glue' that helps hold the cake balls securely on the sticks once set.
