 Pin it
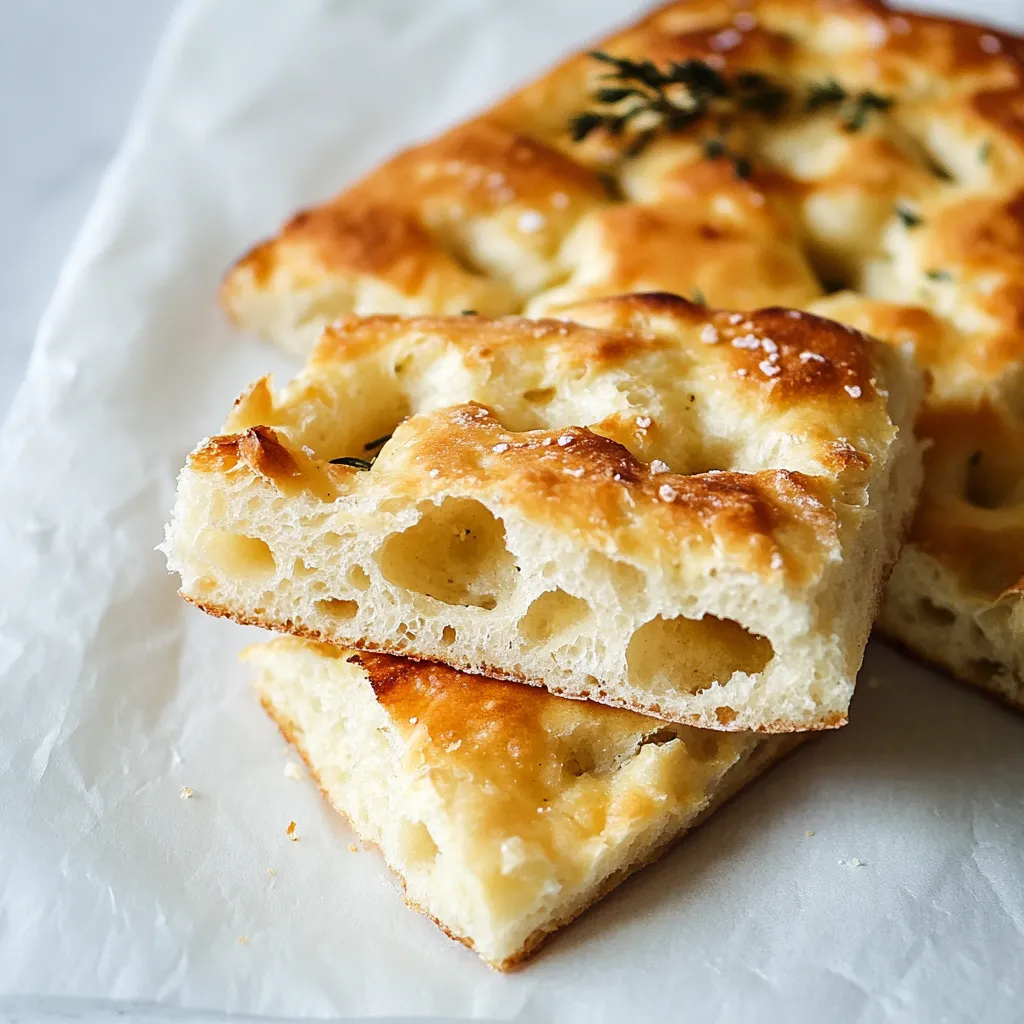
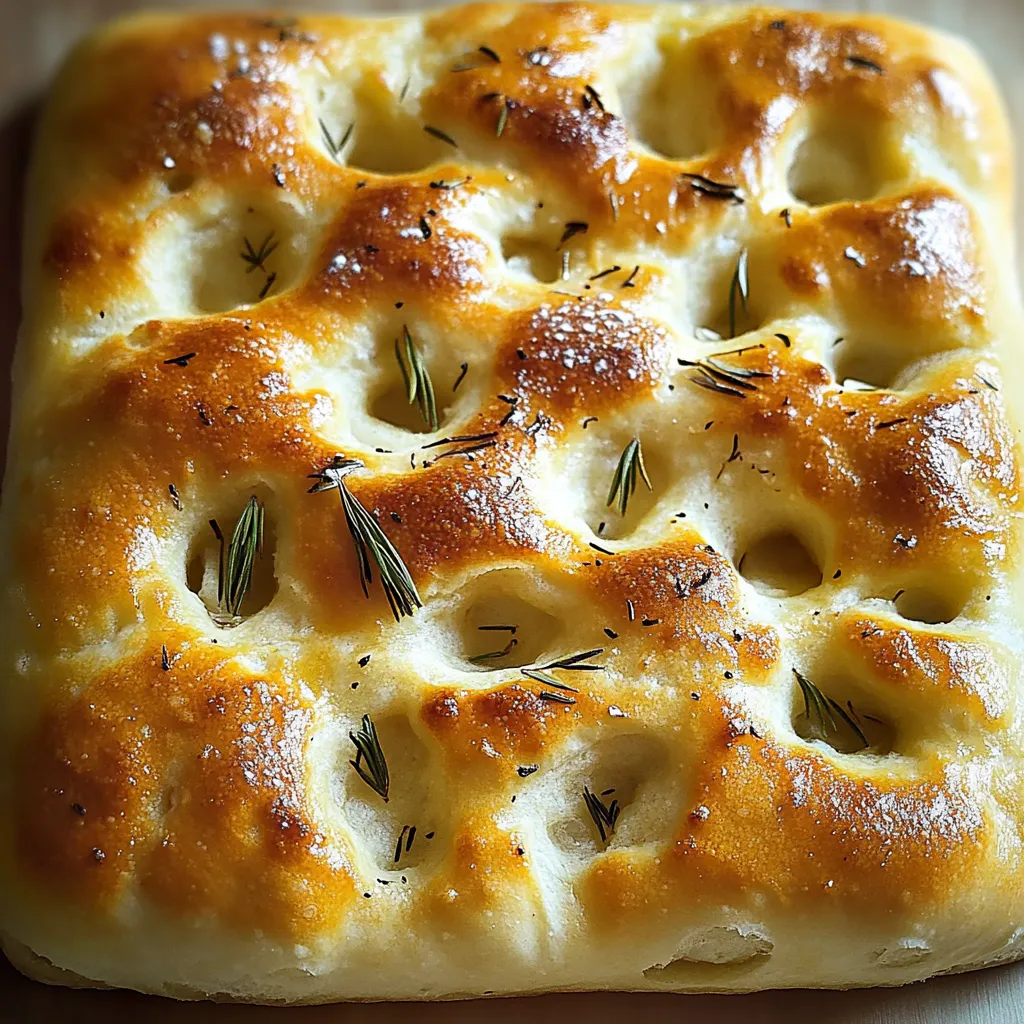
The aroma of fresh focaccia wafting through the kitchen brings back memories of my travels through Italian villages. This rustic bread, with its signature dimpled surface and golden crust, has become my go-to recipe for family dinners and gatherings, always disappearing within minutes of coming out of the oven.
After countless attempts at perfecting this recipe, I've found the slow rise method creates those beautiful air pockets that make focaccia so special. My neighbors now regularly stop by on baking days, drawn in by the irresistible smell.
Essential Ingredients Selection
- Bread Flour: Pick unbleached bread flour for that perfect chewy texture. The higher protein content helps develop those lovely air pockets
- Extra Virgin Olive Oil: Splurge on a good bottle - its flavor shines through in every bite
- Active Dry Yeast: Store in an airtight container in the fridge to keep it fresh and active
- Sea Salt: The flaky kind adds both flavor and that satisfying crunch on top
- Fresh Rosemary: Choose bright green, fragrant sprigs without any brown spots
Detailed Step-by-Step Instructions
- Step 1: Creating Your Dough (25 minutes):
- Start by proofing your yeast in warm water that feels like bath water. Mix flour and salt in a separate bowl, creating a well in the center. Pour the olive oil first, then the yeast mixture, mixing slowly to prevent flour clouds. Knead until the dough feels like your earlobe - soft and springy.
- Step 2: First Rise Magic (1-2 hours):
- Oil your bowl generously - this enriches the dough as it rises. Cover with a damp kitchen towel rather than plastic wrap. Place in your oven with just the light on for perfect rising temperature. Watch for the dough to double and look puffy with air bubbles.
- Step 3: Shaping and Dimpling (15 minutes):
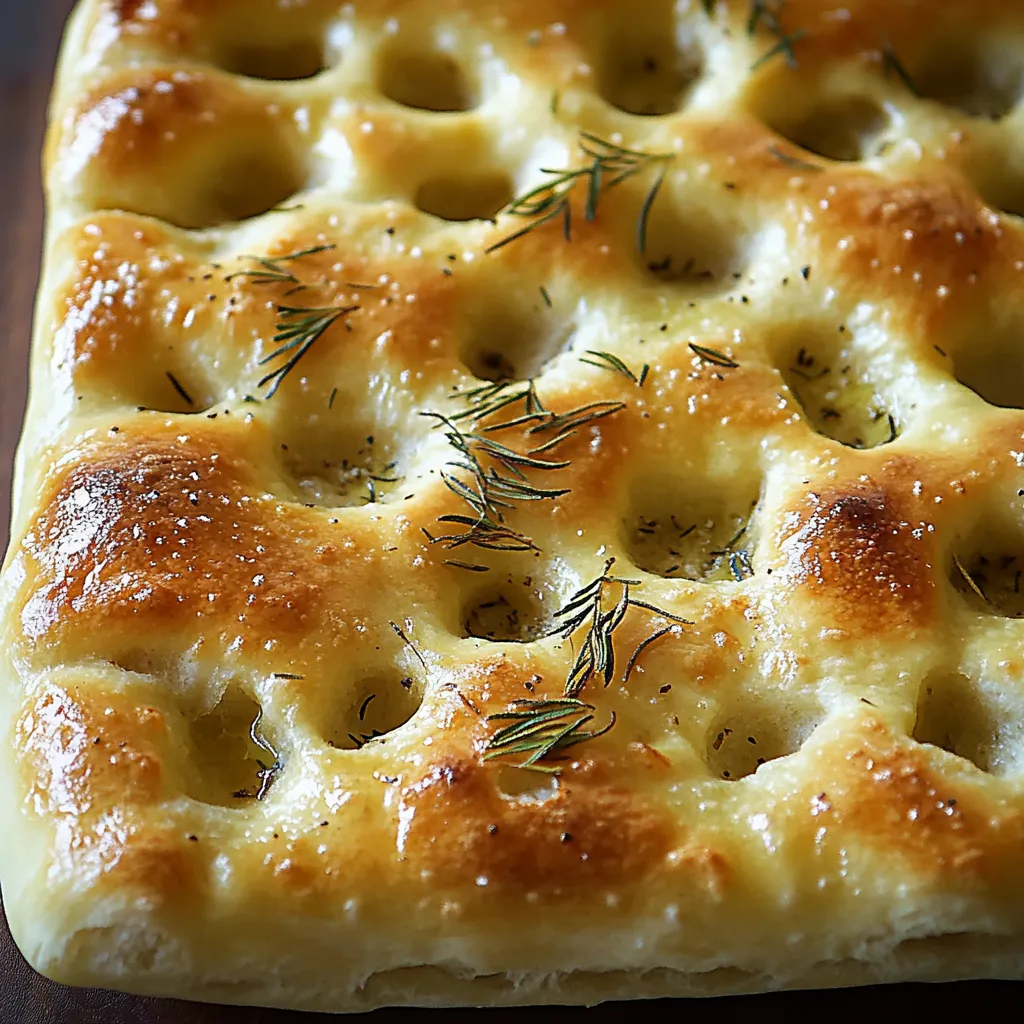
- Oil your baking sheet until it shimmers. Gently stretch dough like you're making a bed, letting it relax between stretches. Create deep dimples with all fingers, reaching almost to the bottom. Let the dough bounce back slightly between pokes.
- Step 4: Final Rise and Baking (45 minutes):
- Watch the dimples slowly puff up during the final rise. Drizzle olive oil generously into each dimple. Sprinkle salt from high above for even distribution. Bake until the top looks like golden honey.
 Pin it
Growing up, my Italian grandmother taught me that good focaccia should have "valleys of gold" - those olive oil-filled dimples that make each bite special.
Topping Combinations
Fresh herbs, cherry tomatoes, and olives turn this bread into a complete meal. During summer, I love topping it with thin lemon slices and fresh rosemary.
Make-Ahead Tips
The dough can rest overnight in the fridge, developing an even richer flavor. Just bring it to room temperature before shaping.
Serving Suggestions
Try tearing rather than cutting the focaccia - those irregular pieces create perfect spots for dipping in good olive oil or sopping up sauce.
Storage Success
Wrap leftover focaccia in a cotton kitchen towel first, then place in a paper bag. This keeps the crust crispy while maintaining that tender interior.
 Pin it
After years of baking focaccia, I've learned that patience makes perfect. This recipe might seem simple, but it's the little details - from how you pour the oil to the way you dimple the dough - that transform basic ingredients into something truly special. Each time I make it, I'm reminded why this humble bread has been loved for generations.
Frequently Asked Questions
- → Can I use all-purpose flour instead of bread flour?
- Yes, all-purpose flour works fine, though bread flour gives a slightly chewier texture.
- → How do I know when the dough has risen enough?
- The dough should double in size during the first rise, which takes 1-2 hours in a warm spot.
- → Can I add different toppings?
- Yes, try toppings like cherry tomatoes, olives, or caramelized onions instead of or alongside the rosemary.
- → Why do we dimple the dough?
- Dimpling creates the signature focaccia texture and helps the oil pool in small pockets across the surface.
- → How should I store leftover focaccia?
- Store in an airtight container at room temperature for up to 2 days, or freeze for up to 1 month.
