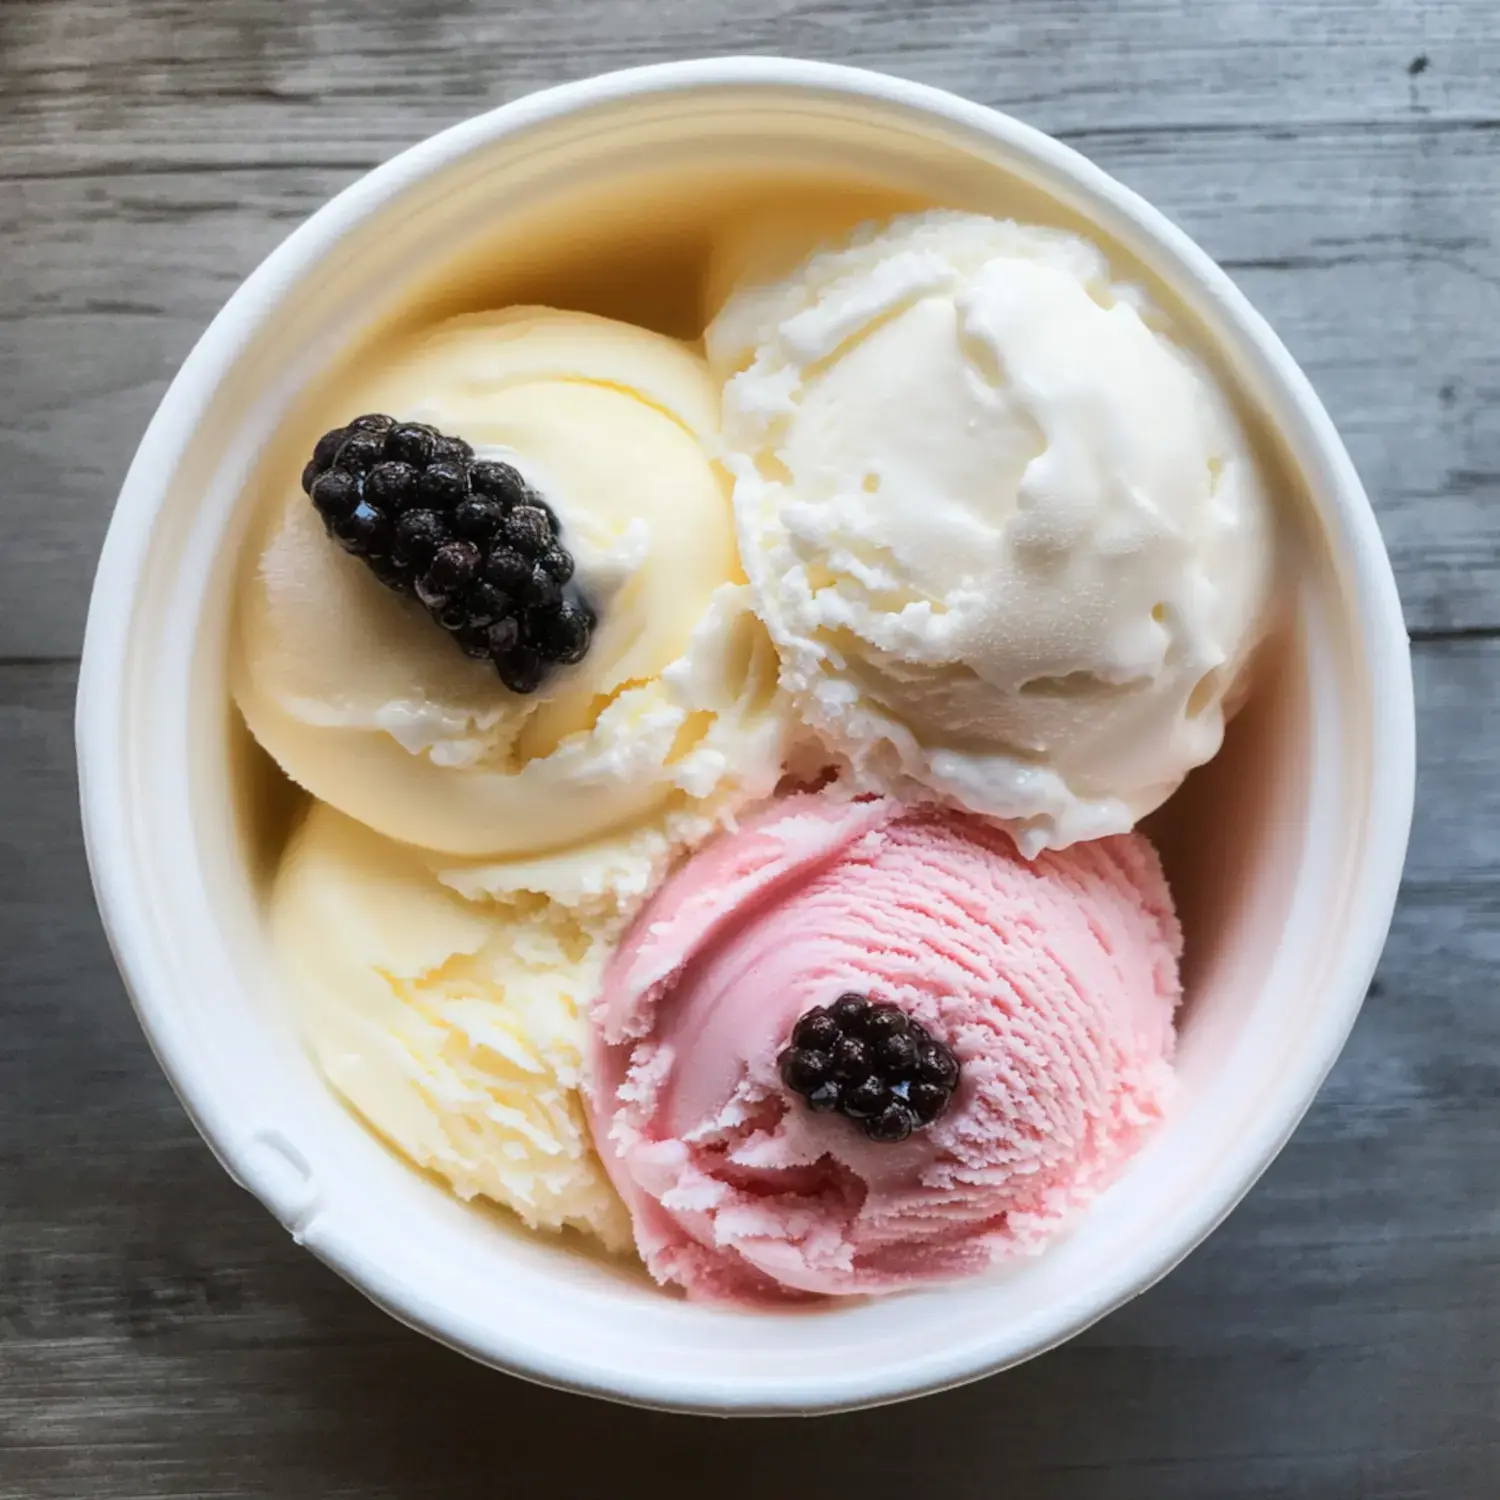
 Pin it
After getting my Ninja Creami I've completely fallen in love with making homemade ice cream. This little machine has transformed how I think about frozen desserts. Whether I'm whipping up protein packed treats or indulgent dairy free delights it's become my favorite kitchen companion for creating incredible ice cream at home.
What Makes This Recipe Amazing
I love how simple yet versatile this base recipe is. With just a few ingredients I can create over 52 different flavors to satisfy any craving. The small batch size is perfect for portion control and experimenting with new combinations. The results are so creamy and smooth they rival my favorite ice cream shop.
Essential Ingredients
- Cream cheese: This is our secret weapon for smooth creamy texture use whatever variety fits your diet.
- Heavy cream: Go for regular heavy cream not whipping cream for the best results.
- Milk: Whole milk is my favorite but any milk works even non dairy options.
- Sugar: Regular white sugar melts perfectly or try allulose for sugar free versions.
- Vanilla extract: Pure vanilla makes everything better vanilla bean paste is lovely too.
Step-by-Step Instructions
- Step 1 - Freeze the Ingredients and Container
- Start by gently melting your cream cheese with a bit of cream then whisk in the sugar until it dissolves completely. Pour everything into your pint container add the rest of your ingredients give it a good whisk then pop it in the freezer for at least 3 hours.
- Step 2 - Churn the Mixture
- Once frozen secure your container in the machine select ice cream or lite ice cream and let it work its magic. If it looks a bit crumbly just spin it again.
- Step 3 - Serve the Ice Cream
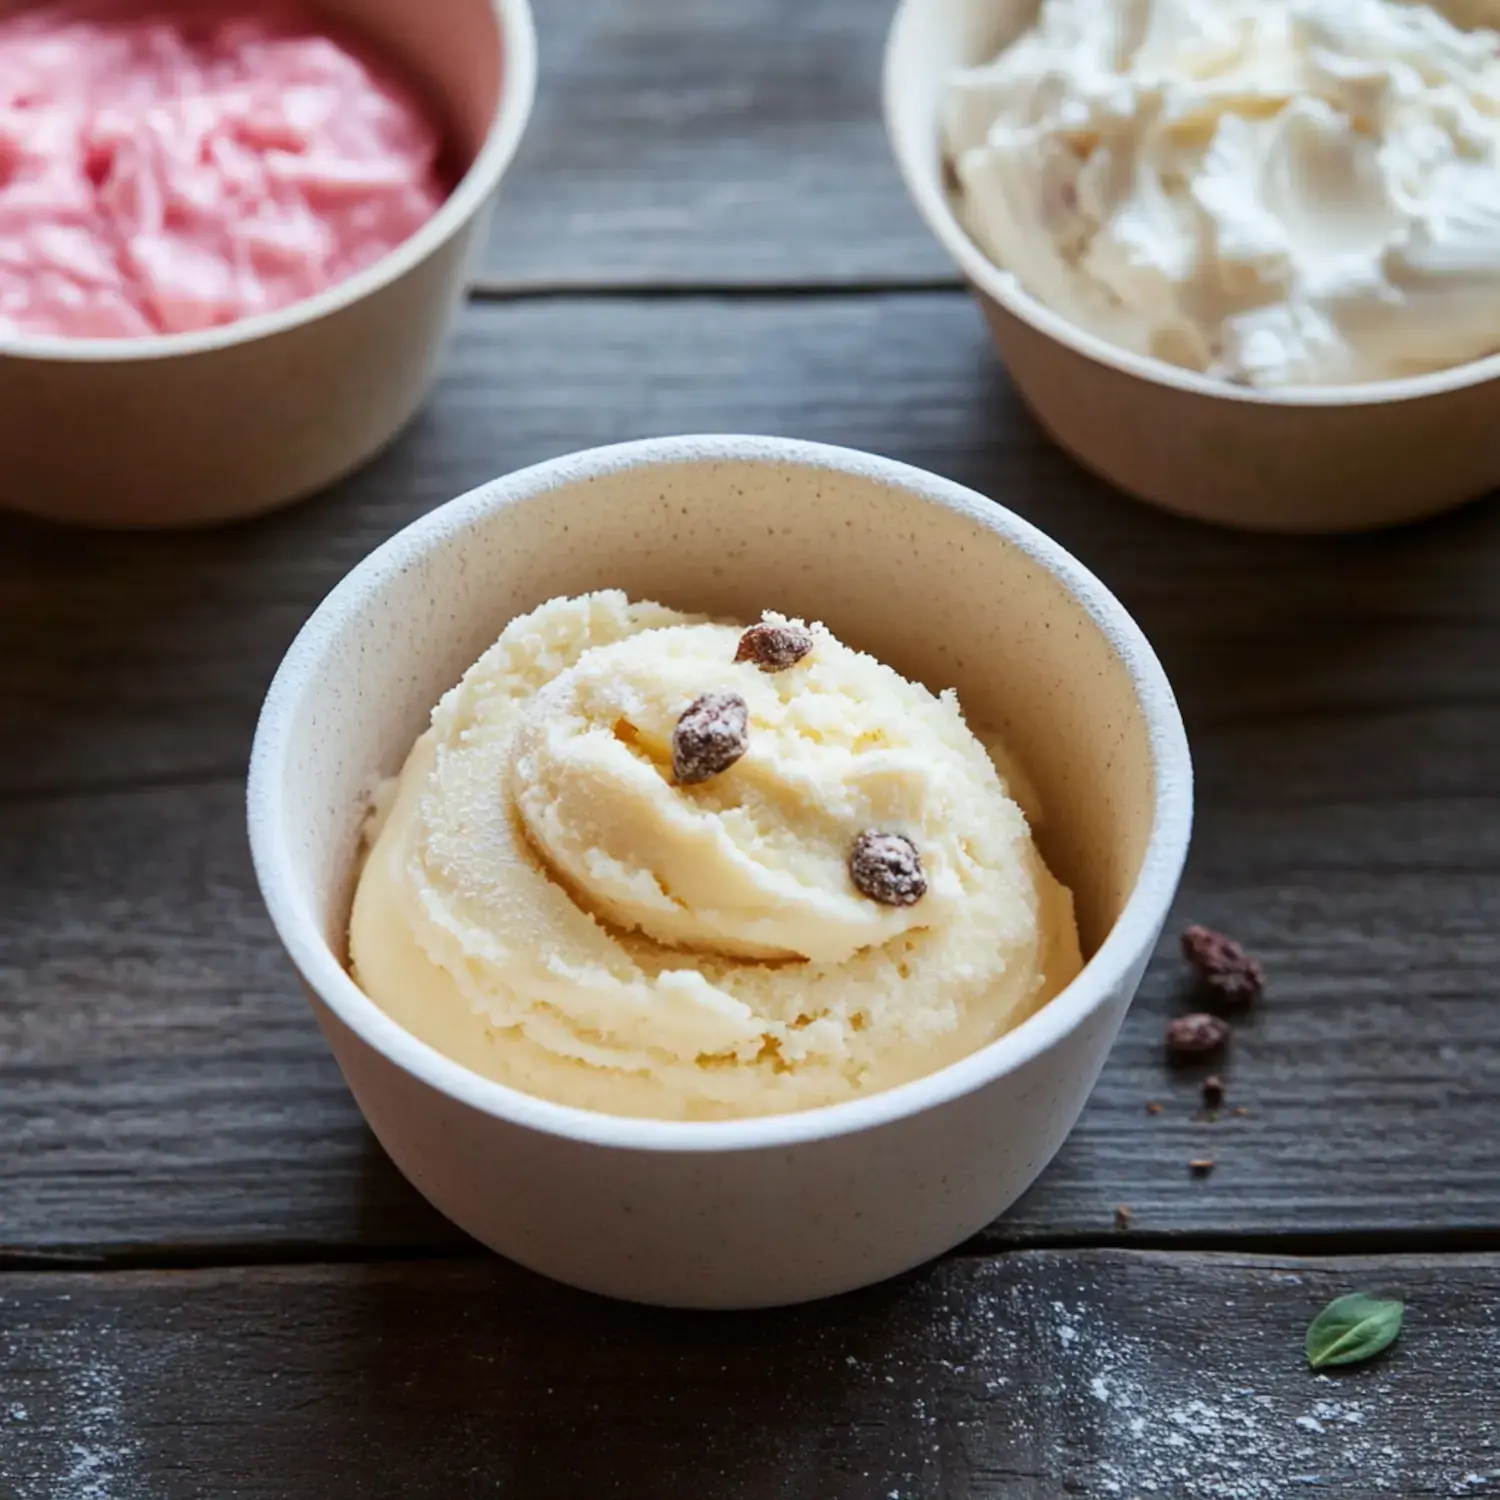
- Scoop that creamy goodness into bowls or cones. If you want mix ins like chocolate chips add them once it's mostly smooth.
My Best Tips
Don't fill your container too full leave that half inch space at the top. Stick with the ice cream or lite ice cream settings they give the best texture. While 3 hours freezing works overnight is even better. Never be afraid to respin your ice cream multiple times for the perfect consistency.
Flavor Ideas to Try
My favorite variations include classic cookies and cream with crushed Oreos high protein chocolate using protein shakes and pudding mix and banana cream pie with real bananas. For fruit lovers try mixed berry or mango sorbet. Mint chocolate chip with those tiny chips is always a hit too.
Keeping It Fresh
Just pop any leftover ice cream back in the freezer right in your pint container. When you're ready for more give it another spin in the machine. It stays perfect for about a week but honestly it never lasts that long in my house.
 Pin it
Common Questions Answered
Churning usually takes about 3-4 minutes if you want it firmer give it an extra 30 minutes in the freezer. Don't stress about ice crystals on top they'll disappear during churning. And yes you can make batch after batch without waiting the machine handles it beautifully.
Frequently Asked Questions
- → How long does this ice cream keep?
- Best enjoyed within 2 days of making. Let thaw 10-15 minutes before scooping if too hard.
- → Why re-spin the ice cream?
- If texture is crumbly after first spin, re-spinning helps achieve a smooth, creamy consistency.
- → Can I add mix-ins?
- Yes, add desired mix-ins after initial churning and use the mix-in setting to incorporate.
- → Why soften cream cheese first?
- Softened cream cheese blends better with other ingredients, ensuring a smooth base without lumps.
- → Can I use different milk?
- While the recipe is optimized for regular milk and cream, you can experiment with alternatives understanding texture may vary.
