 Pin it
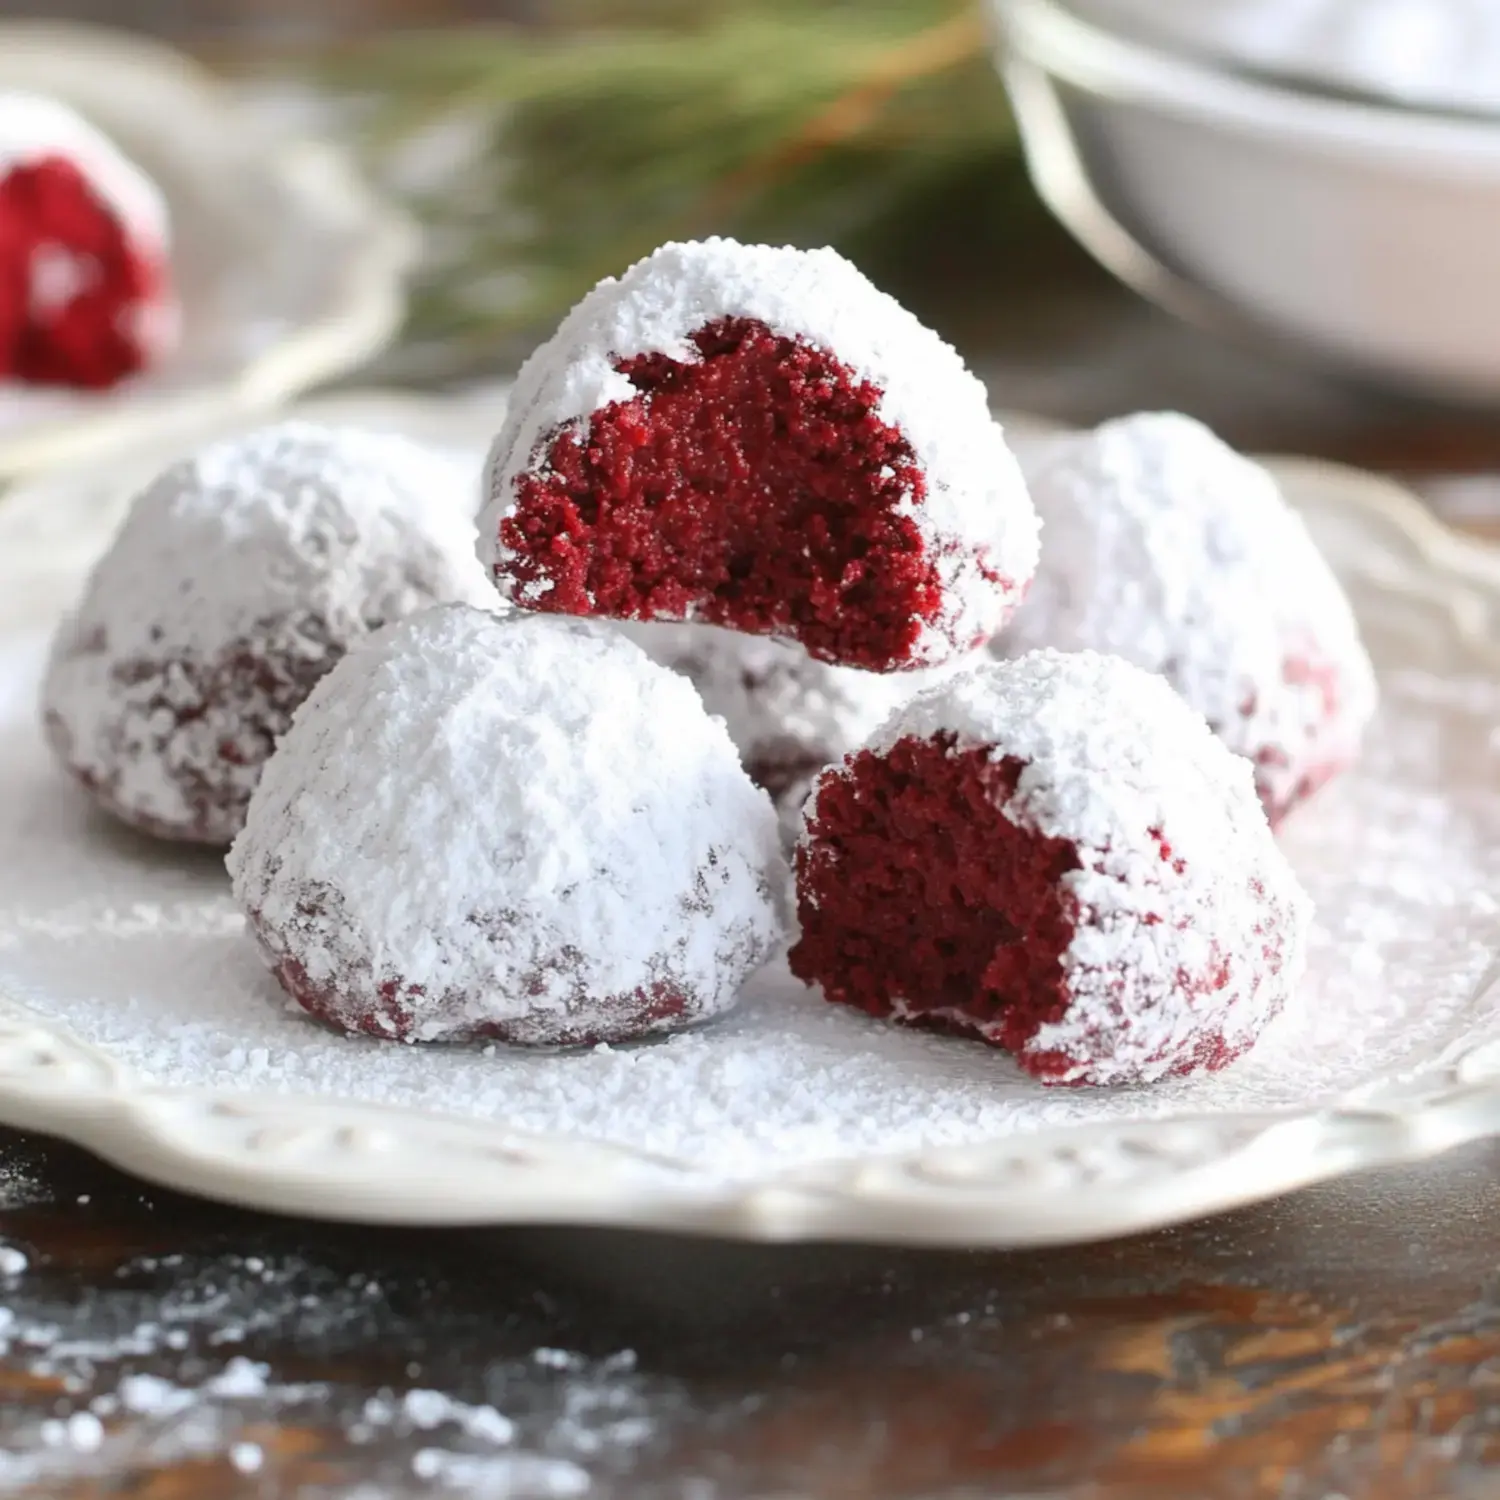
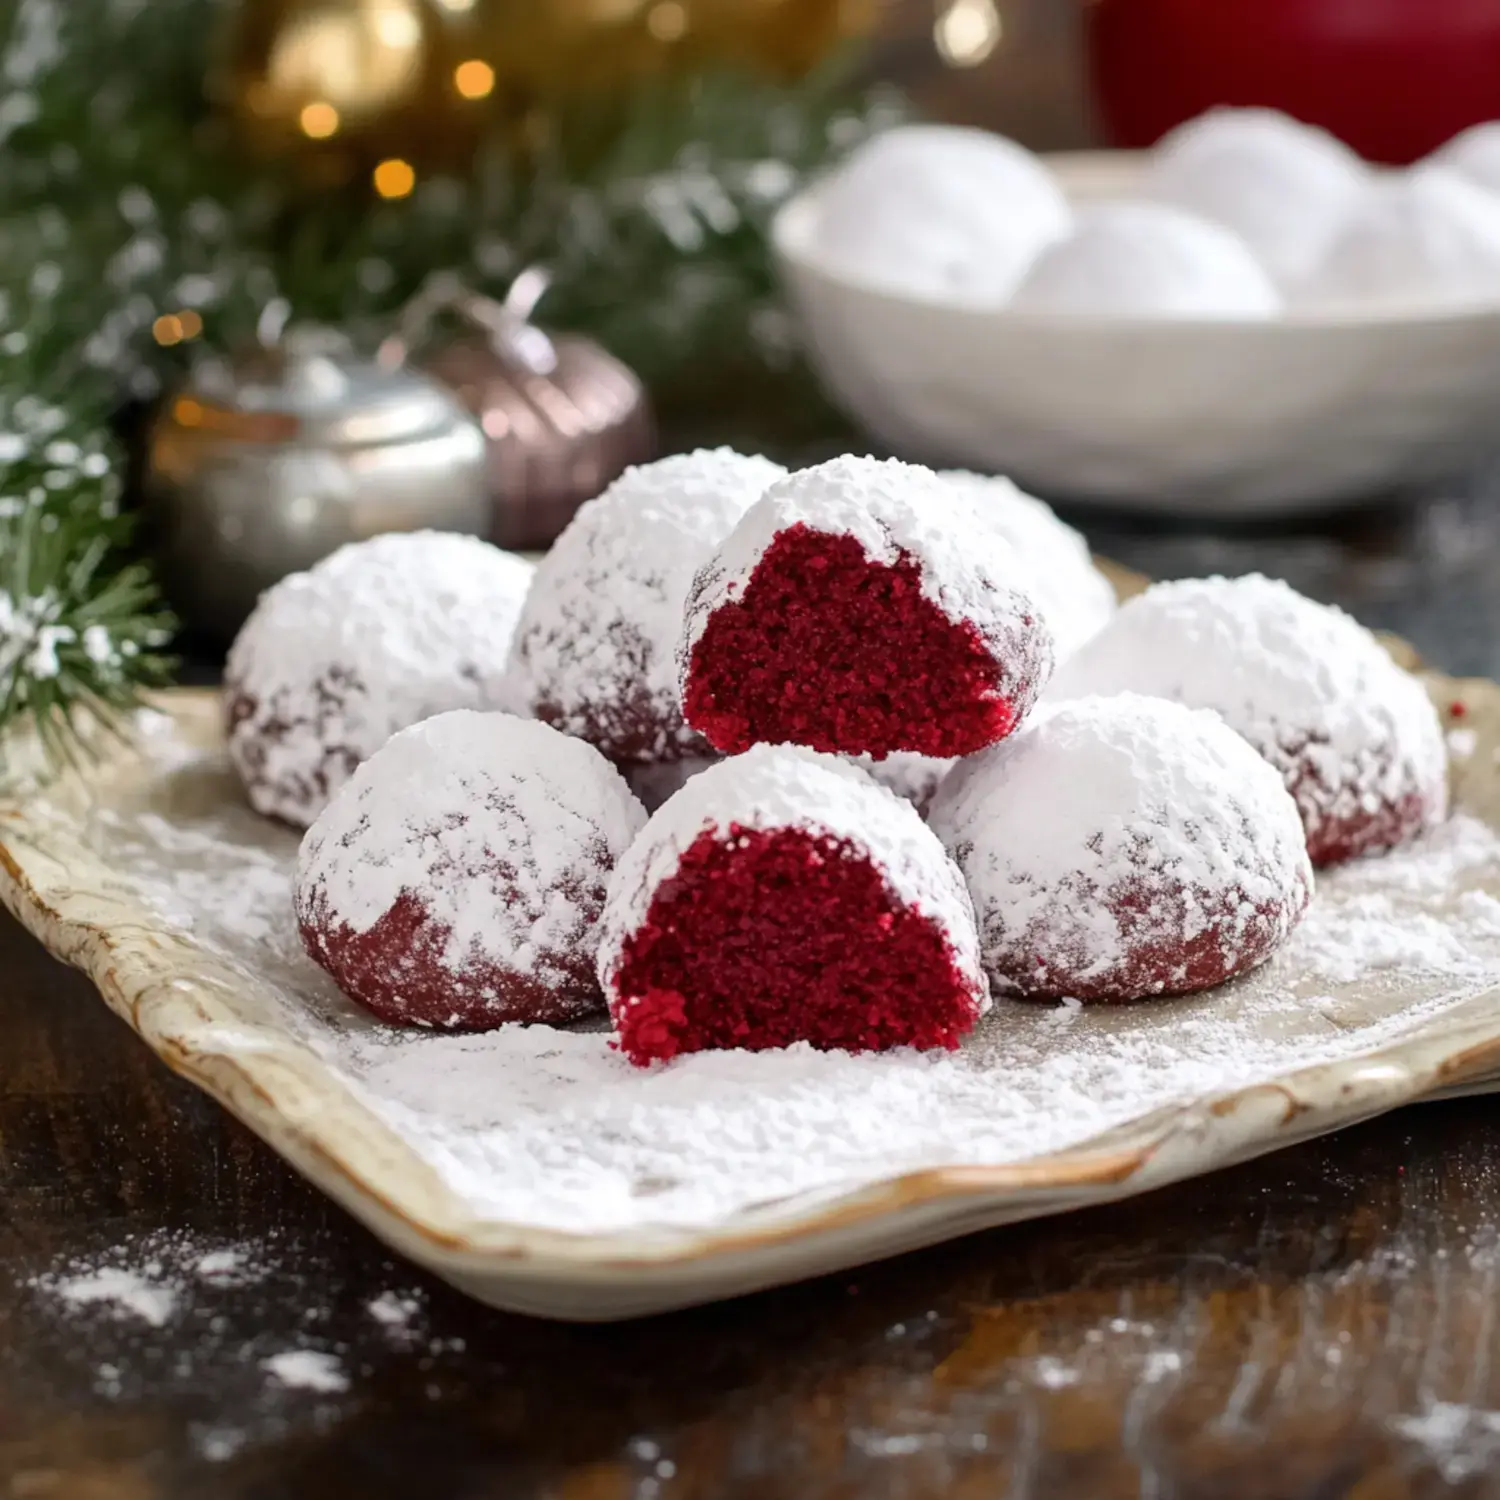
You guys, I've got the most amazing holiday cookie recipe to share with you today. These Red Velvet Snowball Cookies are my absolute favorite Christmas treat to make. I stumbled upon this idea last year when I wanted to jazz up my grandma's classic snowball cookie recipe. The result? The most gorgeous red cookies dusted with powdered sugar that taste like buttery bites of heaven with just a hint of chocolate. My kitchen looks like a winter wonderland when I make these!
Why These Have Become My Go-To Holiday Cookie
Last Christmas, these cookies disappeared faster than any other treat on my cookie platter. Everyone kept asking what made them so special. The secret? They literally melt in your mouth thanks to the perfect blend of butter and shortening, plus they've got that subtle cocoa flavor that makes red velvet so irresistible. I love serving them at afternoon tea with my neighbors or packing them in pretty boxes as gifts.
What You'll Need From Your Pantry
- Unsalted Butter: Take it out early so it gets perfectly soft trust me, it matters!
- Butter-Flavored Shortening: This is my secret weapon for the most amazing texture.
- Egg: Just one, straight from the fridge is fine.
- Buttermilk: A splash gives these that classic red velvet tang I love.
- White Vinegar: Sounds weird but it makes the flavor pop.
- Vanilla: The good stuff makes such a difference here.
- Red Food Coloring: Go for gel color if you can find it.
- Flour: Regular all-purpose works great.
- Cocoa Powder: Just enough for that hint of chocolate.
- Salt: A pinch makes everything better.
- Nuts: I usually grab pecans but use what you love.
- Powdered Sugar: For that gorgeous snowy coating.
Time to Get Baking
- First Things First
- Start by beating your butter and shortening until they're besties. Add your egg and watch the magic happen. Now splash in your buttermilk, vinegar, vanilla, and enough red food coloring to make Santa proud. Mix up all your dry ingredients in another bowl, then slowly combine everything. If you're feeling nutty (I usually am), toss those in too. Pop the whole thing in the fridge for an hour no cheating!
- The Fun Part
- Once your oven hits 350°F, line your favorite cookie sheet with parchment. Scoop out little balls of dough I usually go for about tablespoon size. Space them out nicely they need their personal bubble.
- The Snowy Finish
- While they're still warm from the oven, give them a butter bath then roll them in powdered sugar. Let them cool down a bit, then roll them again. This double-coating trick makes them look like they just came in from a snowstorm!
My Top Cookie Tips
I learned this the hard way but seriously chill that dough. Warm dough equals flat cookies and nobody wants that! Splurge on good cocoa powder too it really shows in the final taste. Sometimes I toss in some mini chocolate chips because more chocolate is always good right? And don't skimp on the powdered sugar coating that's what makes them look magical.
Keep Them Fresh
These cookies stay amazing for about a week if you store them right. Layer them with parchment in an airtight container my vintage cookie tin works perfectly. If you're really planning ahead, pop them in the freezer they'll keep for months. Just give them a fresh dusting of powdered sugar when they thaw and they'll look good as new.
Mix It Up
Sometimes I get creative with these little beauties. Last Christmas I made some with pistachios and they were gorgeous. White chocolate drizzle takes them over the top too. My kids begged me to make green ones for St. Patrick's Day just swap the food coloring and you're good to go!
Troubleshooting Tips
Having cookie drama? If they're spreading too much, your dough probably needs more chill time. Want to make bigger ones? Go for it just bake them a few minutes longer. As for nuts, I'm team pecan all the way but my sister swears by walnuts. You really can't go wrong here.
You Need These In Your Life
I'm telling you, these cookies are something special. Maybe it's how they look like little snow-covered ornaments, or how they just melt away when you bite into them. Every time I bring them to a party, people go crazy for them. Plus they're so fun to make grab the kids and let them help with the powdered sugar coating just be ready for a mess!
 Pin it
Frequently Asked Questions
- → Why do we need to chill the dough?
Chilling the dough prevents cookies from spreading during baking and helps maintain their round snowball shape. Cold dough is also easier to handle and roll into balls for consistent sizing.
- → Why coat the cookies twice in powdered sugar?
The first coating while warm allows the sugar to slightly melt and stick well to the cookie. The second coating after cooling creates the perfect snowy appearance and adds extra sweetness.
- → Can I make these without food coloring?
Yes, you can omit the red food coloring for traditional chocolate snowballs. The taste will be the same, they just won't have the signature red velvet appearance.
- → How should I store these cookies?
Store in an airtight container with parchment paper between layers to prevent sticking. They'll stay fresh at room temperature for up to 5 days. The powdered sugar coating helps keep them from drying out.
- → Why use both butter and shortening?
The combination gives these cookies the perfect texture - butter provides flavor while shortening helps maintain shape and creates tenderness. This duo helps achieve the classic snowball cookie texture.
Conclusion
These cookies combine classic snowball texture with red velvet flavor, featuring a tender cocoa cookie dyed red and coated twice in powdered sugar.
